3 Michelin Star Chef Heston Blumenthal’s Roast Chicken

After hearing the famous name Heston Blumenthal on Junior Master Chef last year, I was so excited to learn that he had created a tv series called ‘How to Cook Like Heston’ for home cooks like myself. Heston is owner of 3 Michelin star restaurant The Fat Duck, named No. 1 & 2 restaurant in the world for many consecutive years, and the newer Dinner by Heston Blumenthal, named No. 7 in the world in 2013.

What makes his cooking special is his scientific approach to cooking, he utilizes chemical reactions and laws of physics to create the fanciest dishes (ie. molecular gastronomy). This is really interesting for a science grad like myself because I’ve learned about many of these principles before. Besides all the fancy biochem and physics, if I had to choose one word to describe his cooking methods, it would be slow – not exactly the type of cooking we working girls are looking for, right? He really likes to use low temperatures to slowly cook food so that their moisture and texture aren’t compromised by high heat. His scrambled eggs are cooked over a double boiler for FIFTEEN minutes! While a typical roast chicken may take 1.5 hours to cook, his roast chicken method requires 3-4 hours to cook! Talk about 慢工出细货 (no pain no gain). No wonder his menus must be prix fixe!

Nonetheless, I was so intrigued to try out his roast chicken method because for me, chicken is so hard to perfect- it can become dry and tough so easily. So I decided to try out his Roasted Chicken recipe and here’s how it went! I have broken down his entire recipe step by step and highlighted the steps which I would actually use in the future and those that are just too much for our daily lives. We have also purchased a precooked roasted chicken from City’Super just to compare. Please enjoy and let me know what you think of his recipe! Would you want to try this or do some steps sound totally unnecessary to you? Leave your comments below!
Preparation time: 20 minutes (plus overnight)
Cooking time: 3-4 hours
Difficulty Level: 2/3
Total cost: approx. 300HKD
Portion: 4 people
- Ingredients:
- 6% brine (60g or 3 tablespoons fine salt/litre water)
- 1.5-2kg chicken
- 1 lemon
- 1 bunch of thyme
- 125g unsalted butter, at room temperature, plus extra for rubbing into the skin
- 30ml dry white wine
1. Remove the trussing (string holding the chicken into a nice round shape)
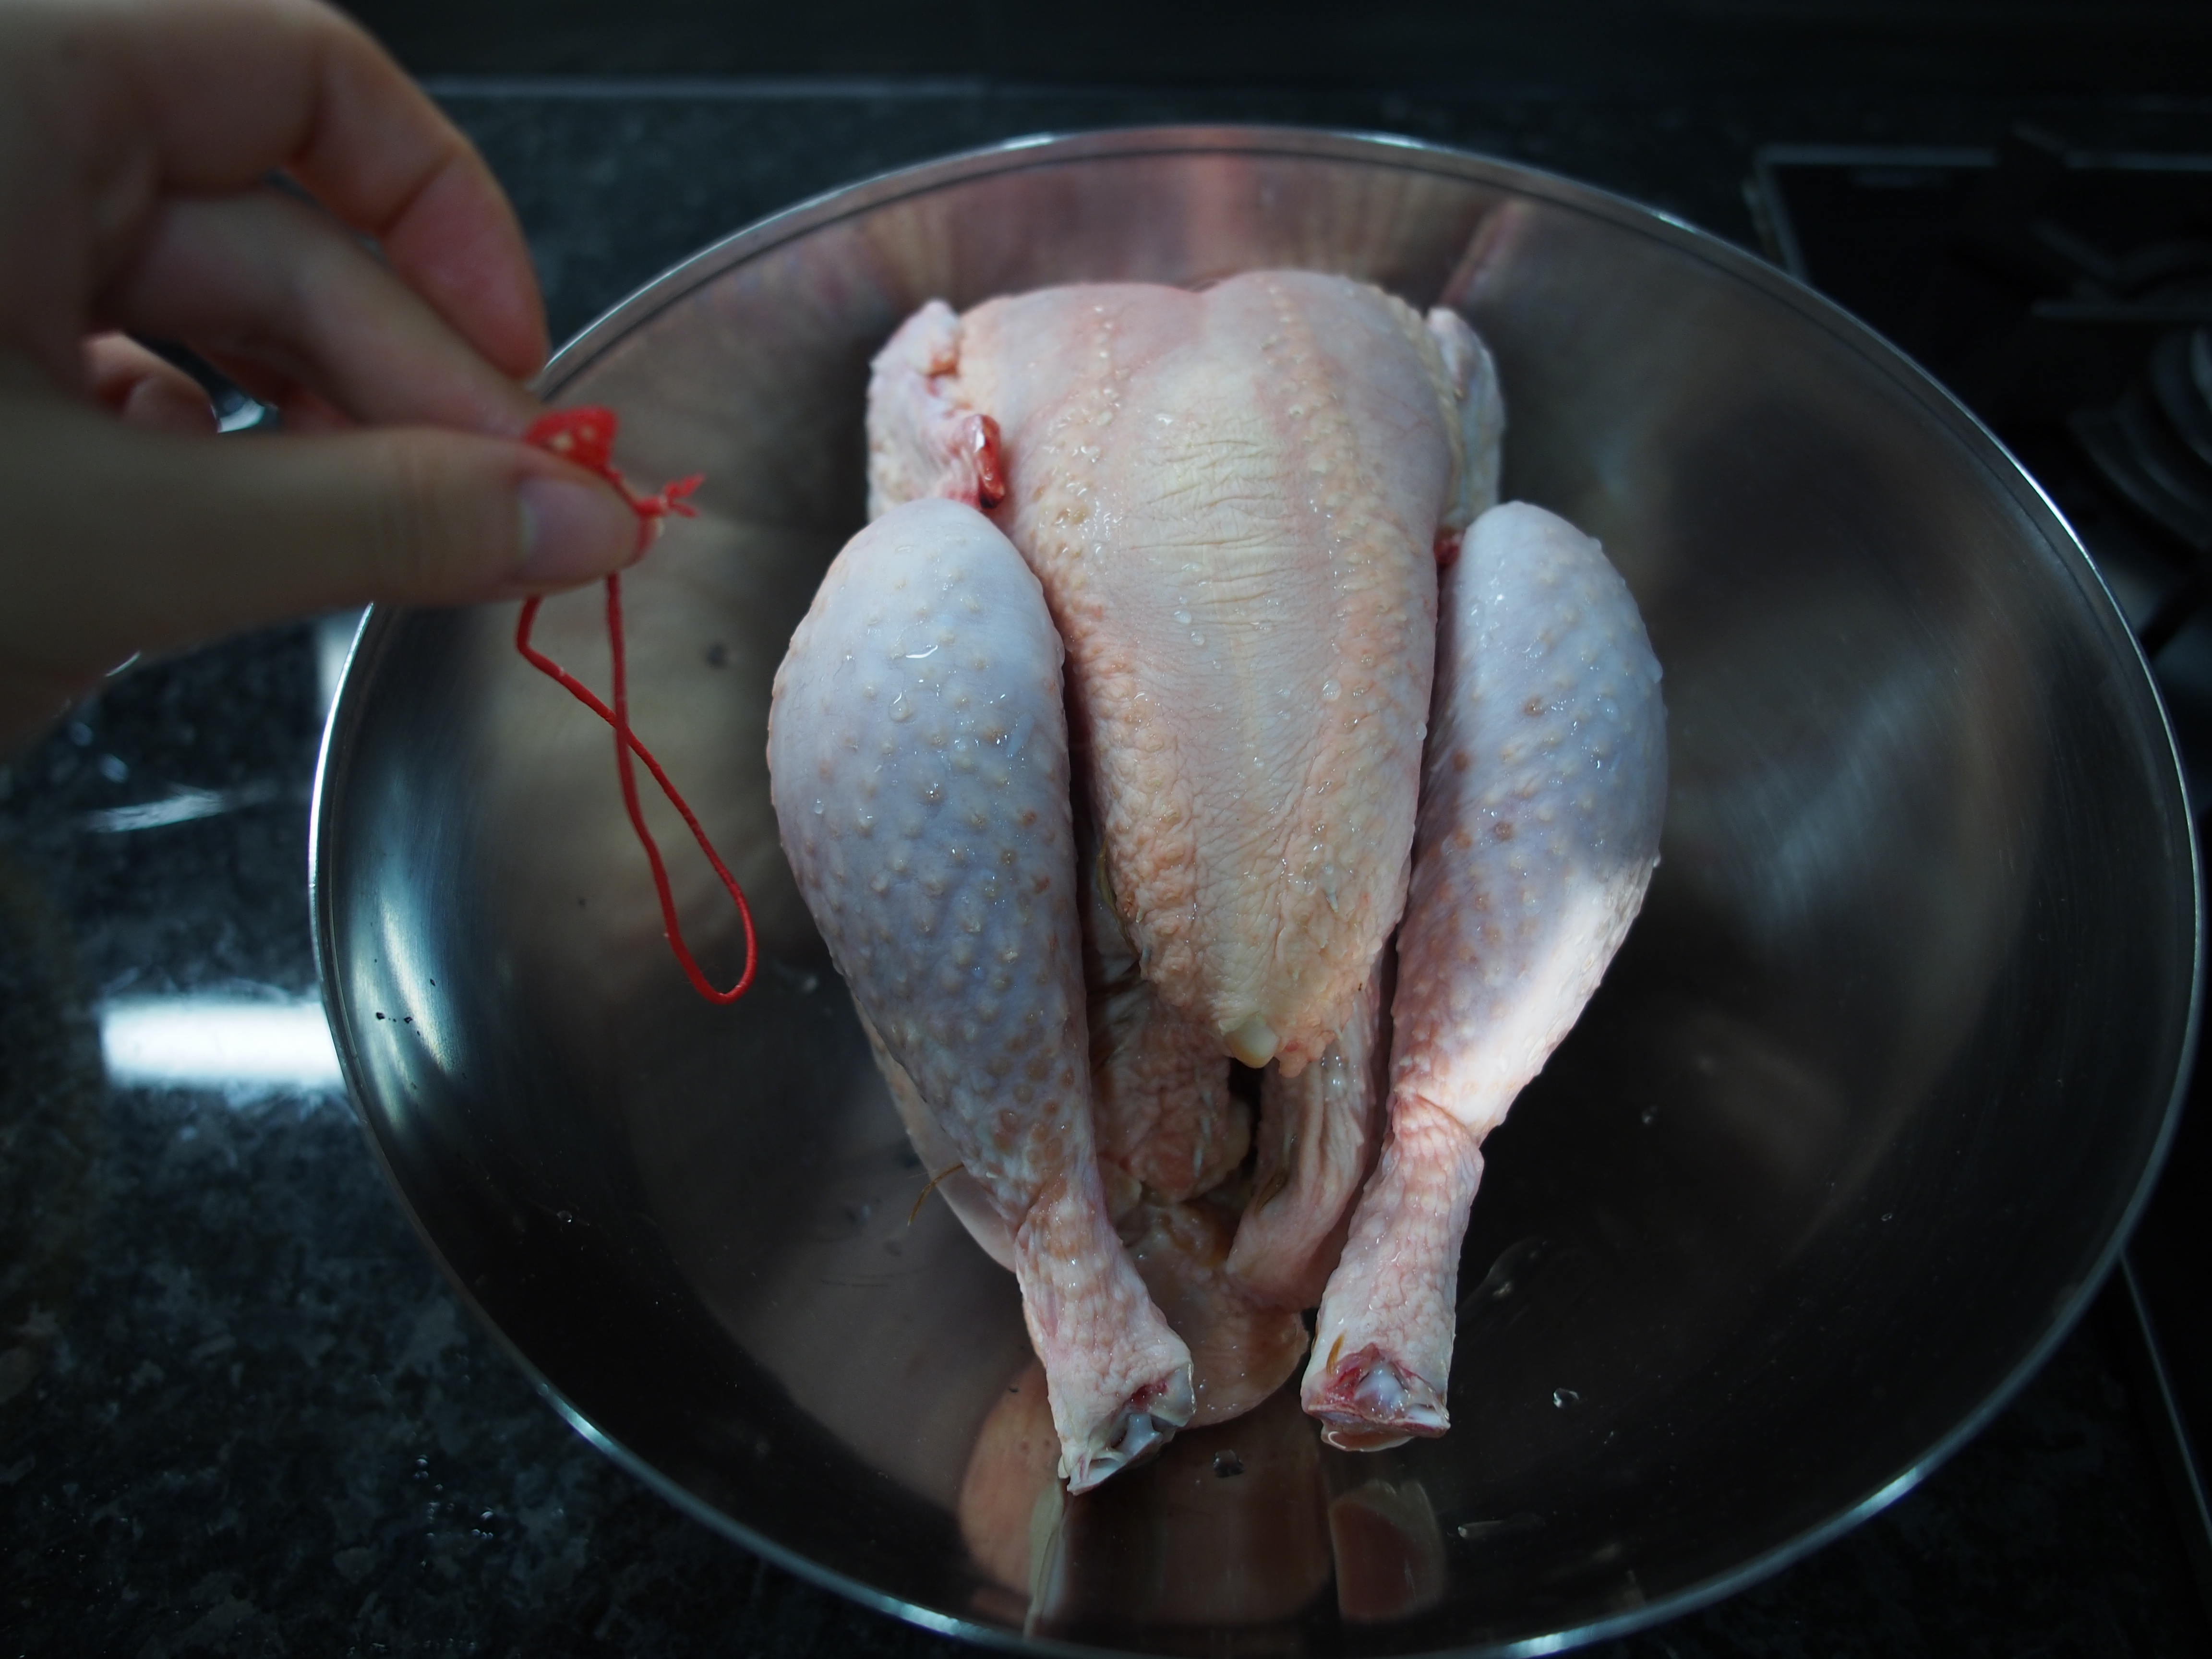
*trussing squishes the thighs and body together, making the area between the thigh and body harder to cook and in turn the breast on top commonly gets overcooked and dry!
2. Soak the chicken overnight in 6% brine
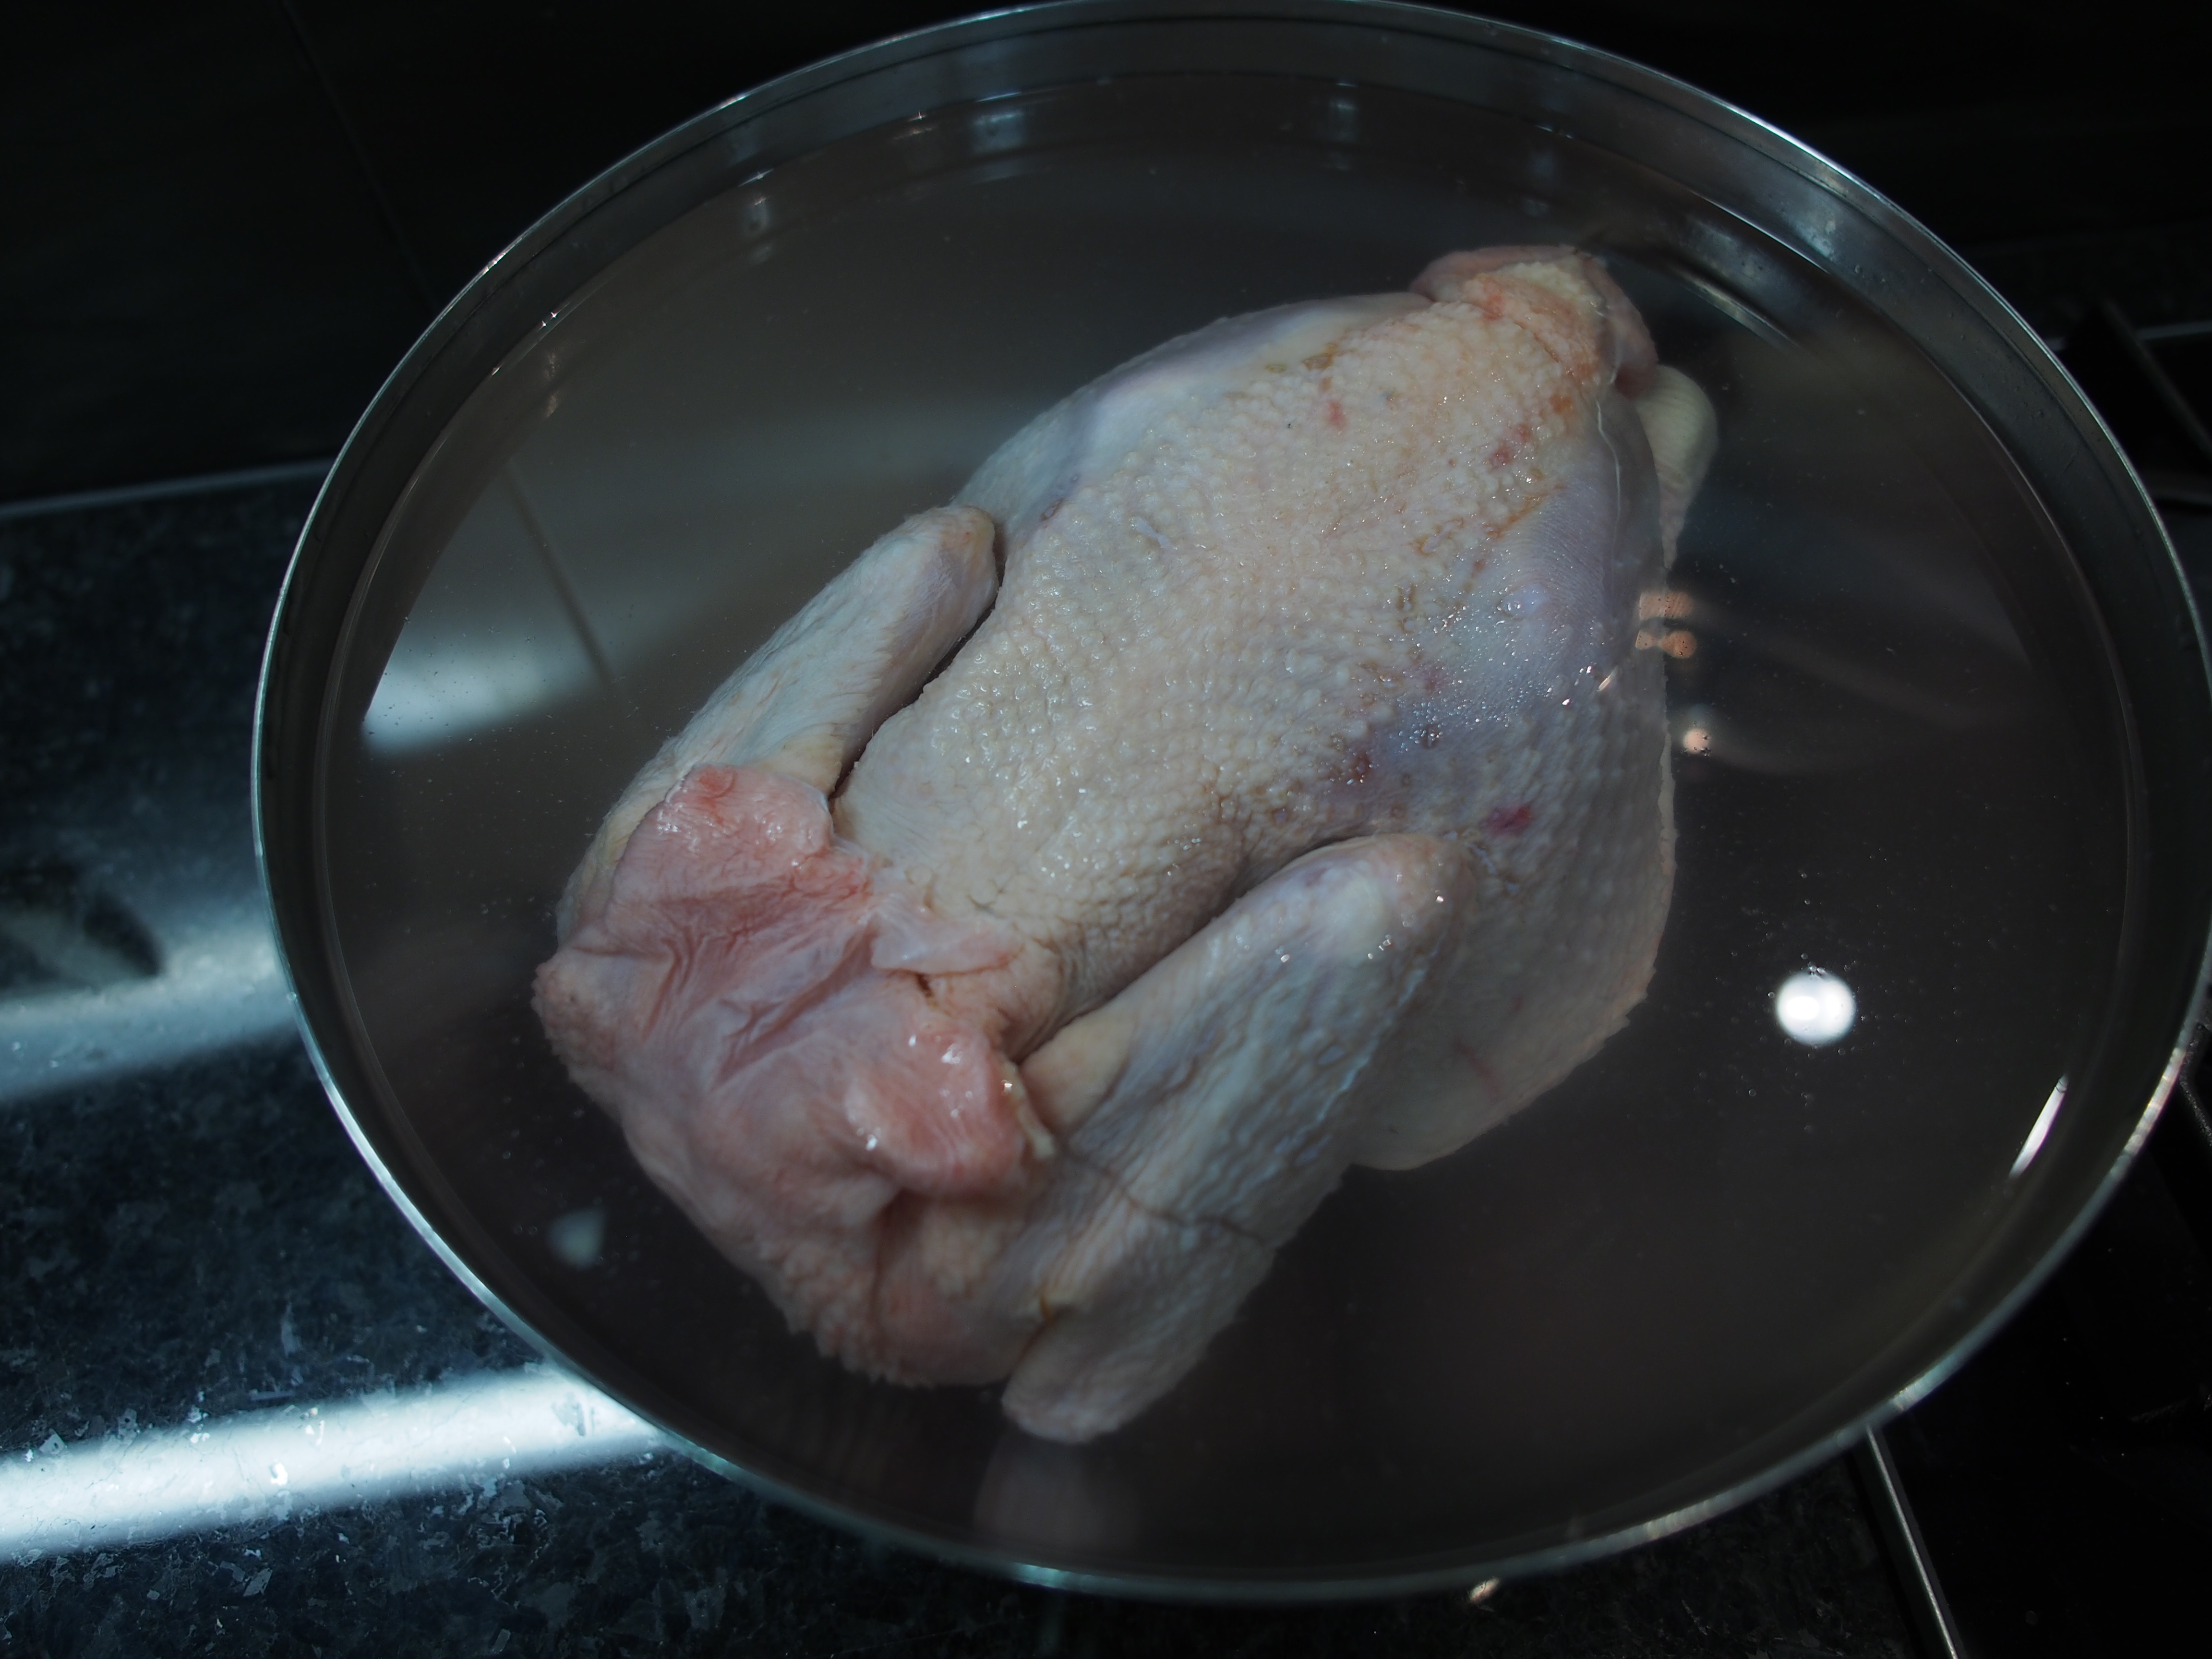
*brining will change the proteins of the chicken to retain more moisture.

I used alkaline water of pH 9.5 to soak my chicken because alkaline water can tenderize meat and bring out the natural flavours of the chicken. Want to know more benefits of alkaline water? Let me know in the comments below !
3. The next day, I got home after work around 7 and got straight to work! First, take out the wishbone of the chicken and pat dry.

*The wishbone is a v shaped bone right at the base of the chicken’s neck that after removal will allow easier carving. This was my first time removing it and I gotta say it wasn’t easy!
4. Stuff half the thyme and a rolled and pierced lemon into the chicken cavity.

*Rolling the lemon firmly against the table helps to pop the capsules inside and release the juice of the lemon
I do this before peeling an orange too, it helps the skin to come off easier.
5. Lather the chicken skin with room temperature butter.

* The fat helps to make the skin crispy and golden.
6. Gentle bake the chicken at 90C for 3-4 hours until it reaches 60C internally. Conventional recipes set the oven temperature at 175C!
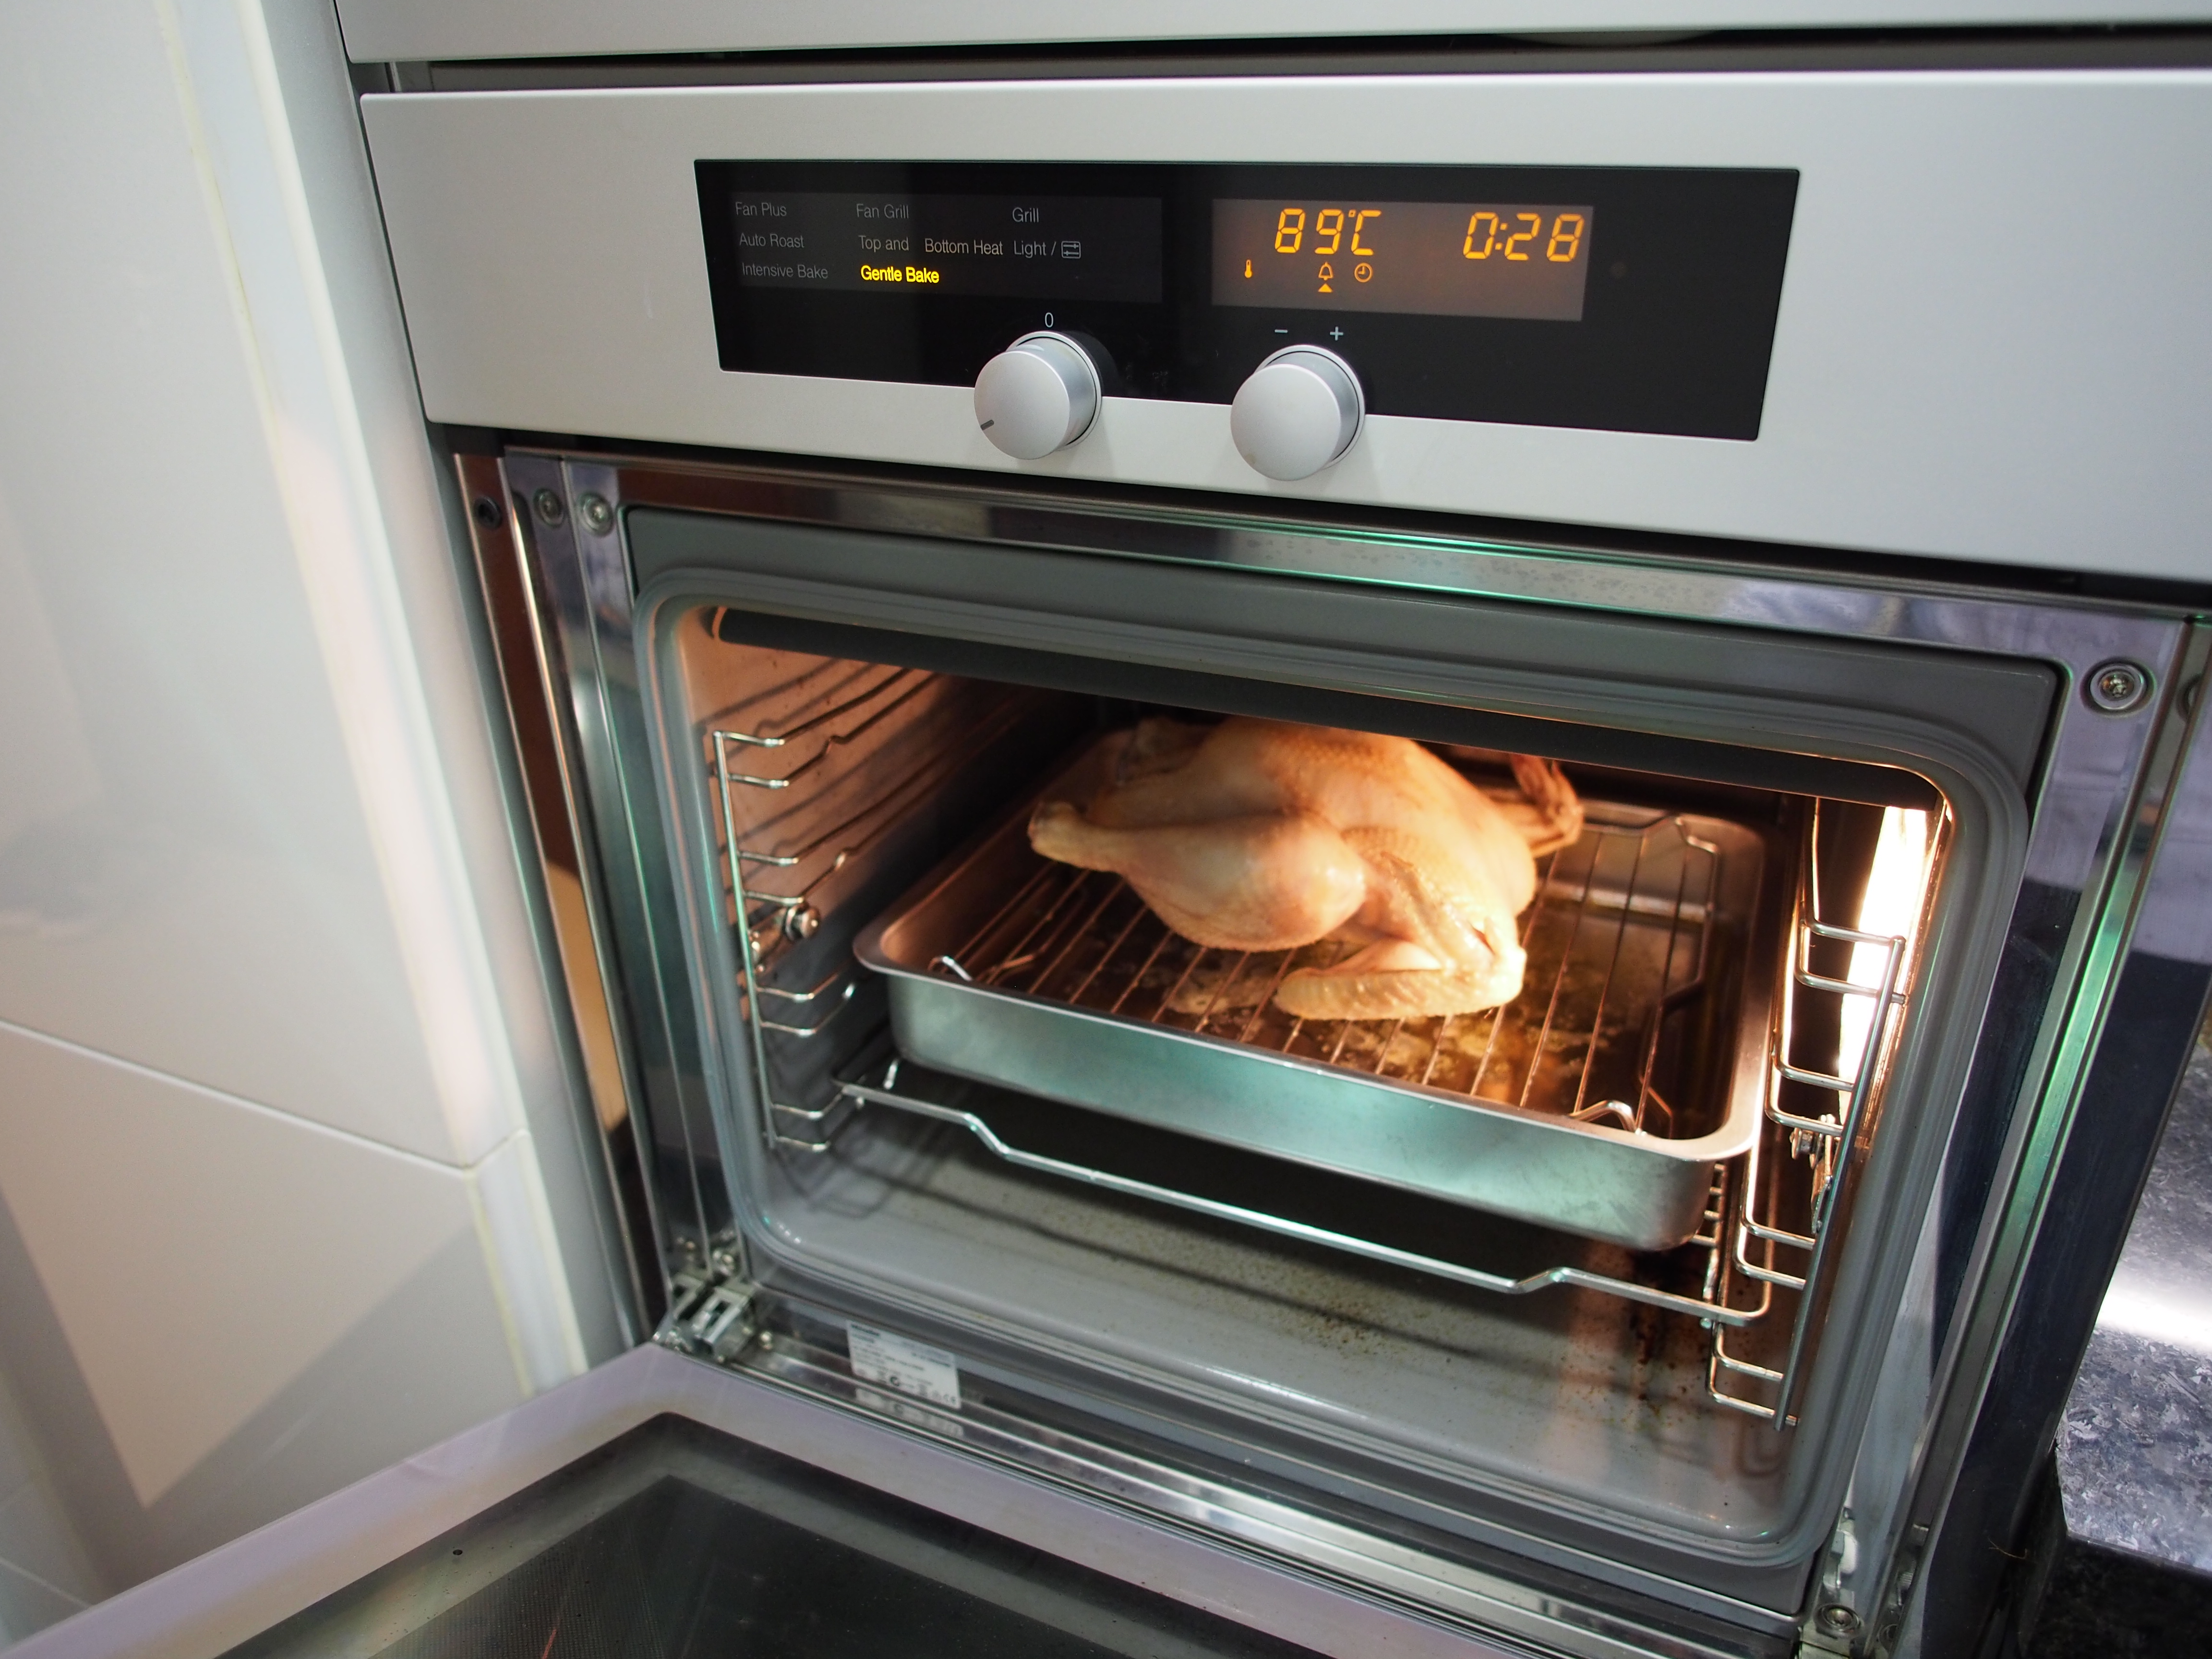
*Roasting meat at low temperatures helps to retain the moisture inside the meat.
* Safety standards require 75C, but Heston said 60C is perfect for him.
7. Finally 3 hours later the thickest part of our chicken breast had reached 65C (we went 5C over just to be safe) !

*Heston told us to just check the thickest part of the chicken breast, but we found our chicken’s inner thigh still wasn’t cooked thoroughly by that time, so I would recommend testing the temperature between the thighs and chest as well.
8. Take the chicken out and let it rest for 45 minutes

* Heat causes muscle fibres to contract, pushing the moisture either towards the centre or out of the meat (sizzle sizzle). And what’s more, the higher your heat, the tighter it will contract. So when we allow those muscles to cool down and widen up, they are able to evenly re-absorb back some of its lost moisture from the centre or sauce (if available).
9. In the meantime, make the basting sauce by melting the remaining butter and thyme, then add the white wine and remove from heat after boiling.
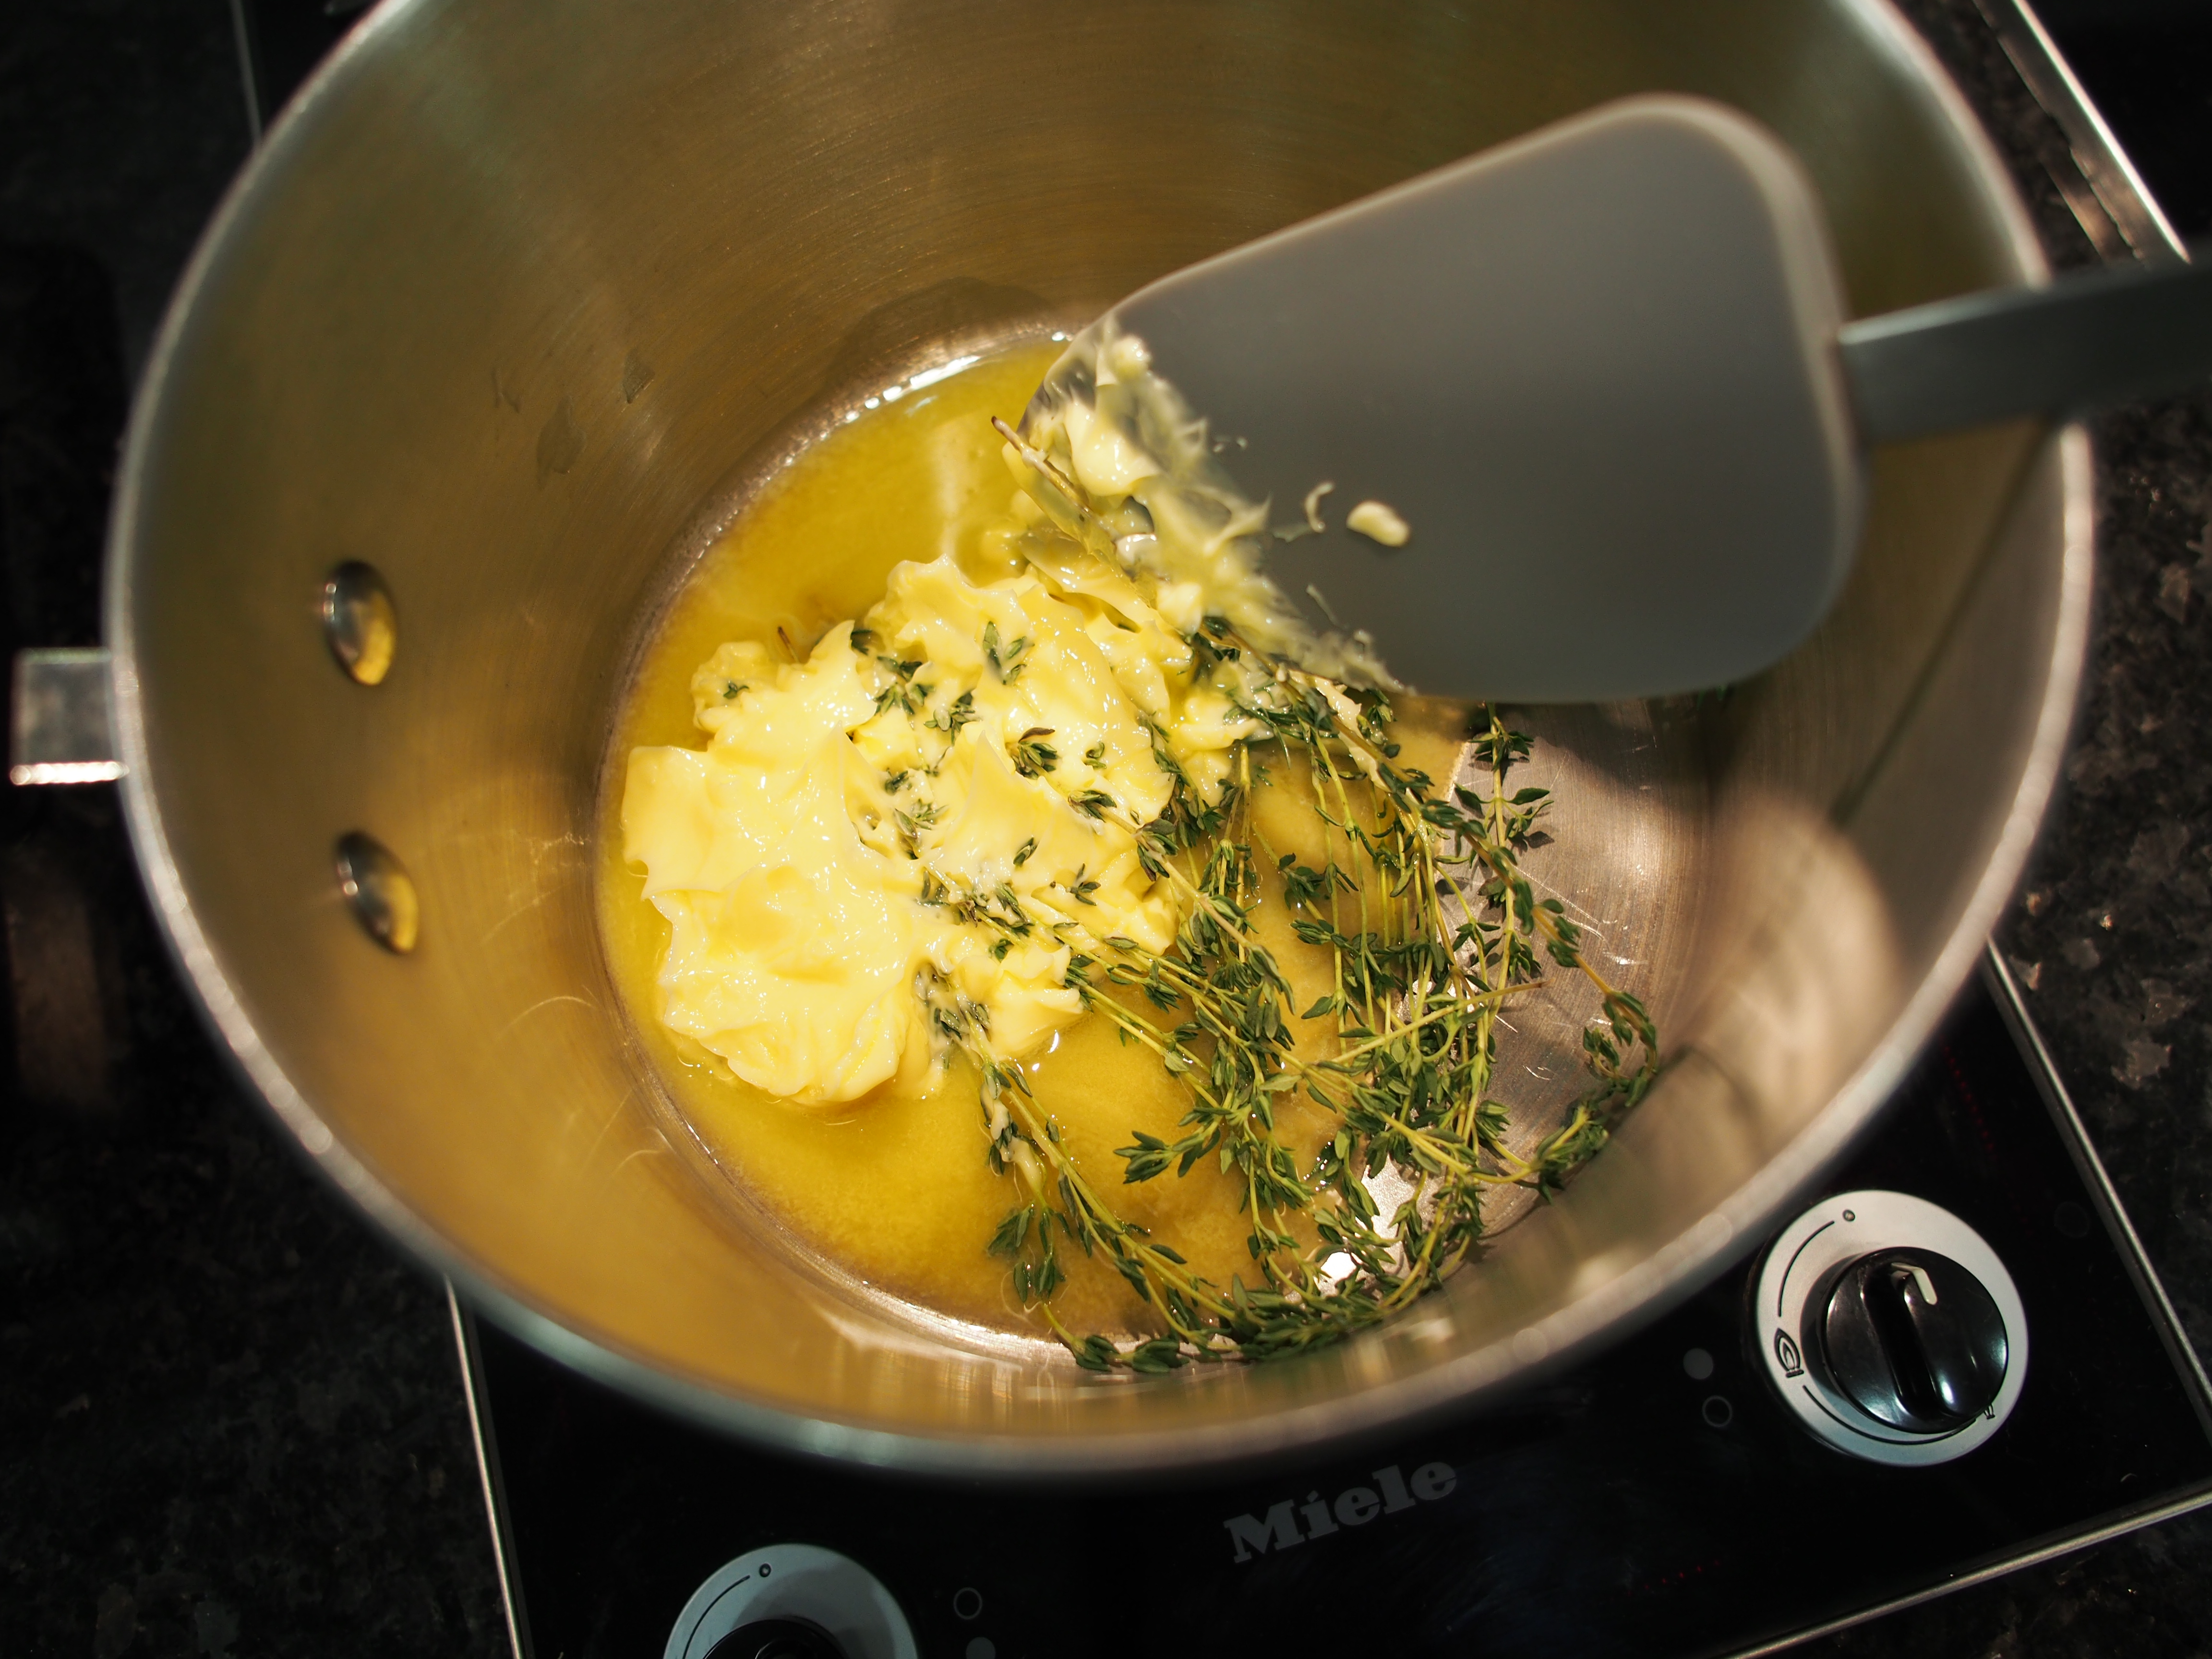
Evenly coat the chicken skin with the sauce a few times to give it flavour and color

10. Finally, pop the chicken back into the oven for 10 minutes under the highest heat setting to ‘toast’ the skin.

*Make sure you use the ‘fan’ option so that the heat can evenly distribute around the chicken and give it an even golden color. The second time I made this, I unknowingly chose ‘grill’ for the first 4 minutes before switching it to fan, which is why the top part is much darker than the rest of the body.
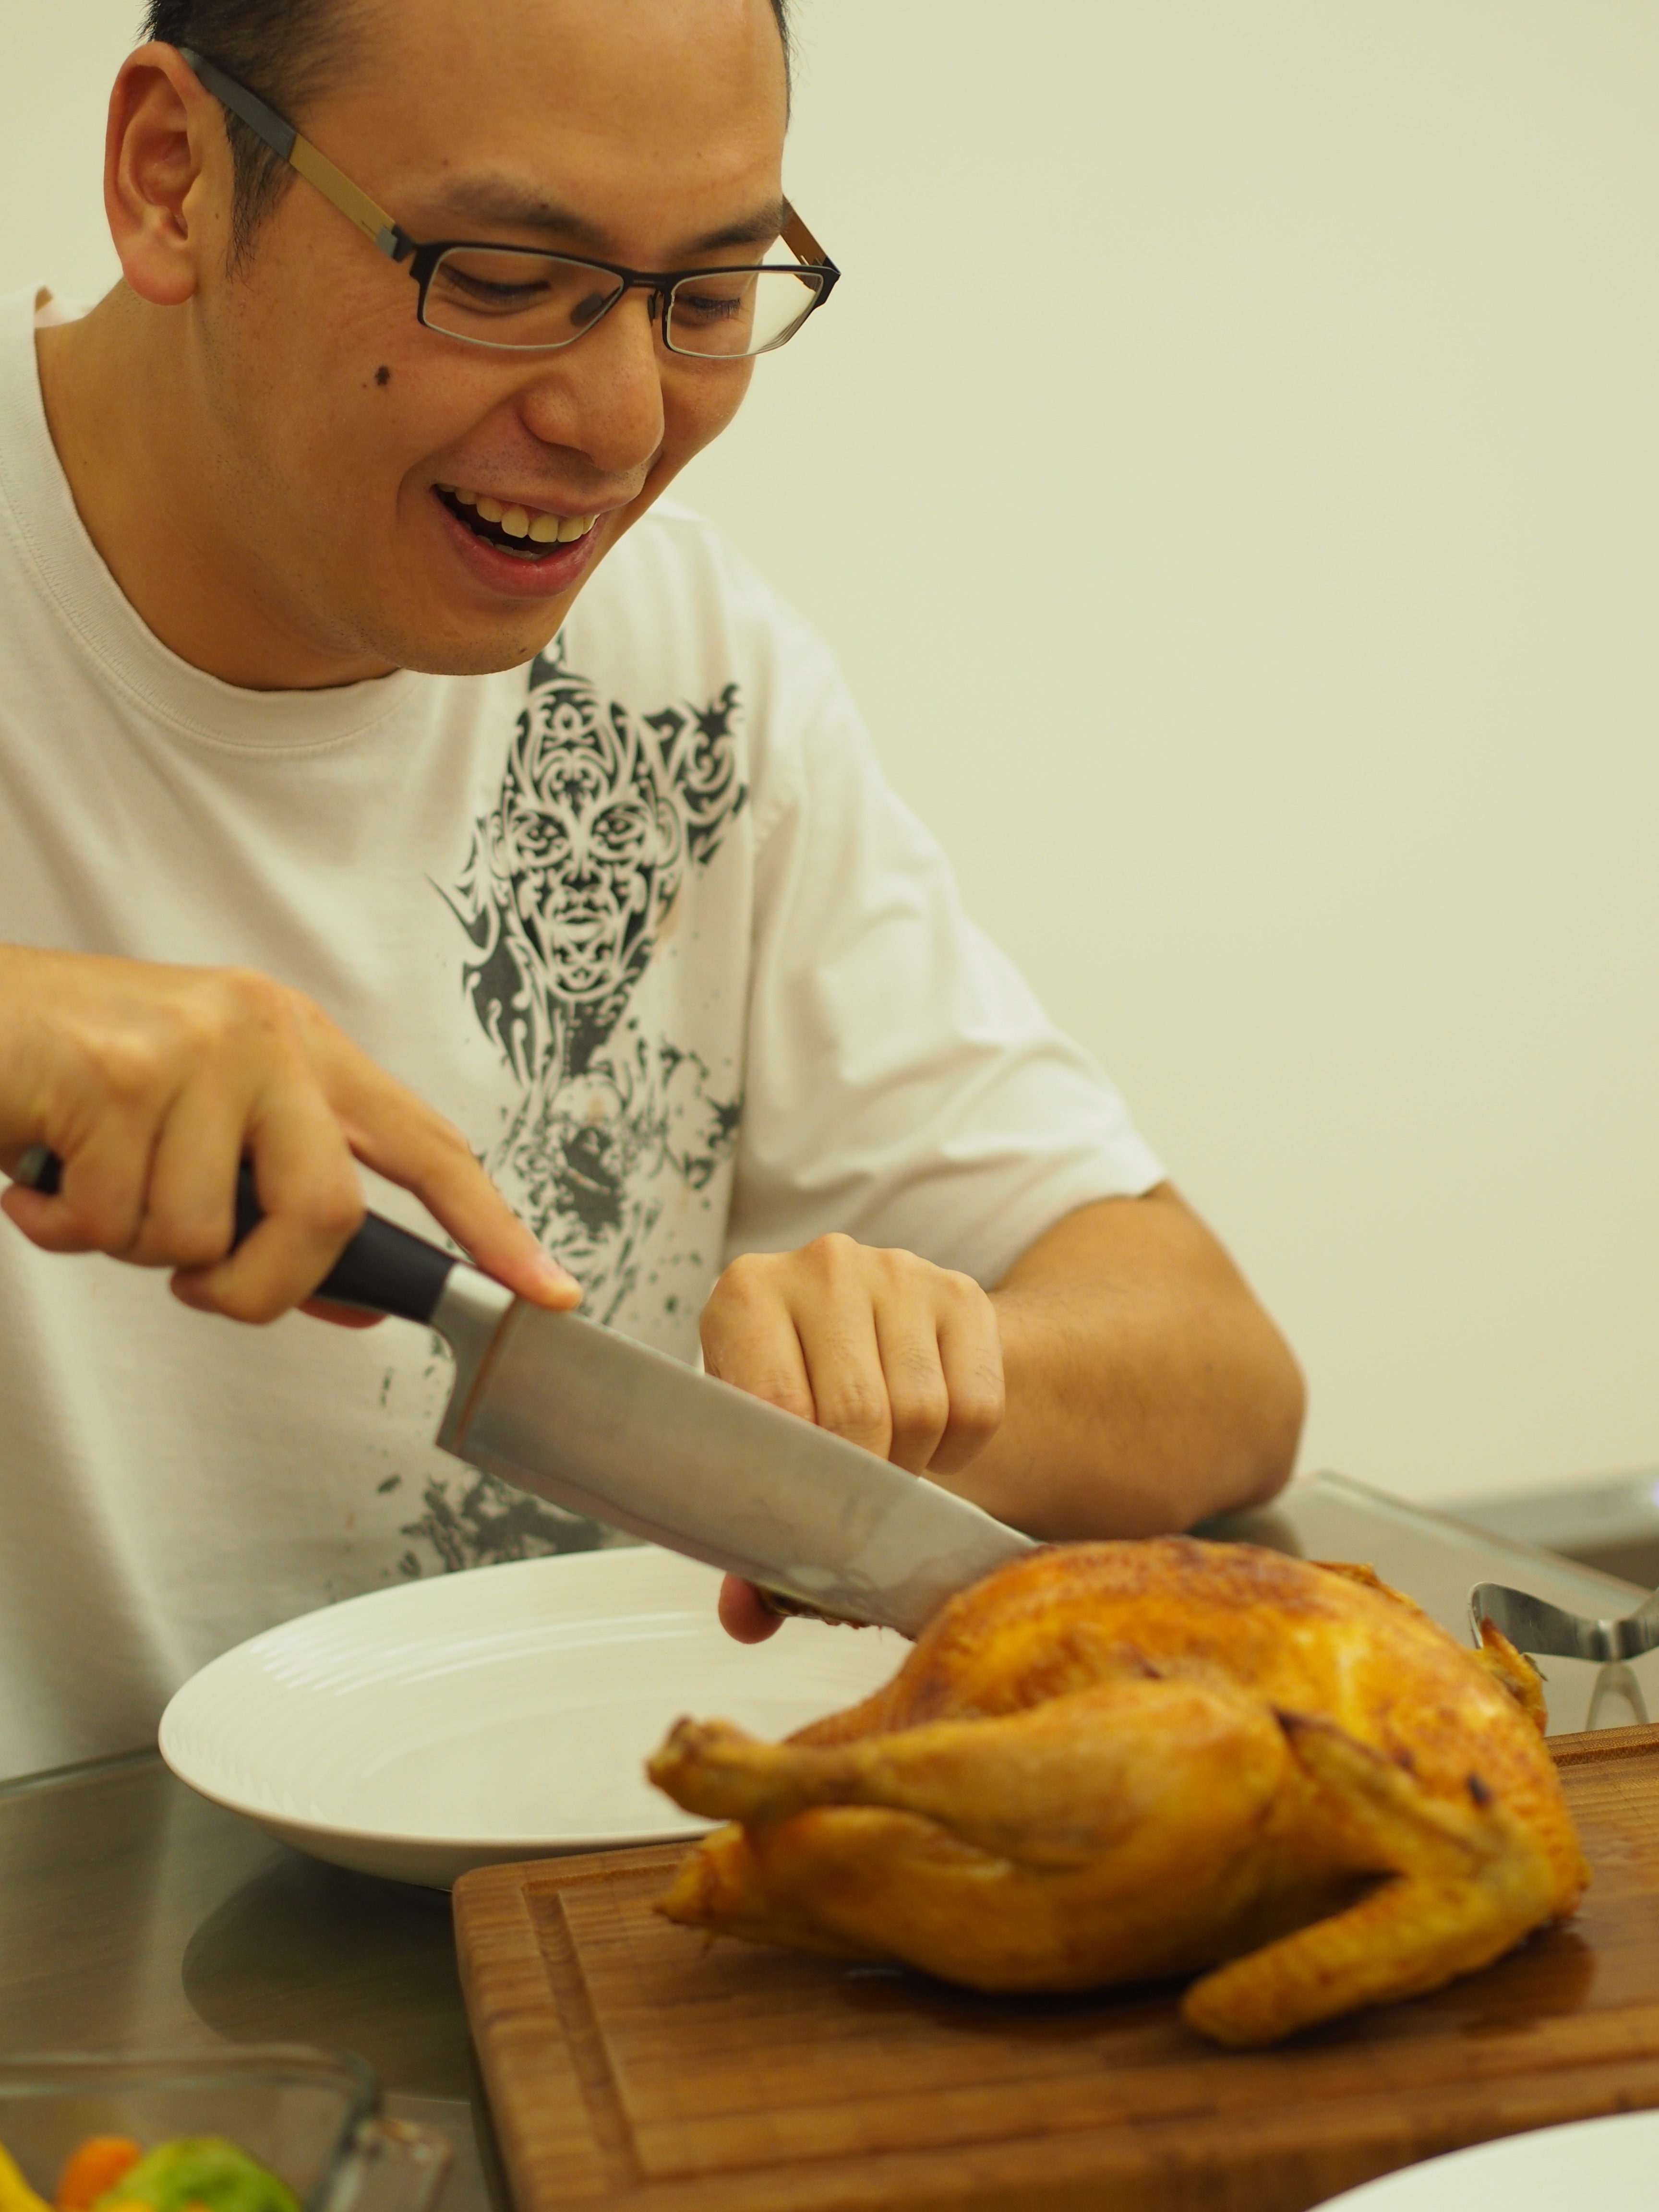
Bosco was so excited to see so much juice running out of the chicken when he sliced into it! This was definitely the best roast chicken I’ve ever made.
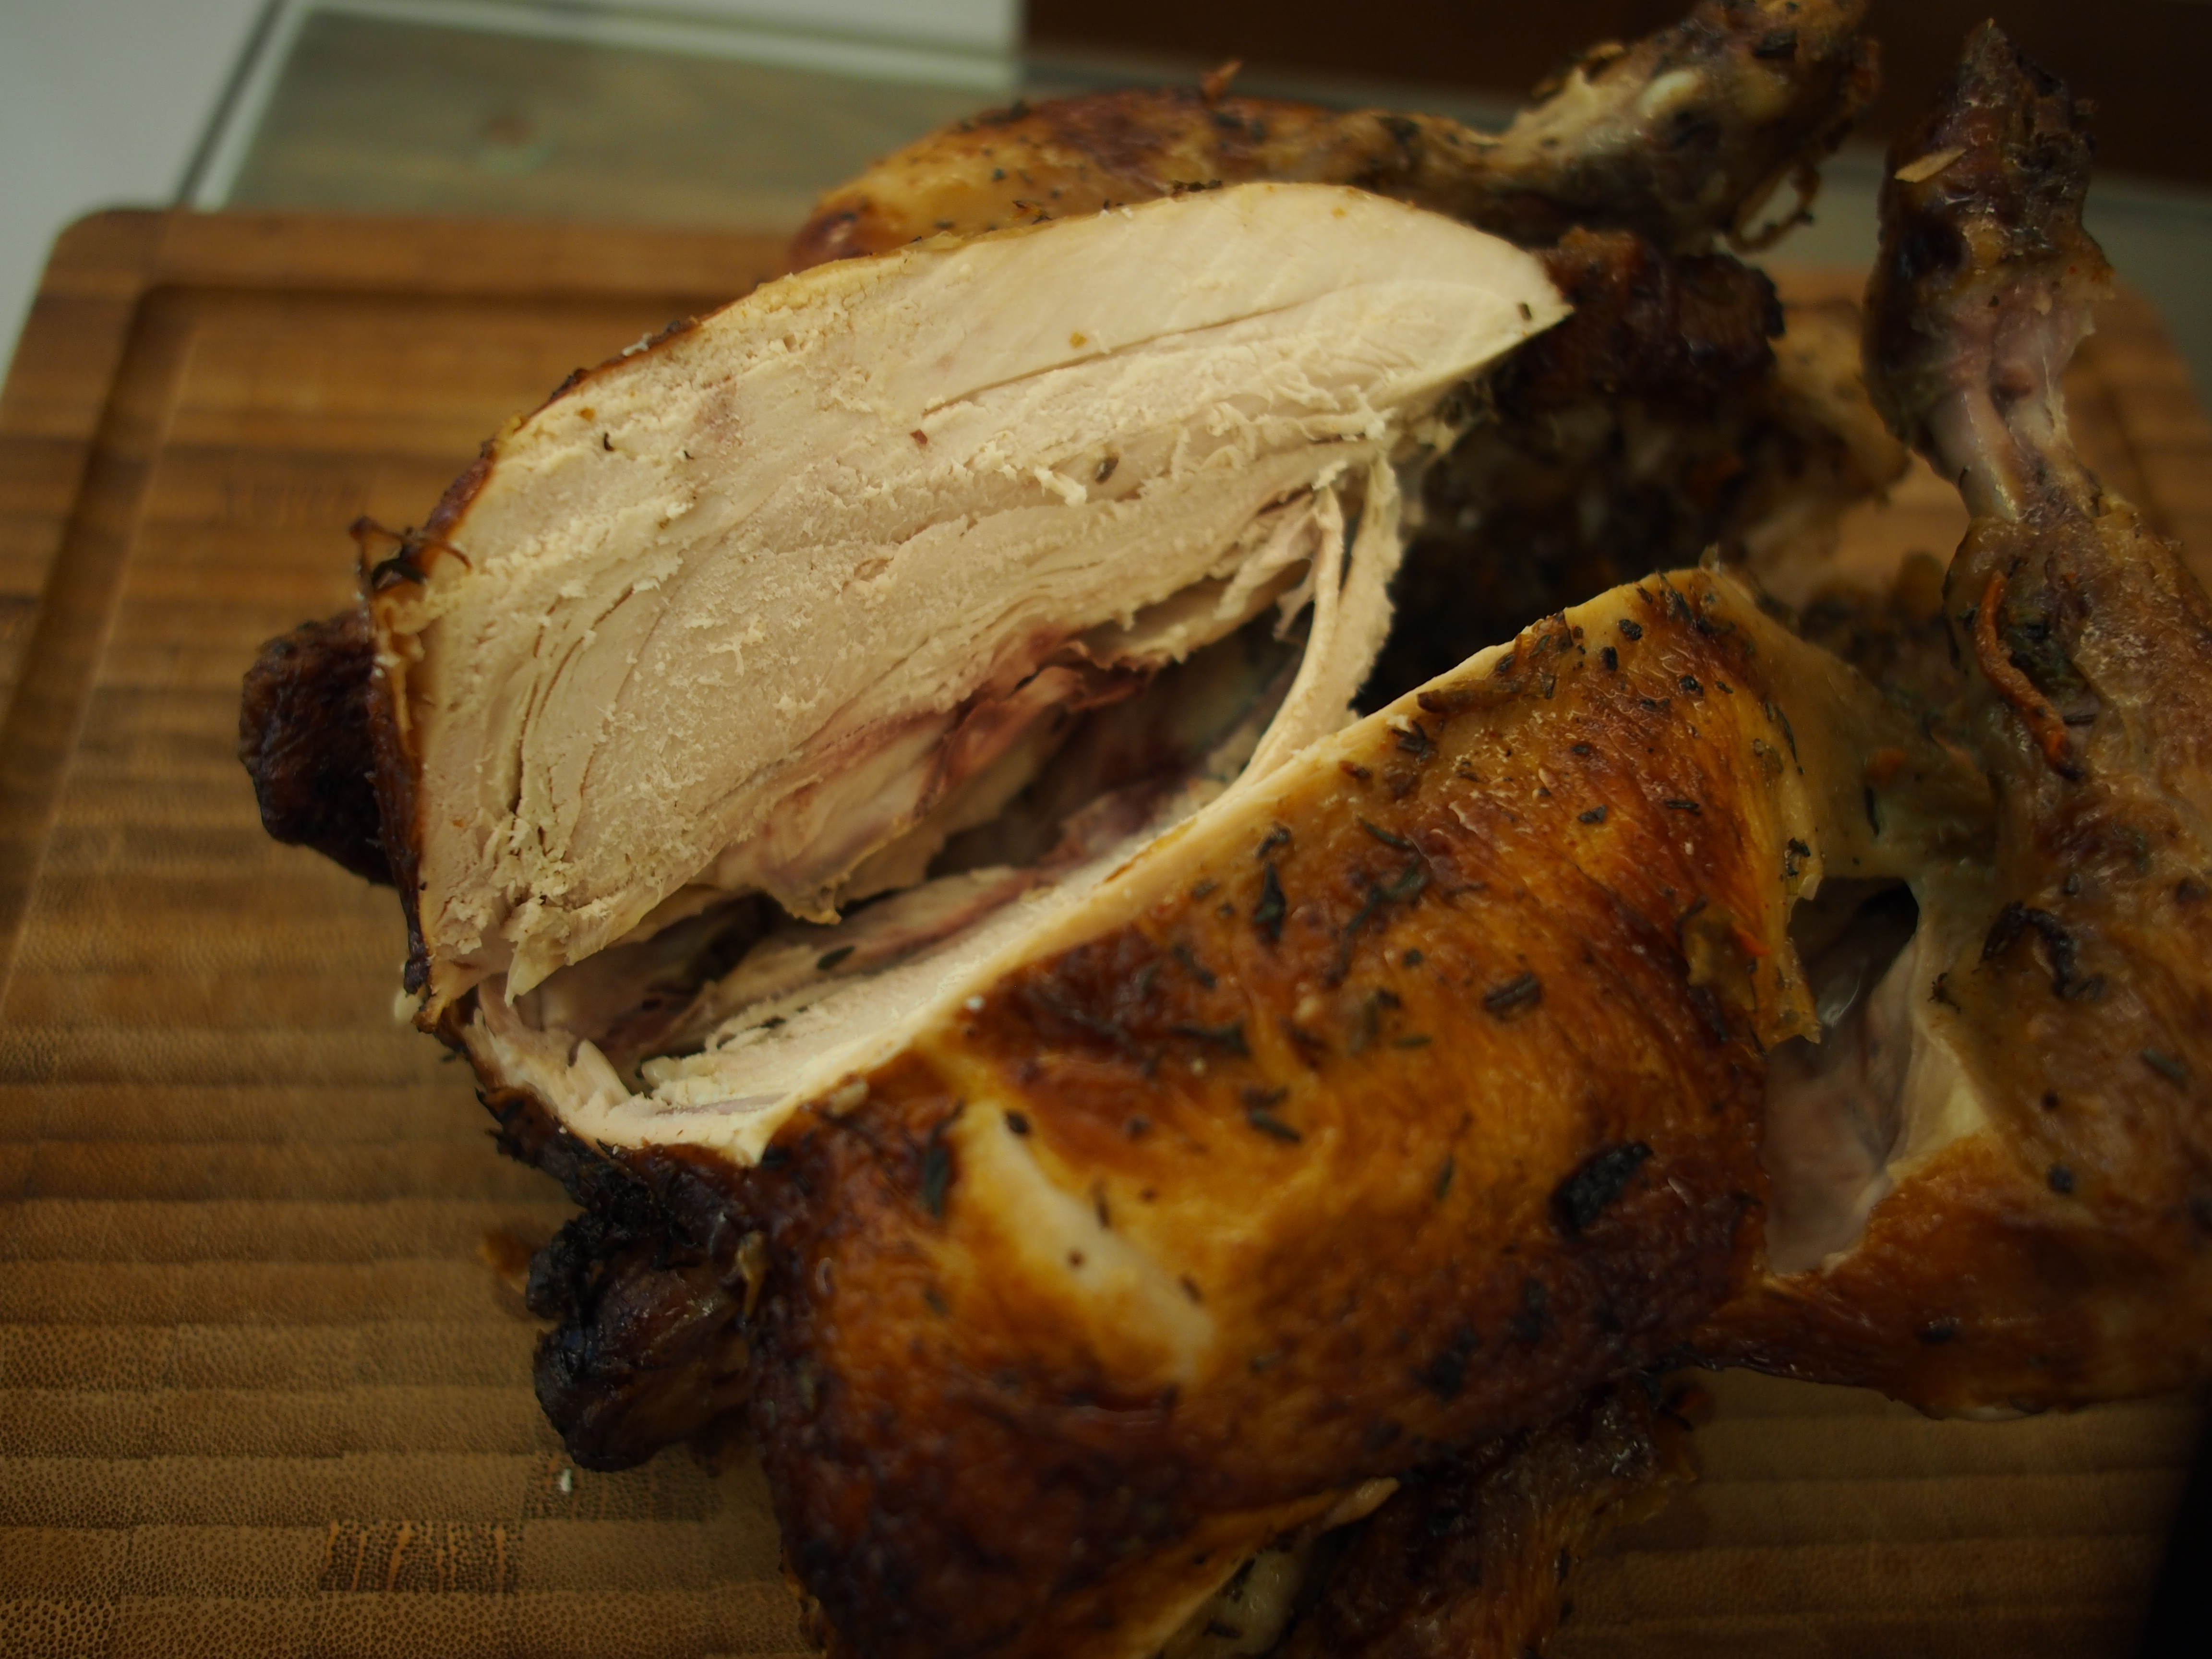

We could see the biggest difference between the store bought roast chicken (first photo) and mine (second photo) in the chicken breast. While the store bought one had tough and dry breasts, the texture of mine was really soft and juicy. If you think of chicken breast as a sponge, typical roast chicken breast has been wrung dry while Heston’s version is still soaked with liquid. The meat was still shiny with juice and actually reminded us of the traditional Chinese steamed chicken, but with a crispy golden skin.

The butter, lemon, and thyme did such a harmonious job of enhancing the natural flavours of the chicken without overpowering it. This really goes to show that when your core ingredients are paired nicely, you don’t need to add a lot of other fancy ingredients to dress up your dish.
Was this recipe worth the 5 hour wait? I definitely would not recommend this recipe if you’ve got work and it’s just a weekday dinner, but if you’ve got time over the weekend and you want to entertain your guests with a ‘3 Michelin star menu’, I would give this a try!

I learned so many things from Heston, not just HOW to handle chicken, but also WHY. That’s what I aim to do with my blog too, I try to research and explain why as often as possible because that’s how we learn and implement our knowledge into other things.
The important things I am taking away from Heston’s recipe:
1) remove the trussing, it allows the entire bird to cook and brown evenly
2) brine the chicken overnight, all it requires is a little bit of forethought
3) the combination of lemon, thyme, and butter with chicken- so simple but delicious
4) heat forces moisture out of meat, so cook chicken under low temperature to help retain its moisture (this applies to pan frying too)
5) use the ‘fan’ option in your oven to give the chicken an even golden color
6) check the temperature of several parts of the chicken and not just the breast!

What do you guys think of low and slow cooking? Did you like this type of experimentation blog? Please let me know in the comments below!
Stay in love with life,
CC
Roasting Tray: Ikea
It looks sooooo yummy!!
Thanks Yui!!! :)))) miss you lots, hope you’re adjusting well in Tokyo!
This looks amazing Crystal! 🙂 A lot less sophisticated, but you should also try ‘beer can chicken’ – which also keeps the meat tender.
Hi Julie!!!! Thanks for stopping by :)) oooh I’ll def check that out:D see u very soon!!
always nice to re-find these artifacts from the old internet.
thanks for helping me a decade ago, and just now!
Pingback: Valentine’s Day: Matcha Green Tea and White Chocolate Molten Lava Cake 抹茶心太軟 | Cooked for You
Pingback: Cooked For You: Matcha Green Tea and White Chocolate Molten Lava Cake |
Tastes good. Thanks for the recipe. Was juicy and matched with roasted asparagus perfectly.
Thanks so much for letting me know!! 🙂 I’m glad you enjoyed it!
Im trying heston’s chicken today, Just about to take the brined chicken out of the fridge and dry it off. Yours looks wonderful!
Thanks so much for letting me know Adam! I checked out your post, it looks wonderful! I’m so glad it turned out well for you too 😀
-Crystal
Pingback: Heston's Roast Chicken - The Burning Kitchen. Cooking Blog. Things often on fire. Or in sous vide : The Burning Kitchen. Cooking Blog. Things often on fire. Or in sous vide
Hi! Issues about the brine, do you think 3 table spoon/ liter will give the chicken perfect salty chicken? Heston’s original recipe says use 300 gram/liter, I think it can be to salty. I will try you recipe, hope is work!
Hi Ninh! I believe he said 60g of salt/liter, which should be about 3 tablespoons/liter, this worked well for me 🙂 hope this helps!
yeah you are right, he use 6 liter water in his brine. I wonder how much liter of water you have in your brine when you cocked the chicken. I have read the comments on his original recipe and people have complained it is to salty, that is why I have so many question about the brine.
I see! I think I used about 1 liter of water, as long as it covered the chicken it is enough 🙂
lovely explained recipe. great results and perfect eating
Thank you Stephen!!
How many hours did you brine the chicken for exactly? I was confused by your statement “brined over night… started chicken after work at 7″… 7AM? 7PM?
Thanks!
Hi Grayson! Sorry for the late reply!! I brined the chicken for about 24 hours, overnight until 7pm 🙂
This is great, I’ve been trying to sort the necessary from the luxurious with Blumenthal’s roast bird – you’ve captured the key points and with minimal fuss. Chicken is in the oven, giving your ginger milk pudding a go as I am sick as a dog and crave something tasty, healthy, and easy on the throat. Please keep these recipes coming!
Thank you Stephen!! Hope you recover soon and enjoy the ginger milk pudding! 🙂
Pingback: Heston’s Roast Chicken : BISTRO BISTRO: Shit cooking vlog
Pingback: Heston’s Roast Chicken – Probably not the cooking blog you were looking for… : Probably not the cooking blog you were looking for… – My Blog
Pingback: Heston’s Roast Chicken – The Burning Kitchen. Fire, Wine & Cooking – My Blog
I want to know more about alkaline water. : )