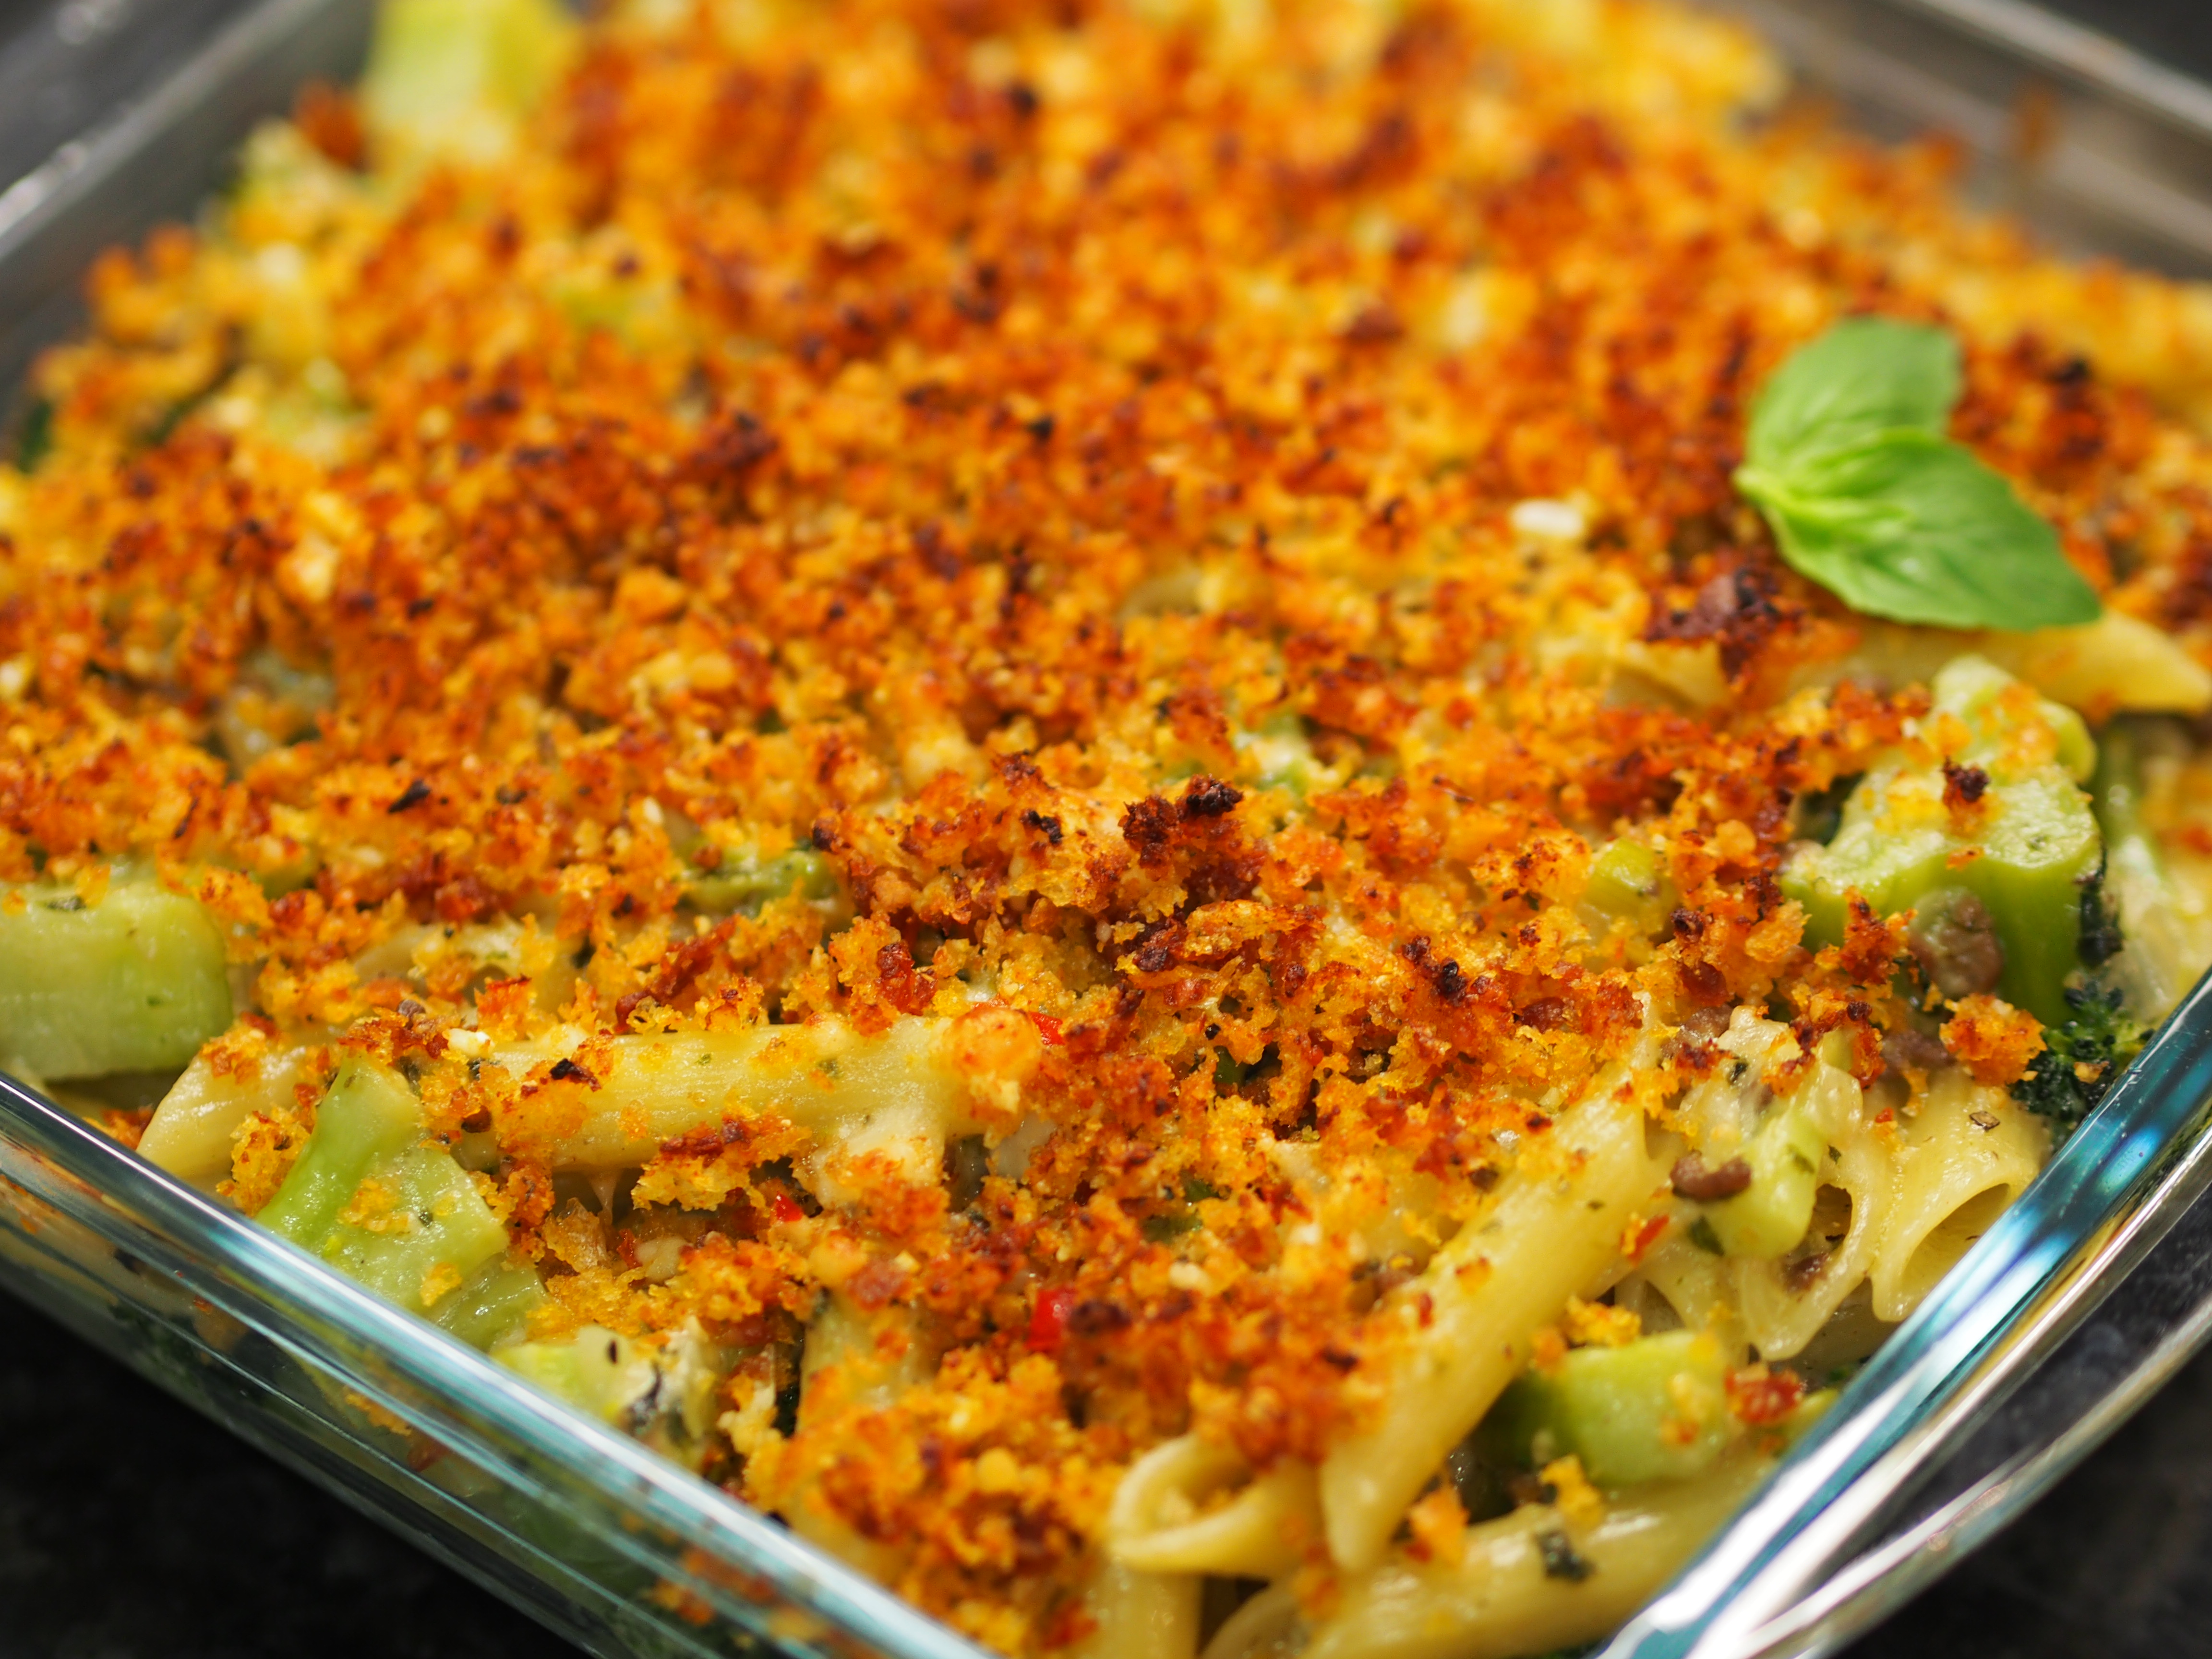
Crispy and Spicy Baked Broccoli with Penne
Recently I have been watching a lot of Jamie Oliver’s 30 Minute Meals. I was so inspired by his fast yet hearty cooking, it really changed the way I viewed home made food. He talks about balancing different textures, acidity, and most importantly introduced me to the food processor. If you haven’t seen him use it before, you need to go watch him. His food processor can make super fancy salads, sauces, pizza dough, ice cream, etc in literally 10 seconds! It’s a monster of a machine and I’m so tempted to get one now that I’m persuaded it can really change your cooking quality and experience! 🙂
Even though my blender is designed to mainly liquify ingredients, I am still inspired to maximize it’s usage. In this recipe, I used my blender to make this beautiful crispy golden crust and the spicy pesto sauce. My inspiration for this dish came from a broccoli/pea mashed potato and a ‘fish and chips’ baked cod that Jamie made. Broccoli is my favorite veggie, I love its texture, flavour, it’s cute florets, and I love the idea of mashing it up into the pasta sauce to deliciously incorporate into a meal. I also love the fanciness the spicy breadcrumbs add to the topping, so I wanted to incorporate both into this crispy baked pasta dish. So that’s my inspiration for this dish, I hope you enjoy!
- Prep Time: 20 minutes
- Cook Time: 25 minutes
- Portion: 2 people
- Difficulty: 2/3
- Cost: Approx. 230 HKD for organic ingredients
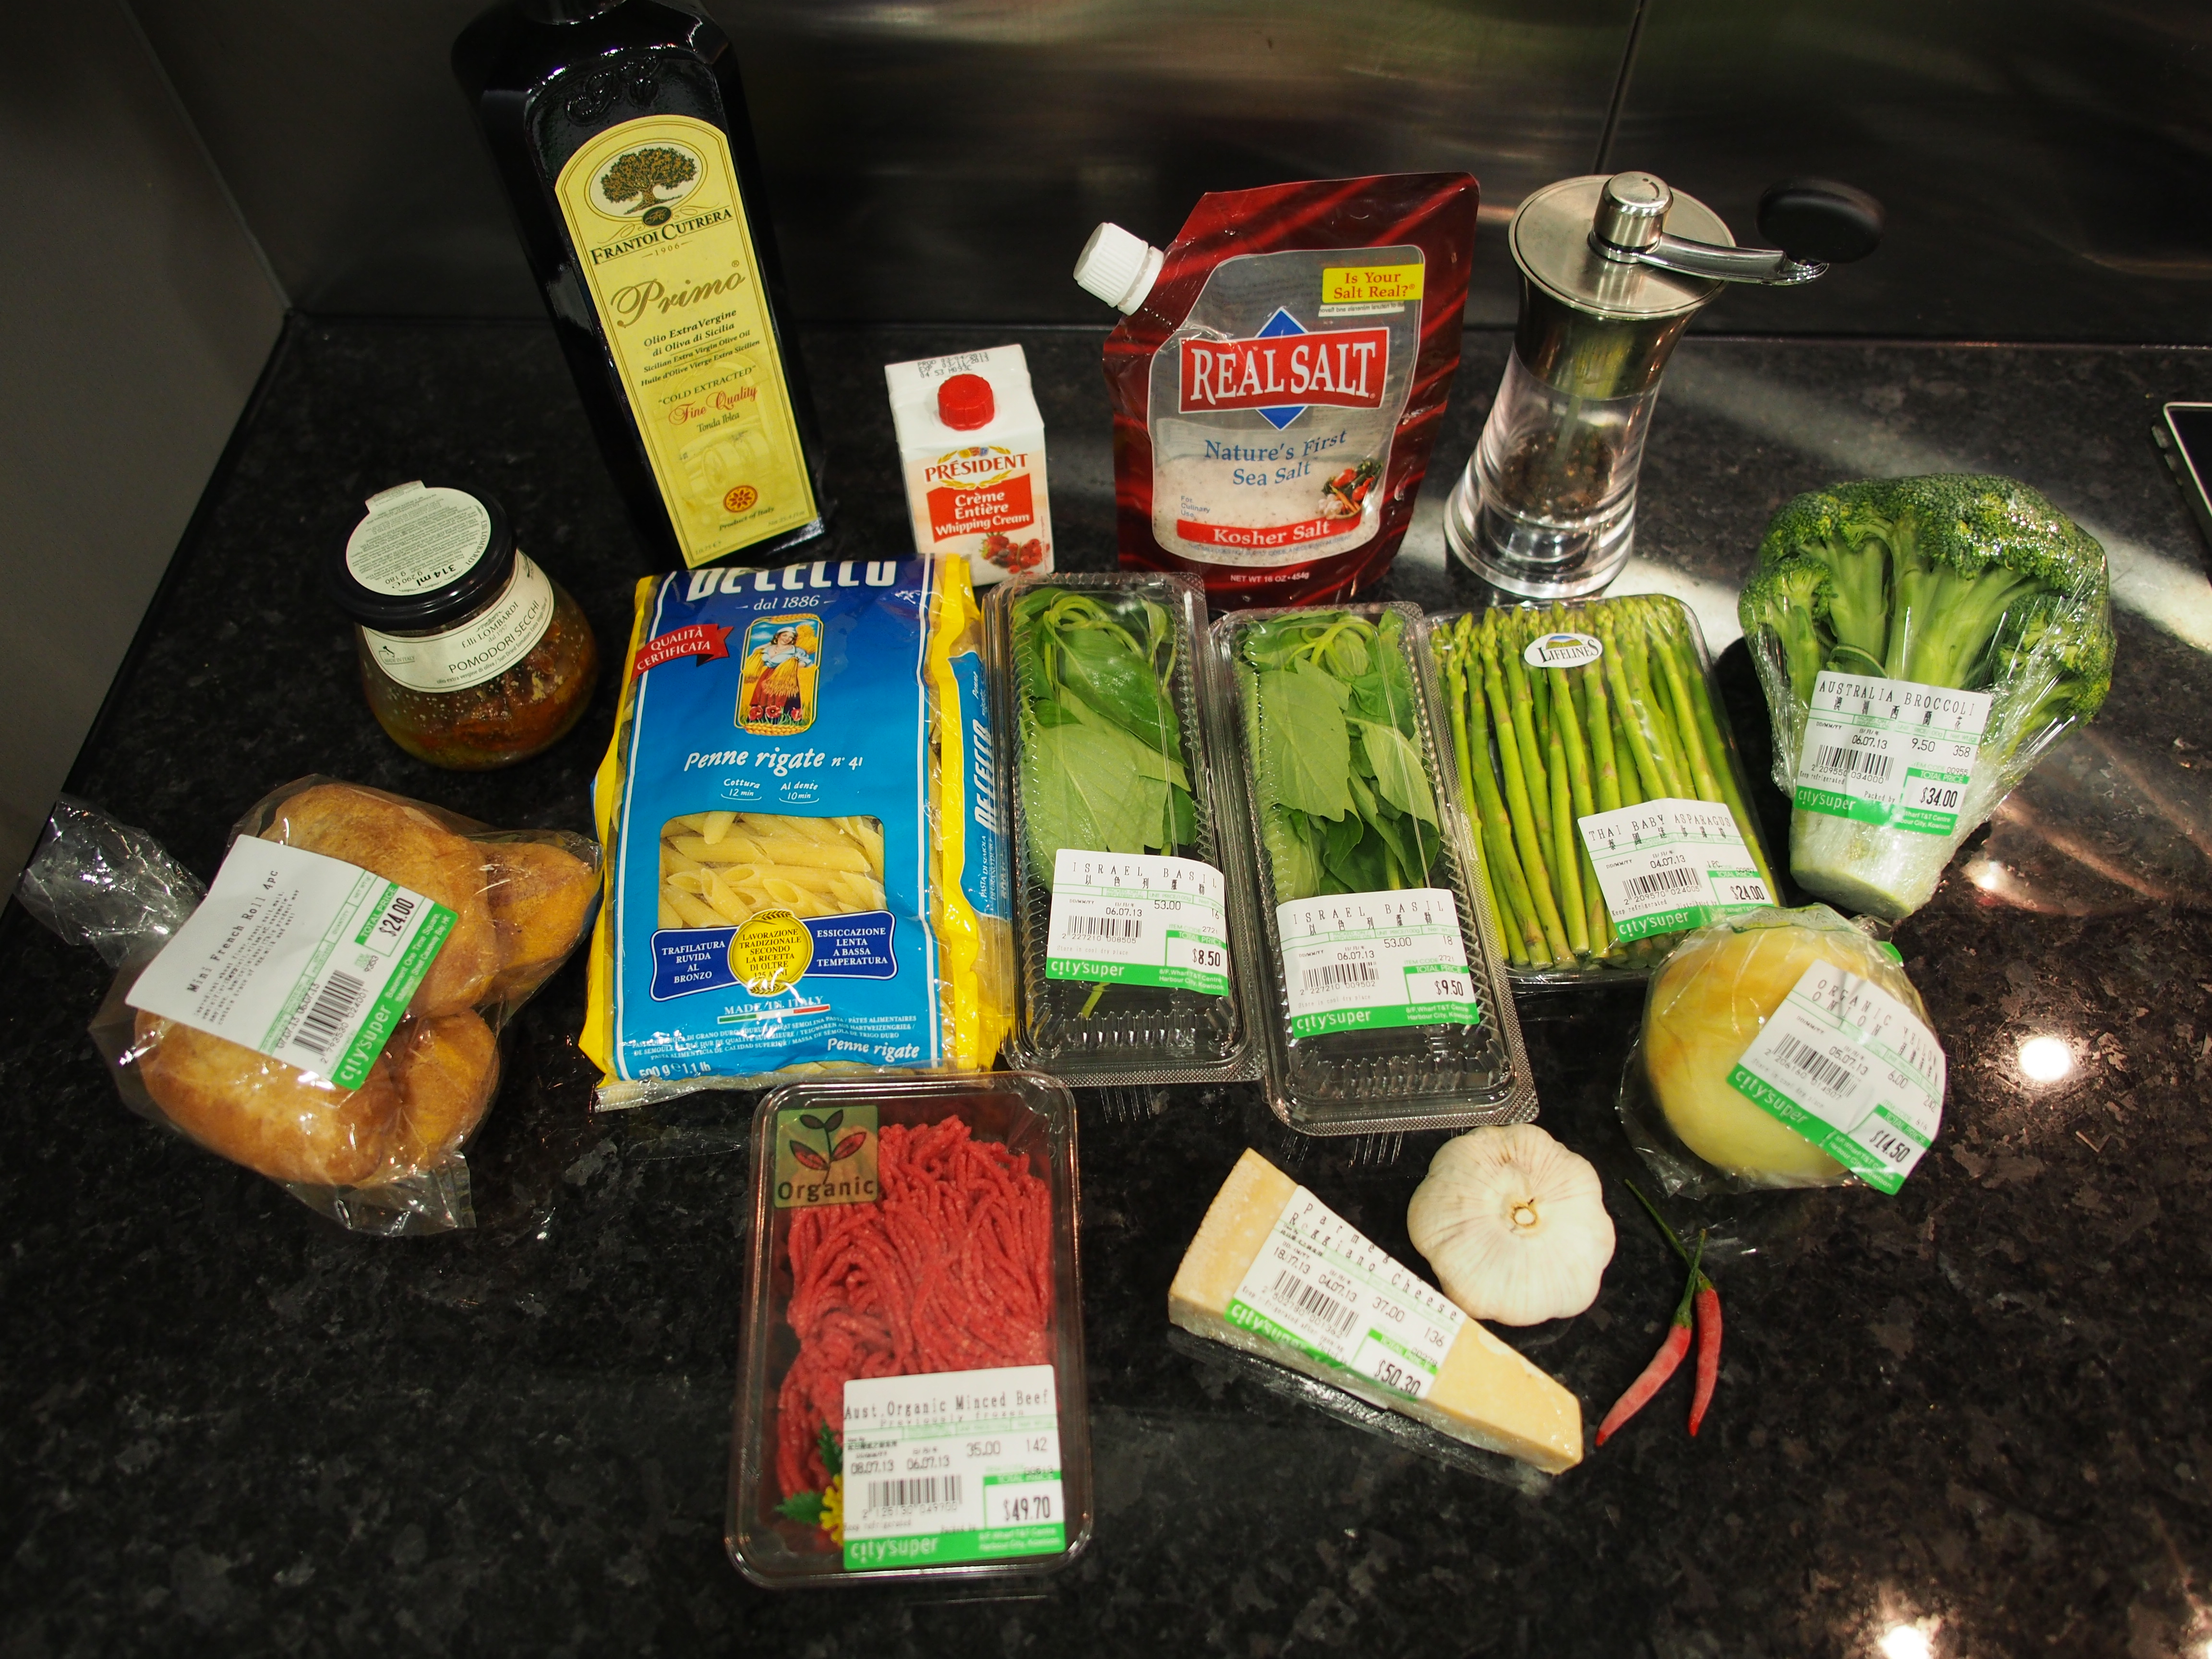
Ingredients:
Pasta:
- Half pack minced beef (approx. 140 g).
- 2-3 cups penne
- 1 broccoli
- Half pack baby asparagus (approx. 10-15 pieces)
- 1/2 white onion
- 6 cloves garlic
- 2 packs basil leaves
- 2-3 chilies
- 100-200 ml whipping cream
- salt/pepper/olive oil
- 20 gram Parmesan (optional)

*I like to get the penne with ridges on the outside because it increases the surface area (easier for more sauce to stick to, right? :D)
Topping:
- 1 Small Baguette
- 2-3 pieces sundried tomatoes (plus oil)
- 1-2 cloves garlic
- 20 grams Parmesan
- 1-2 chili

Timer: 0 minutes
Preparation:
*Preheat the oven to 220 degrees Celsius and boil water for your pasta* 1. Marinate the minced beef with some olive oil/salt/pepper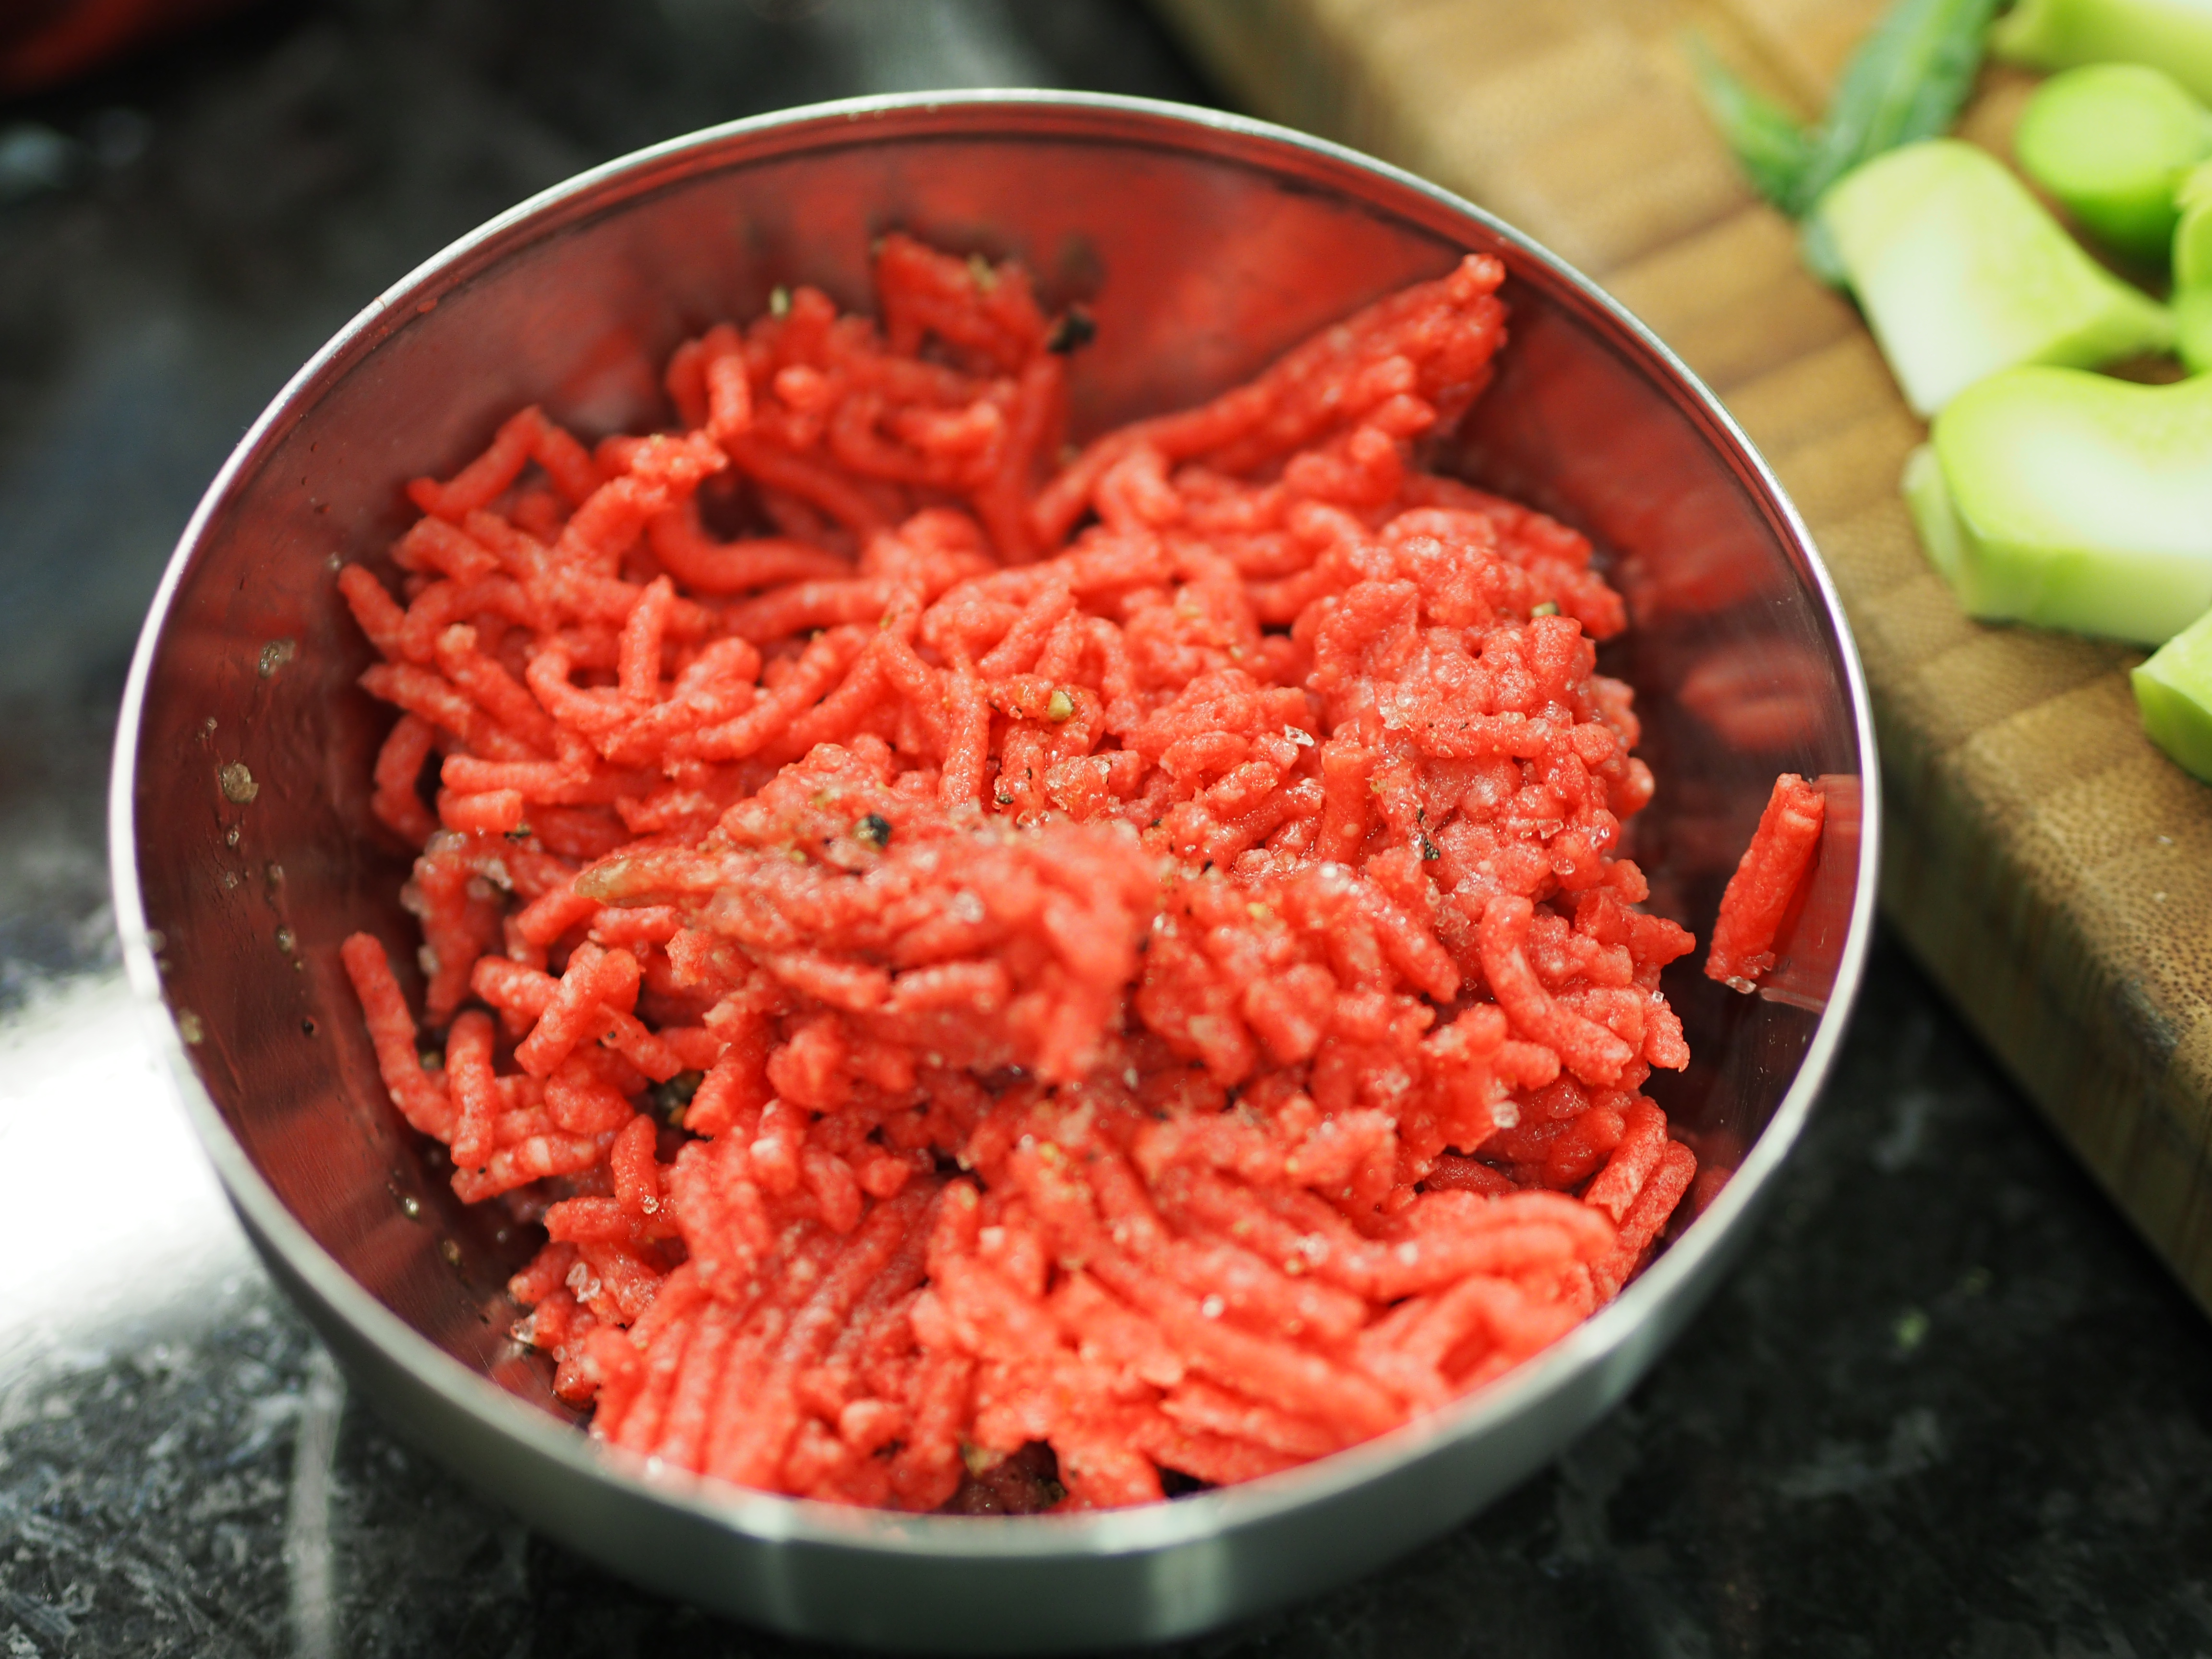
This is not completely necessary, but well I’m Chinese and don’t we just marinate all our meat? 😀
2. Cut the broccoli right underneath the florets into little bulbs

I am separating the two parts of the broccoli because they require different cooking times. The delicate flowery head cooks in a much shorter time than the thick stem, so to prevent overcooking them and to keep that beautiful green color, I will be cooking the stem first.
3. Chop the stem of the broccoli into small pieces
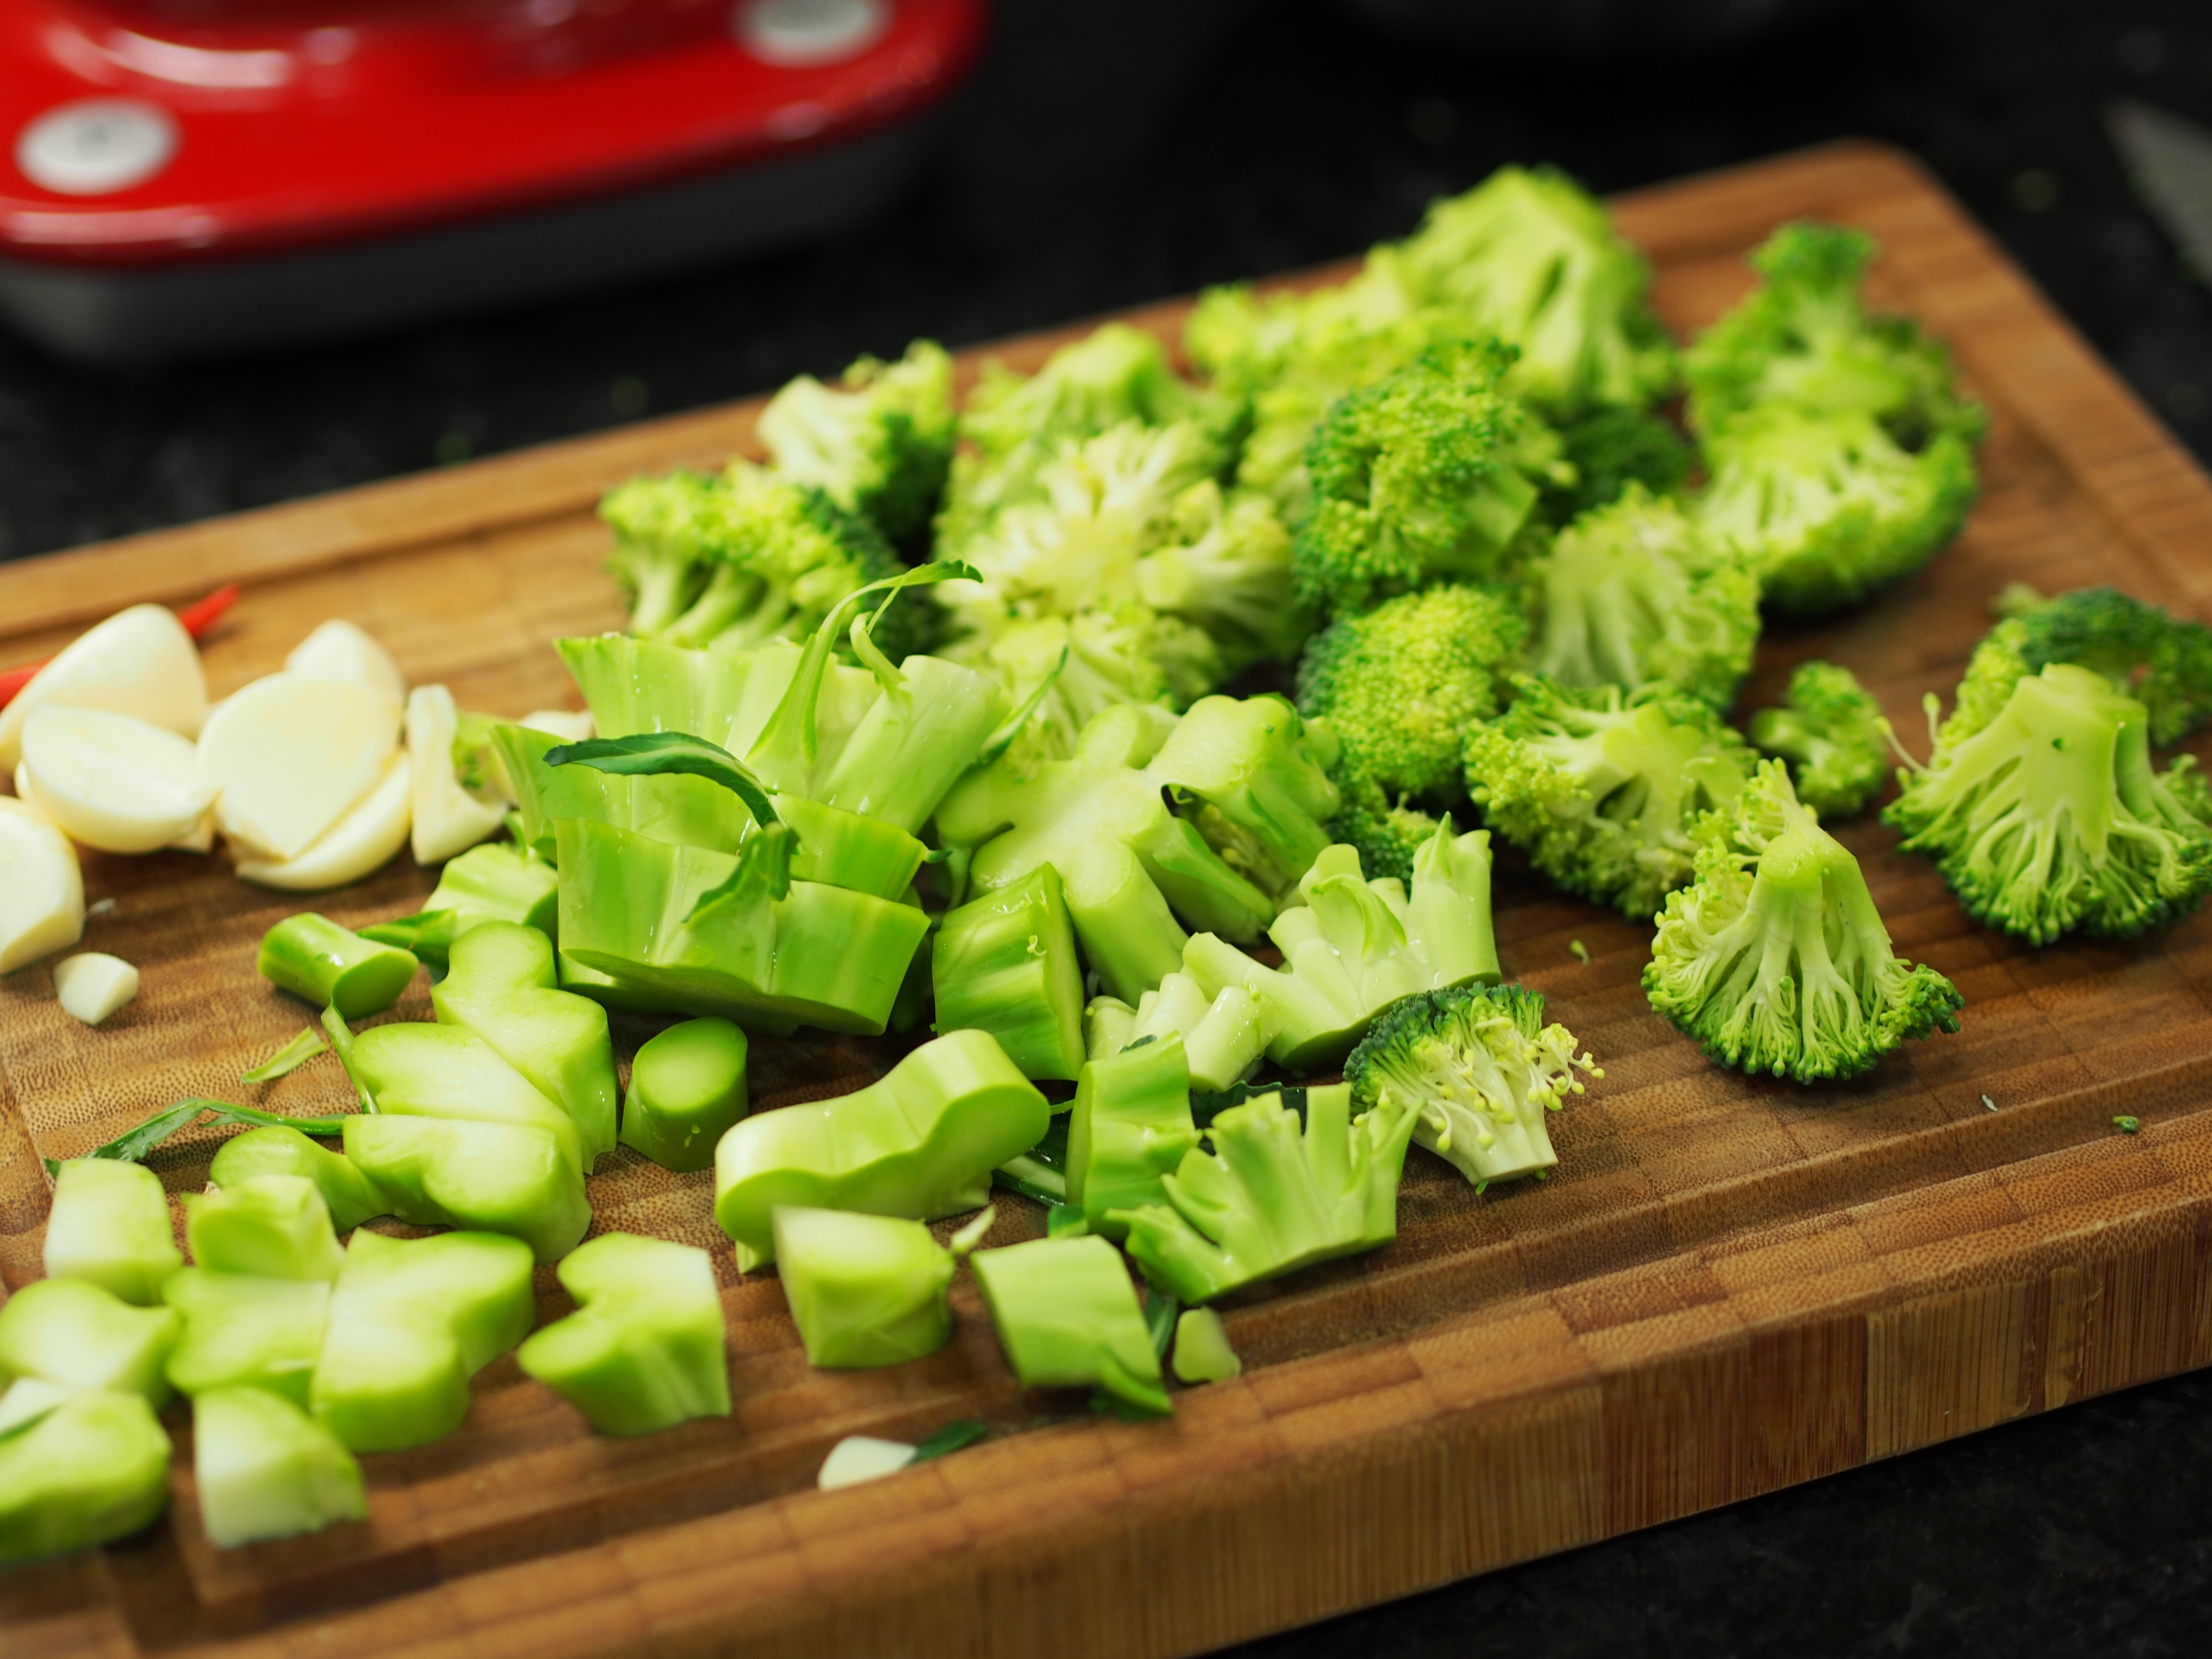
Keep them separate so that you can cook the thick stem first.
4. Dice the onion up
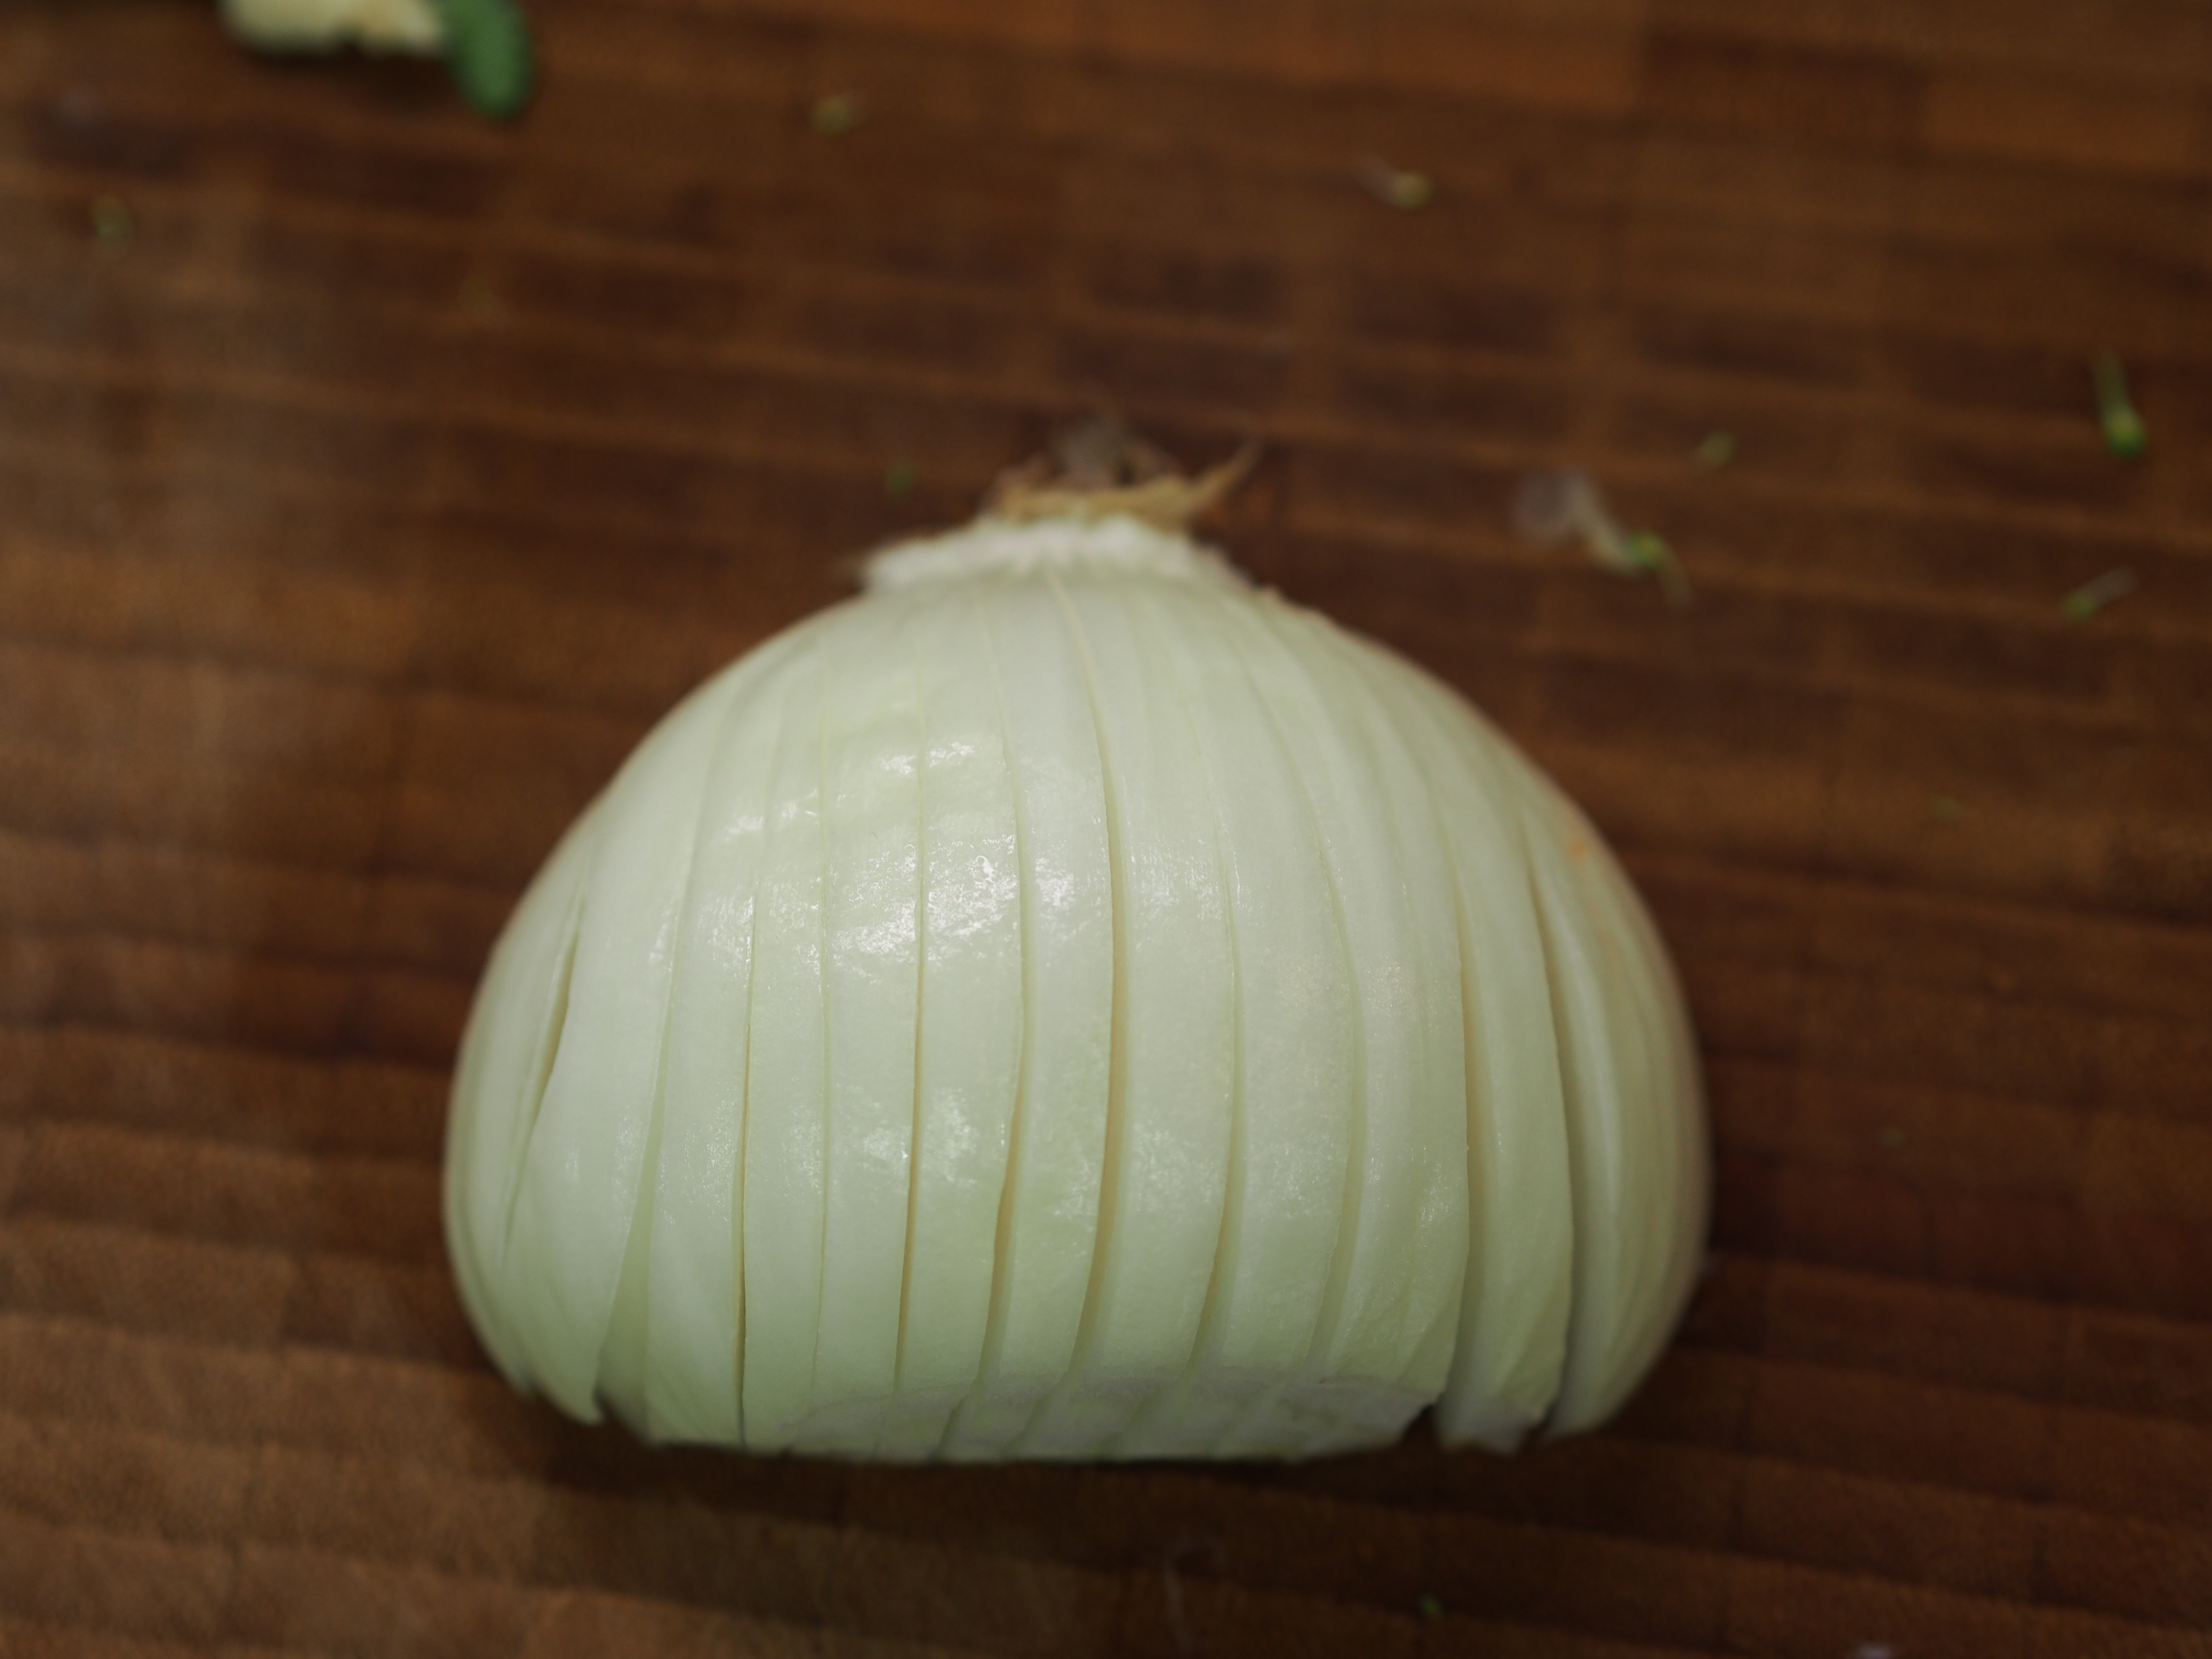
Here’s a quick trick for dicing onions!
Keep the root bulb of the onion attached (on top)
Thinly slice the onion vertically without cutting all the way to the bulb (the bulb acts as a anchor so when you slice it horizontally they won’t fall apart)

Then, thinly slice the onion horizontally across the cuts you just made. Very quickly, you’ve got equal sized diced onions!
5. Chop up the asparagus into pea size pieces
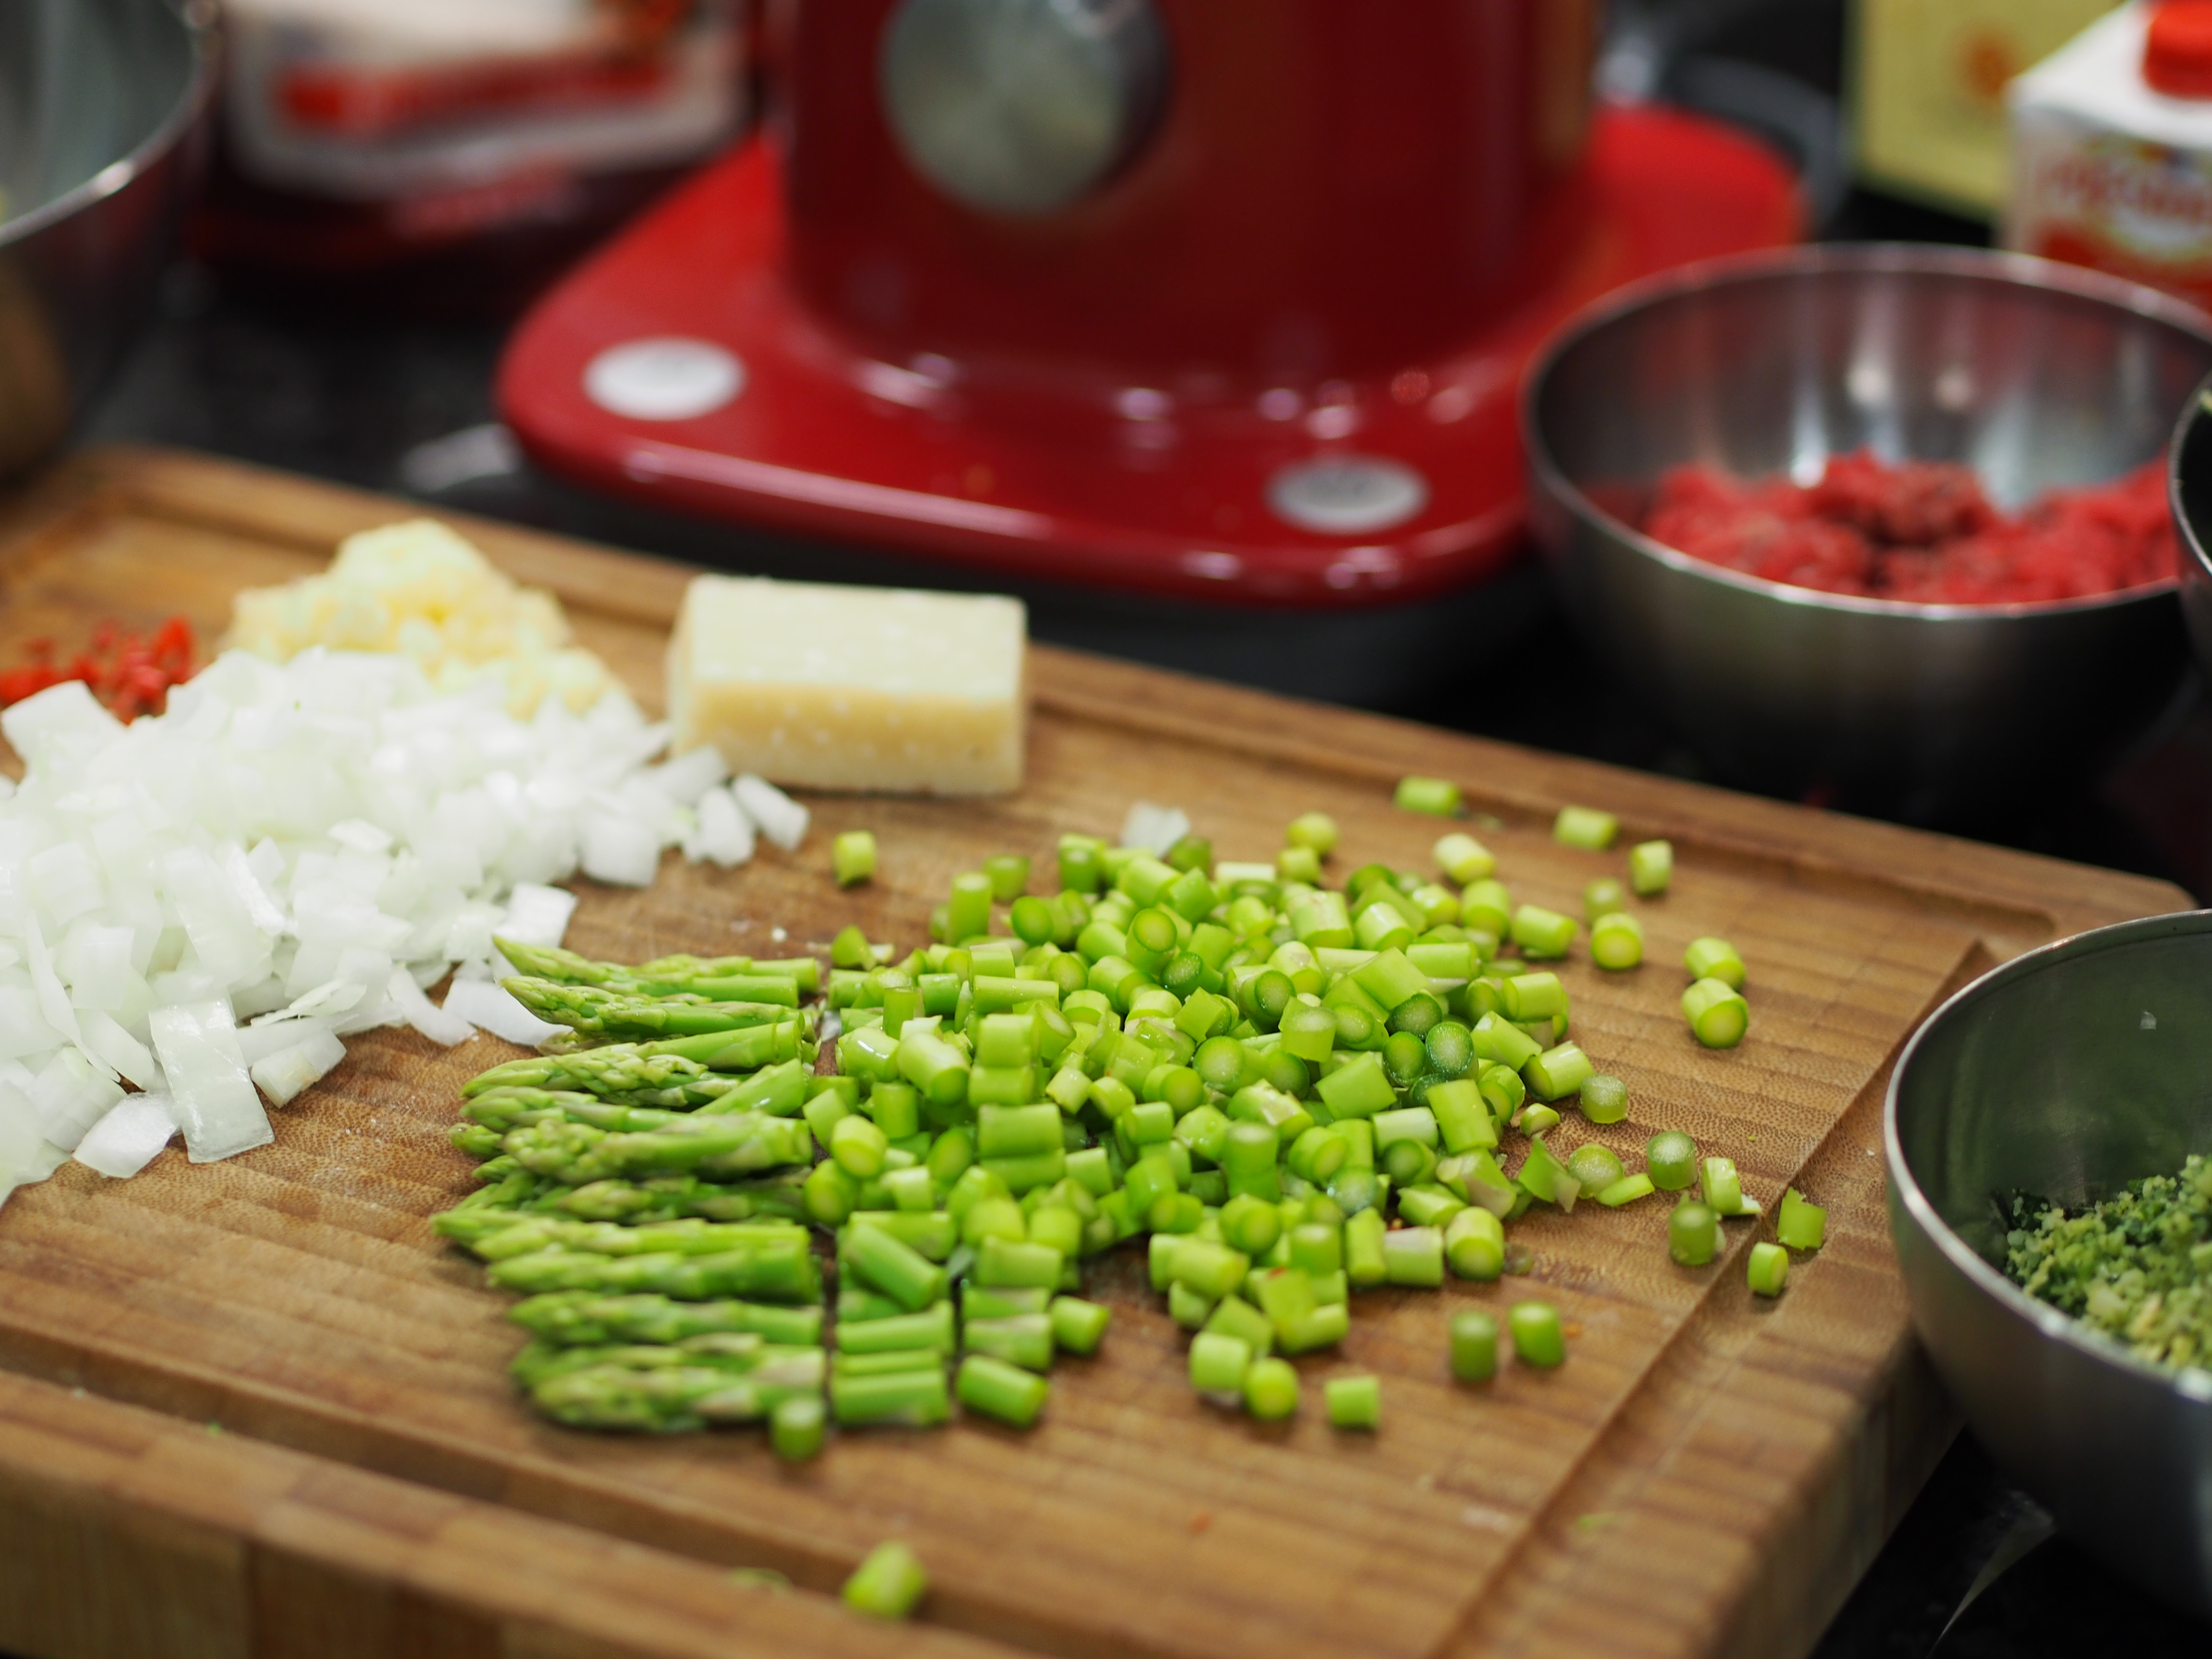
I kept the tips longer so you can distinguish them as asparagus in your dish
6. Mince the garlic and chili
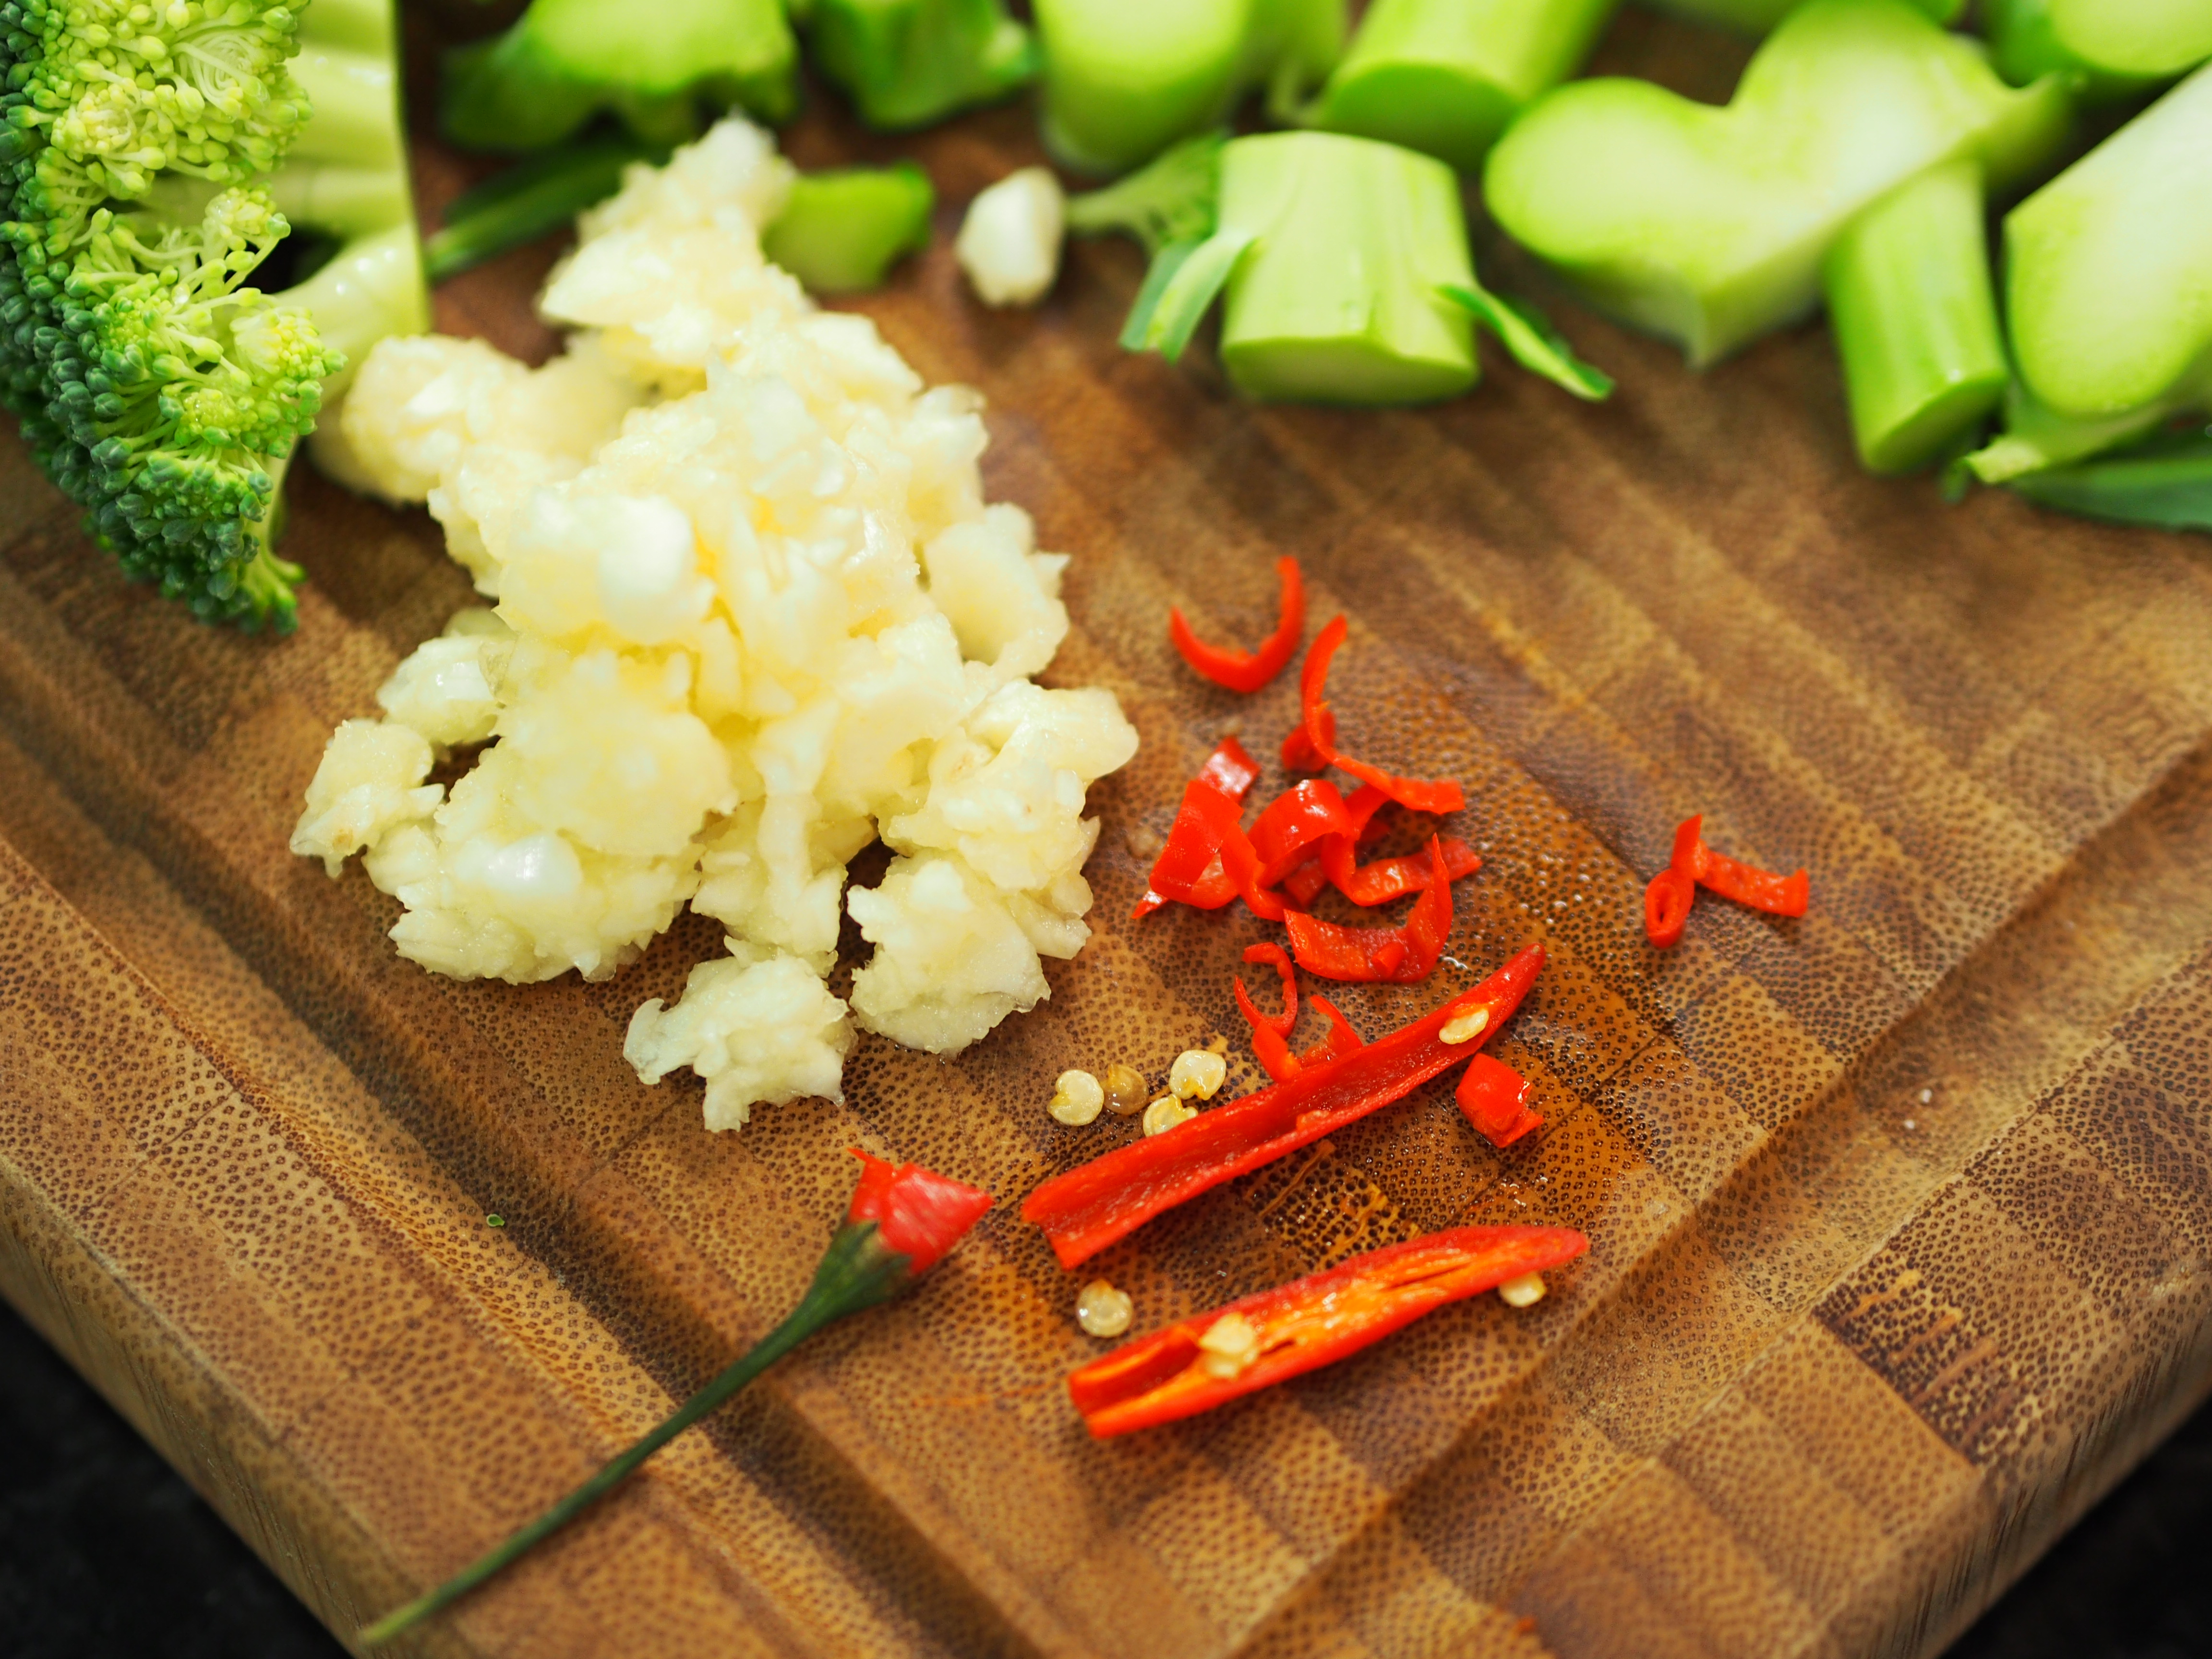
The seeds and white web-like parts holding the seeds in the centre of the chili are the spiciest part of the chili. So depending on how much heat you can take, keep or remove them as desired before slicing the chili up.
7. Make the pesto base of the sauce
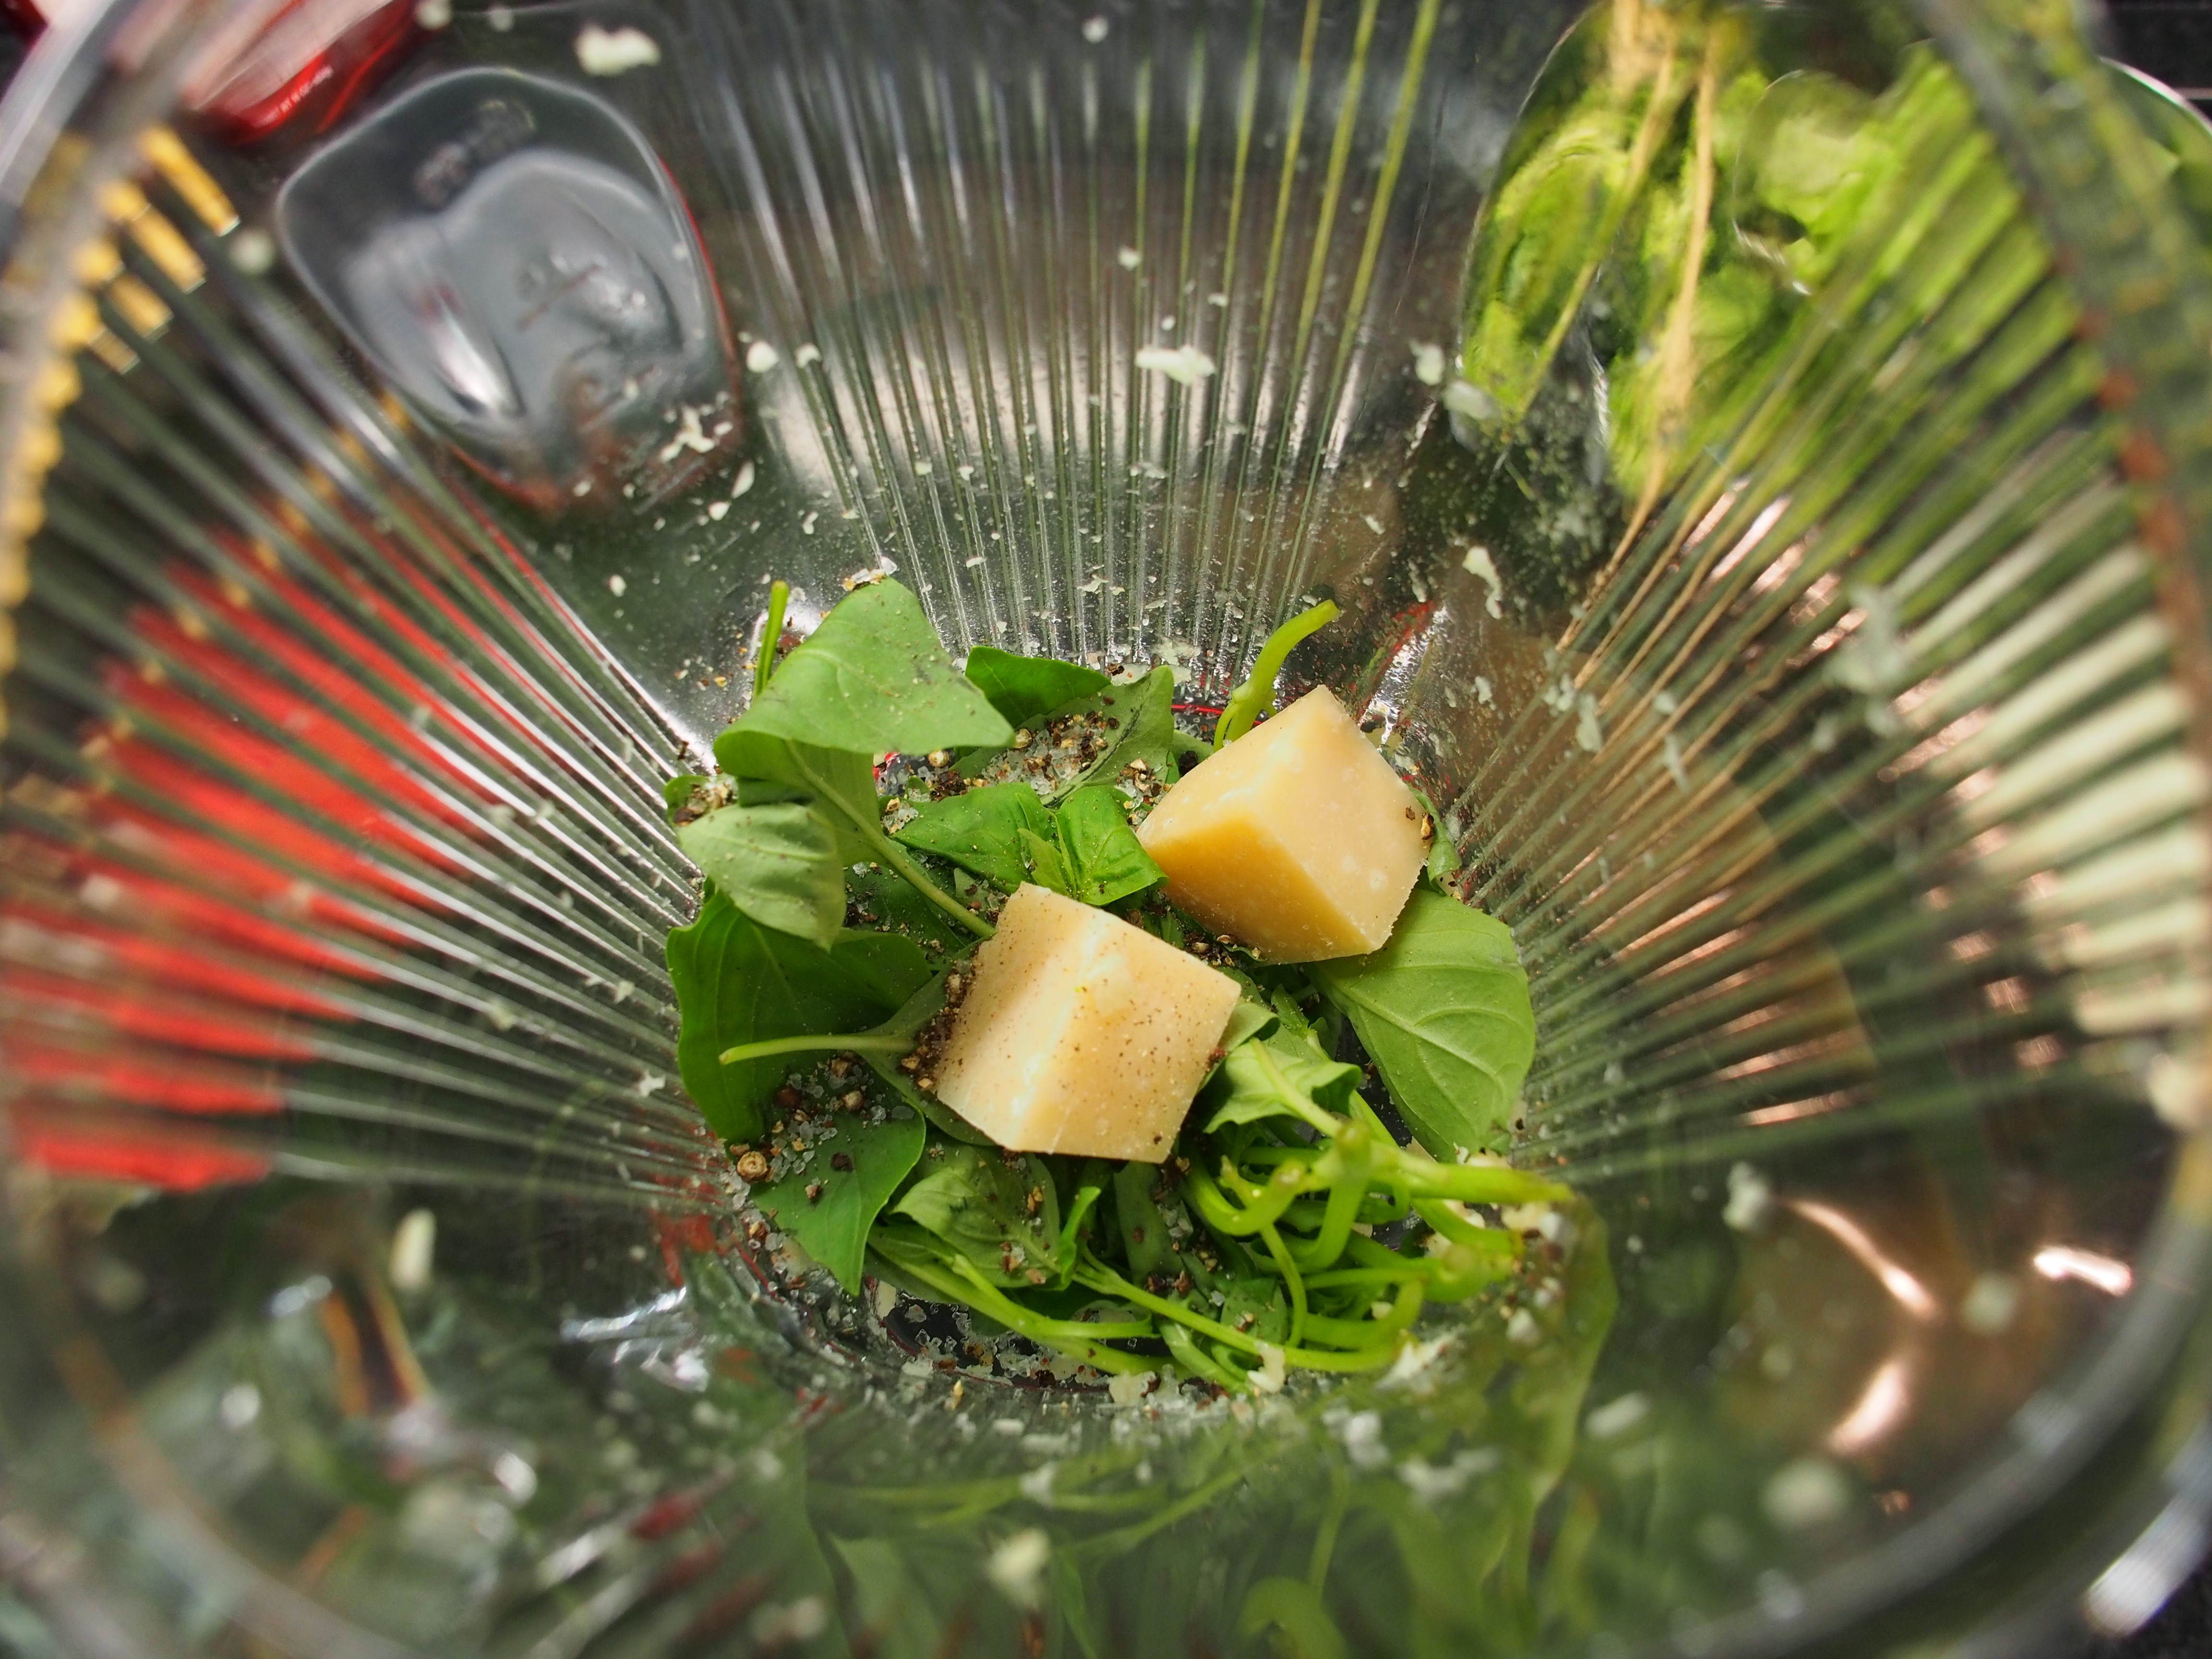
In the blender, add the basil leaves (I’ve removed the stems because they are quite hard to chop up in the blender without adding a lot of oil), parmesan, salt, pepper. You can add pine nuts, pistachios, or some of the broccoli stem too!
*Cheese is optional, Bosco prefers without actually*
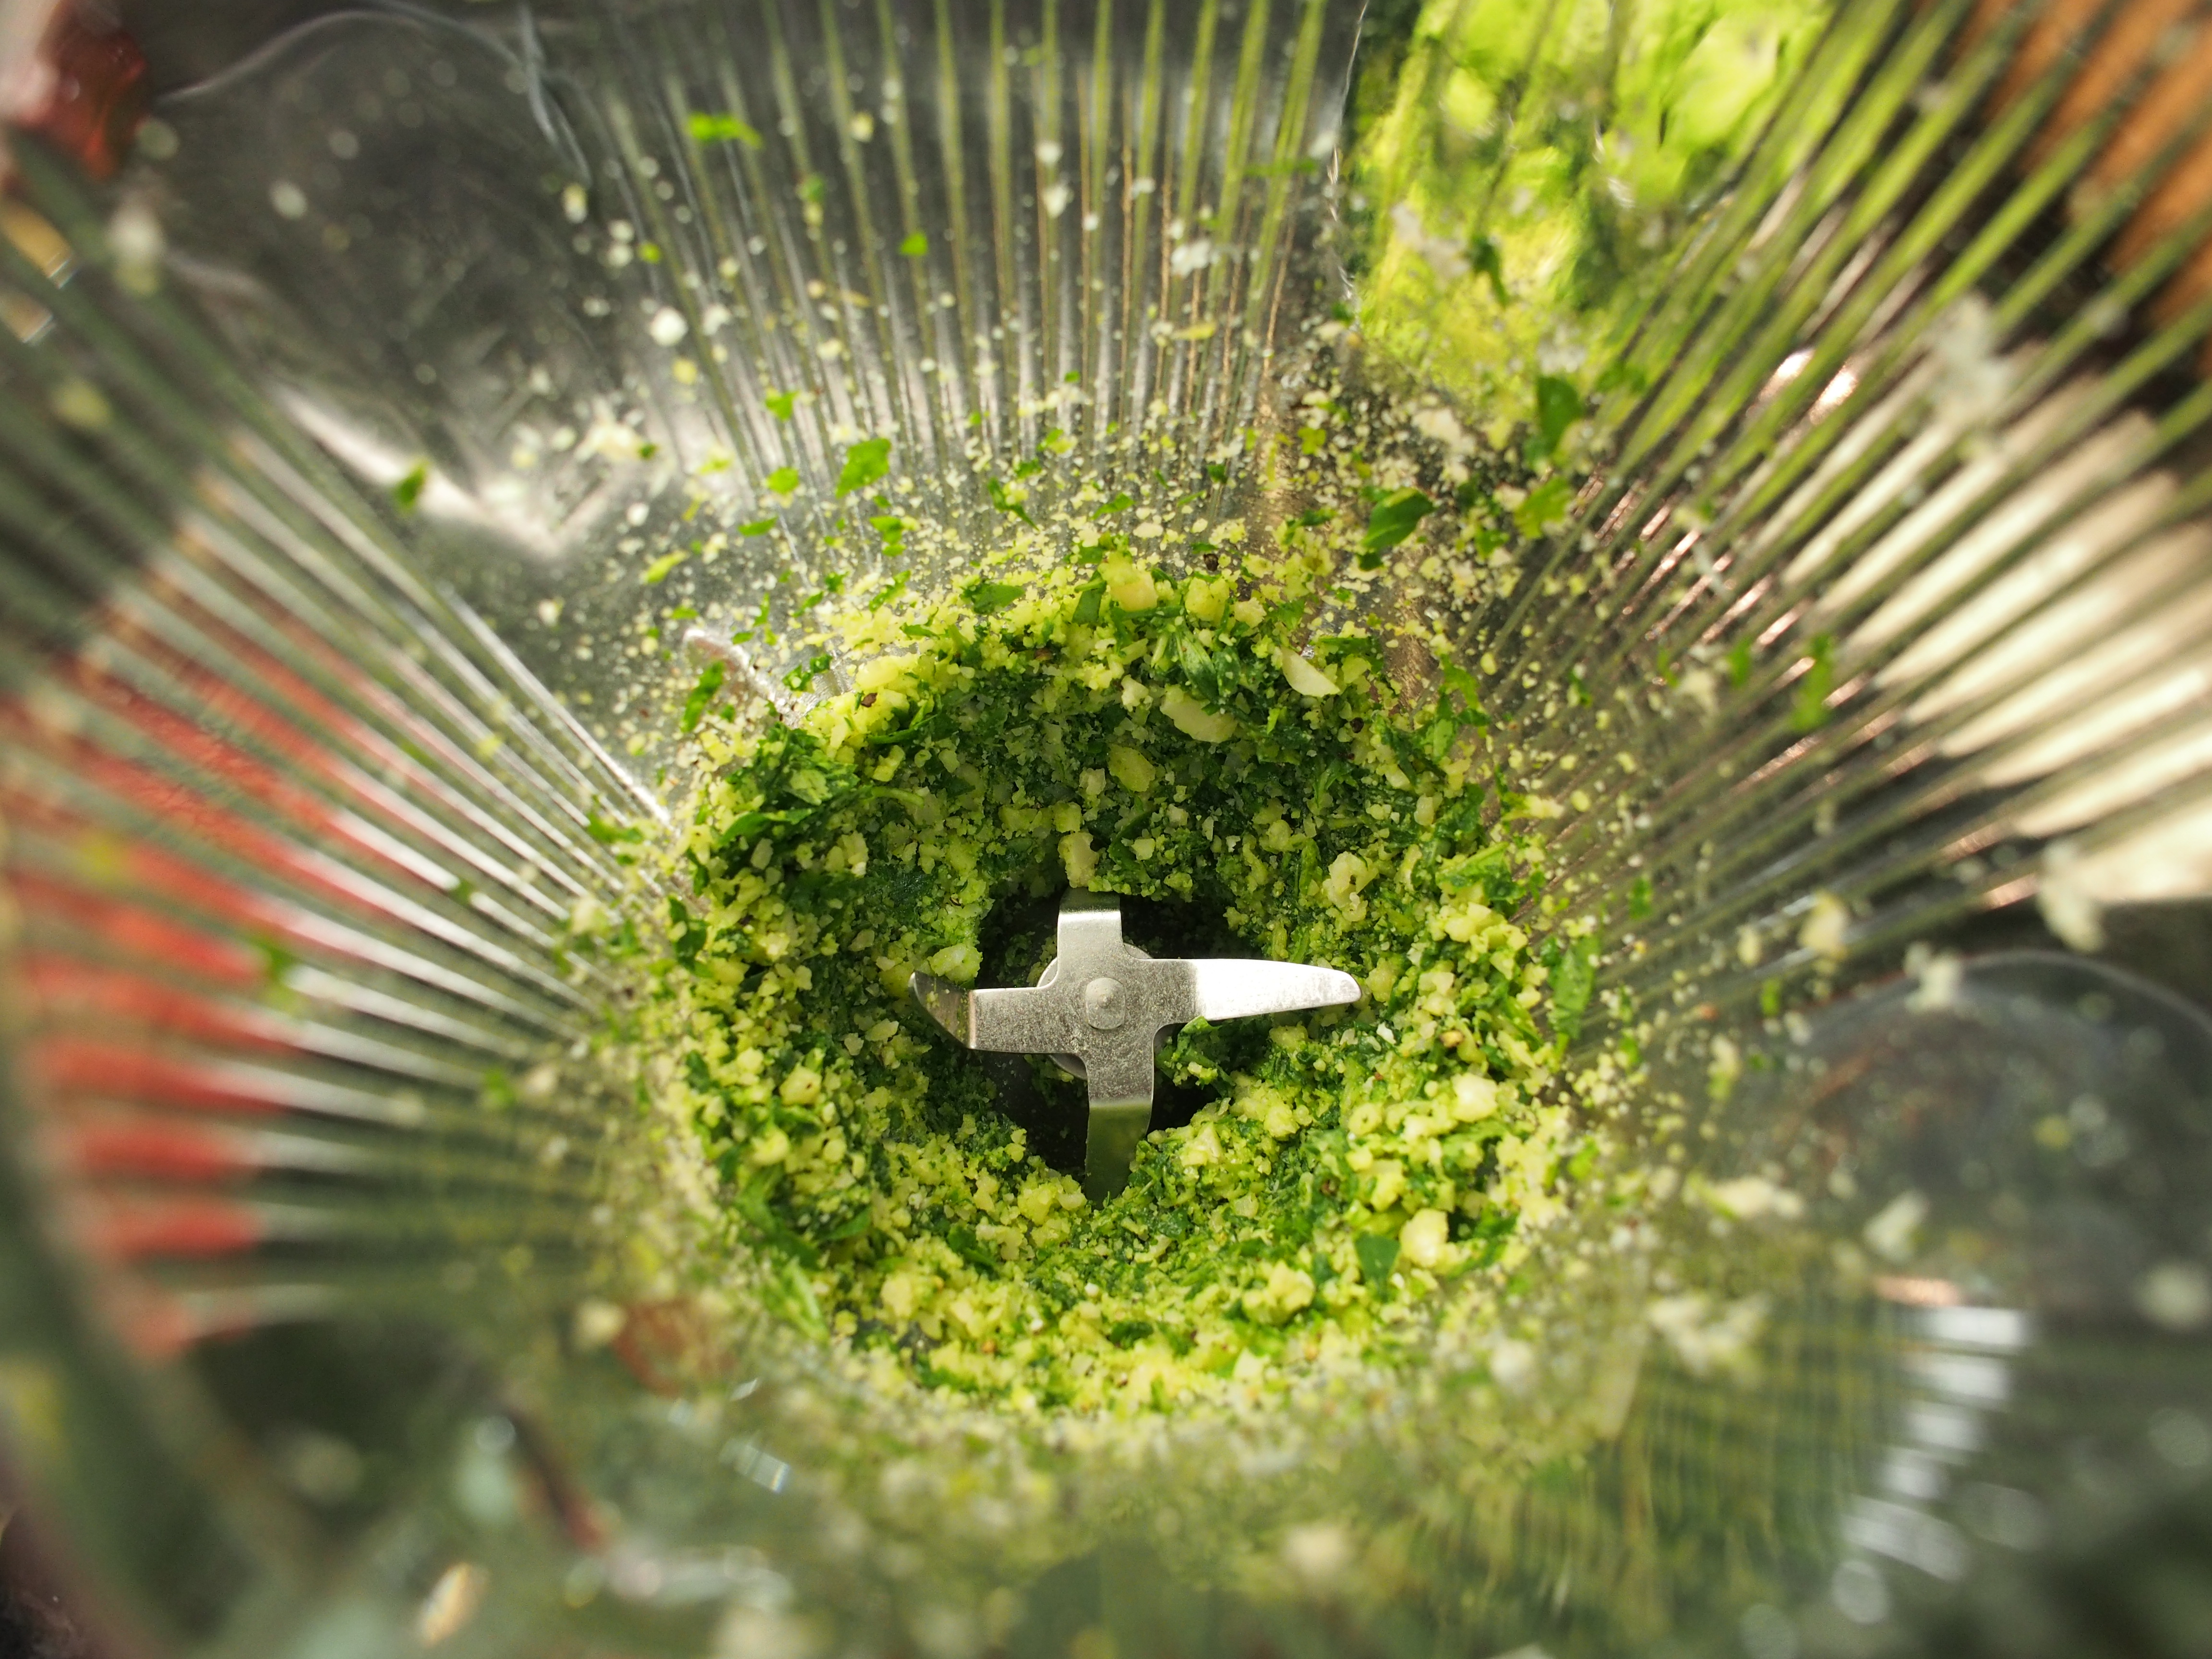
Ten seconds later you get this beautiful mixture that is going to be the base of the sauce
If you don’t have a blender, just roll up the basil like a cigarette and mince with your knife and use a grater for the cheese.

8. Make the bread crumbs
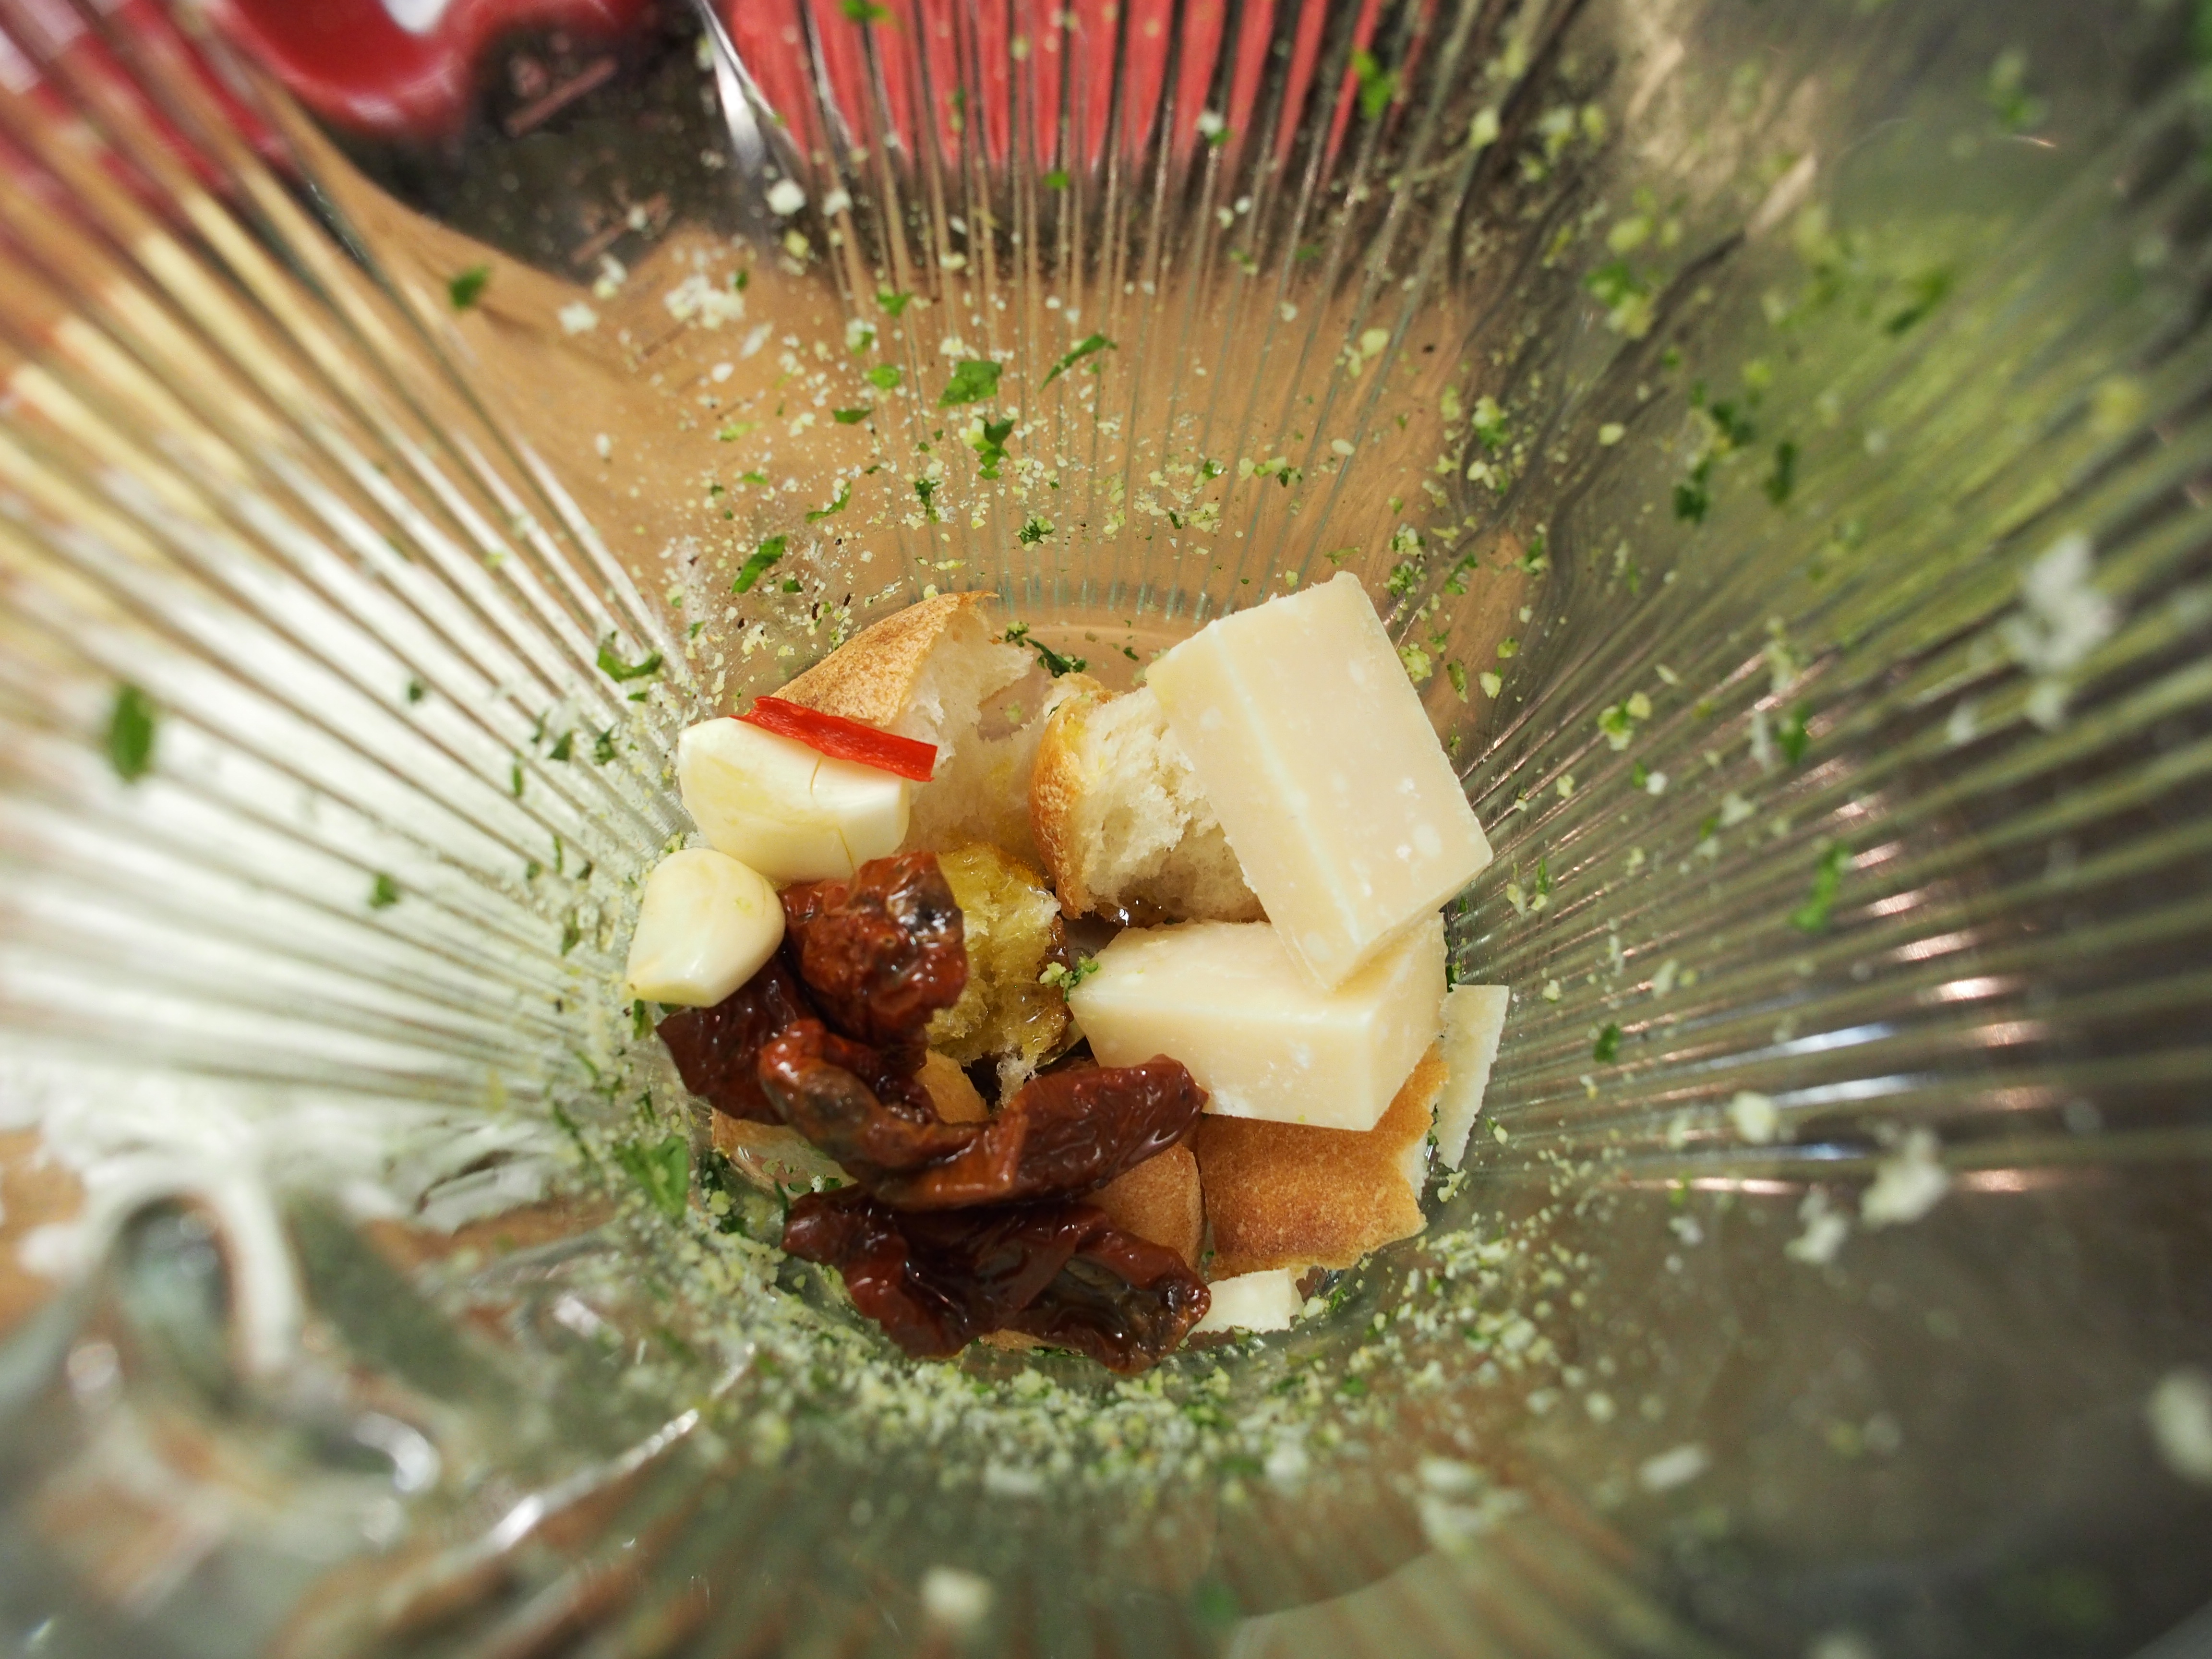
Without washing the blender, just add the baguette, parmesan, sundried tomatoes, and some of the sundried tomatos’ oil (the oil will help the caramelization of the bread crumbs, making it crispy and pigmented).

When you open this lid, be prepared to be blown away by how amazing this blend smells! The sundried tomatos really give it an extra punch in flavour and aroma! I wanted to just eat it right out of the tub!
Here are all the ingredients prepared!
*I’ve left aside a few basil leaves for decoration later
*Don’t throw out the rind (dry shell) of the parmesan, we will use it later!
Timer: 20 minutes

9. Start with the sauce
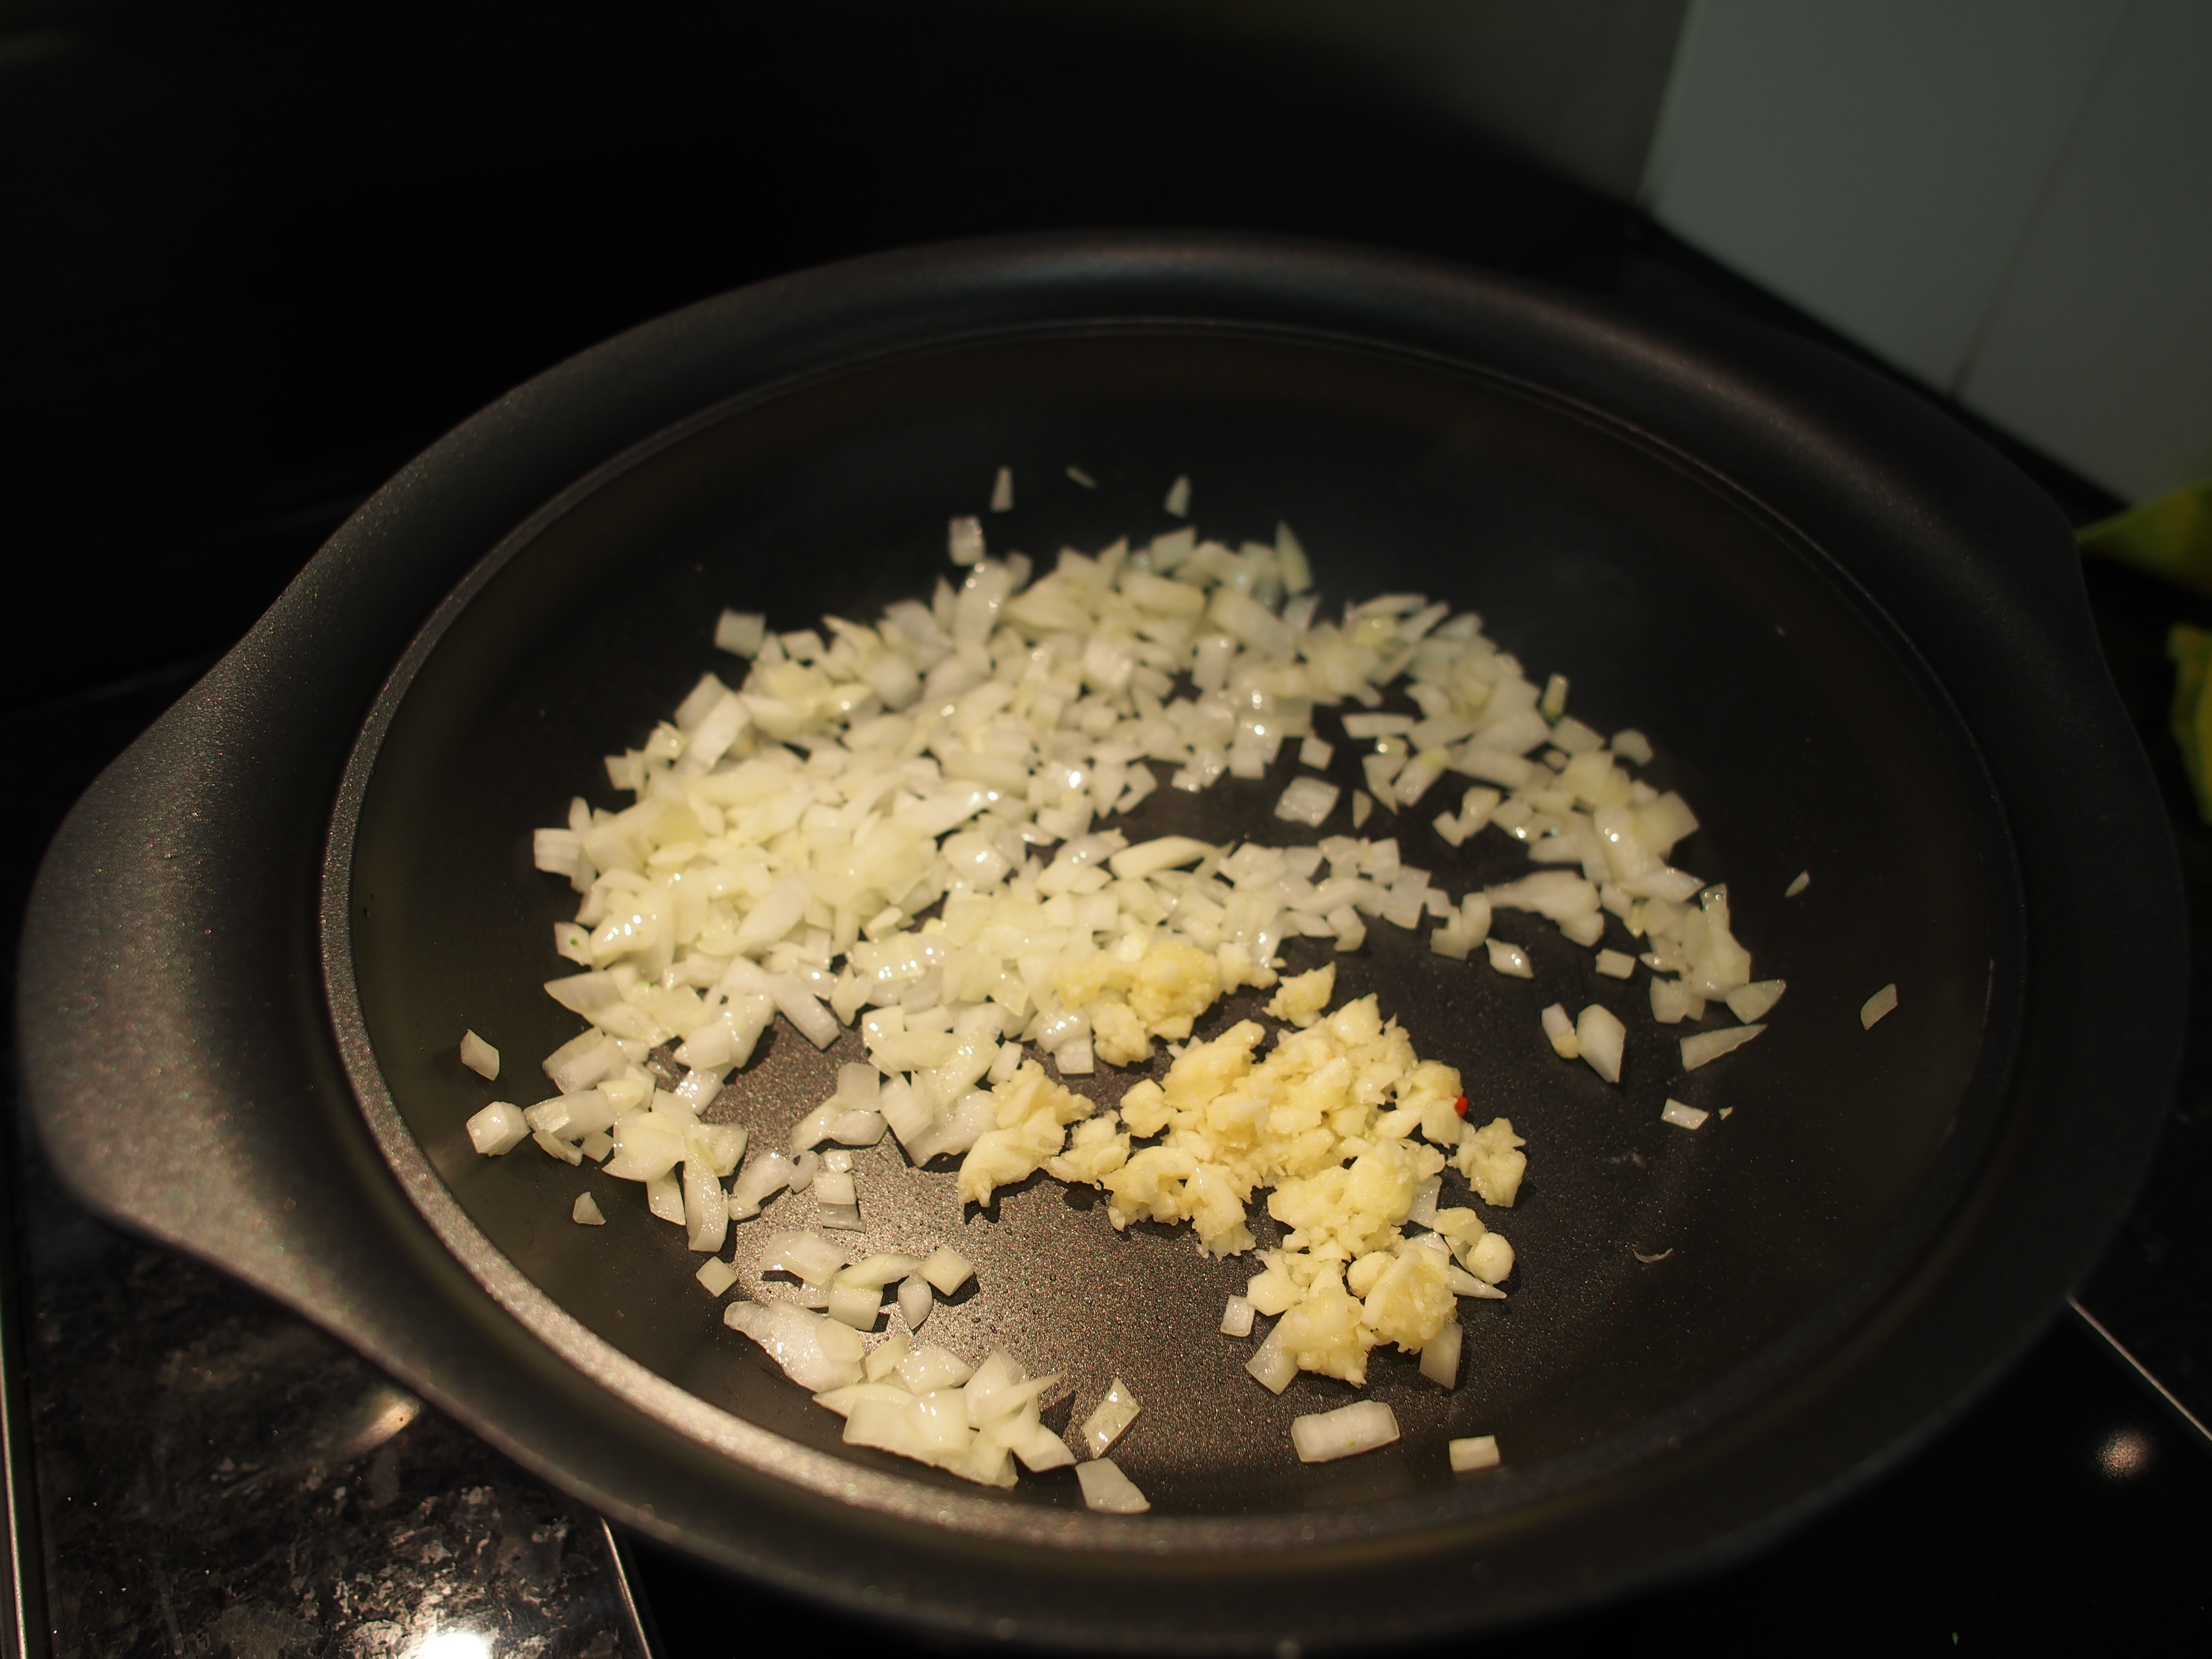
On medium heat, fry the minced garlic and onions in extra virgin olive oil until golden and aromatic

10. Add the minced beef and chili. Cook until the meat is no longer pink
Timer: 25 minutes
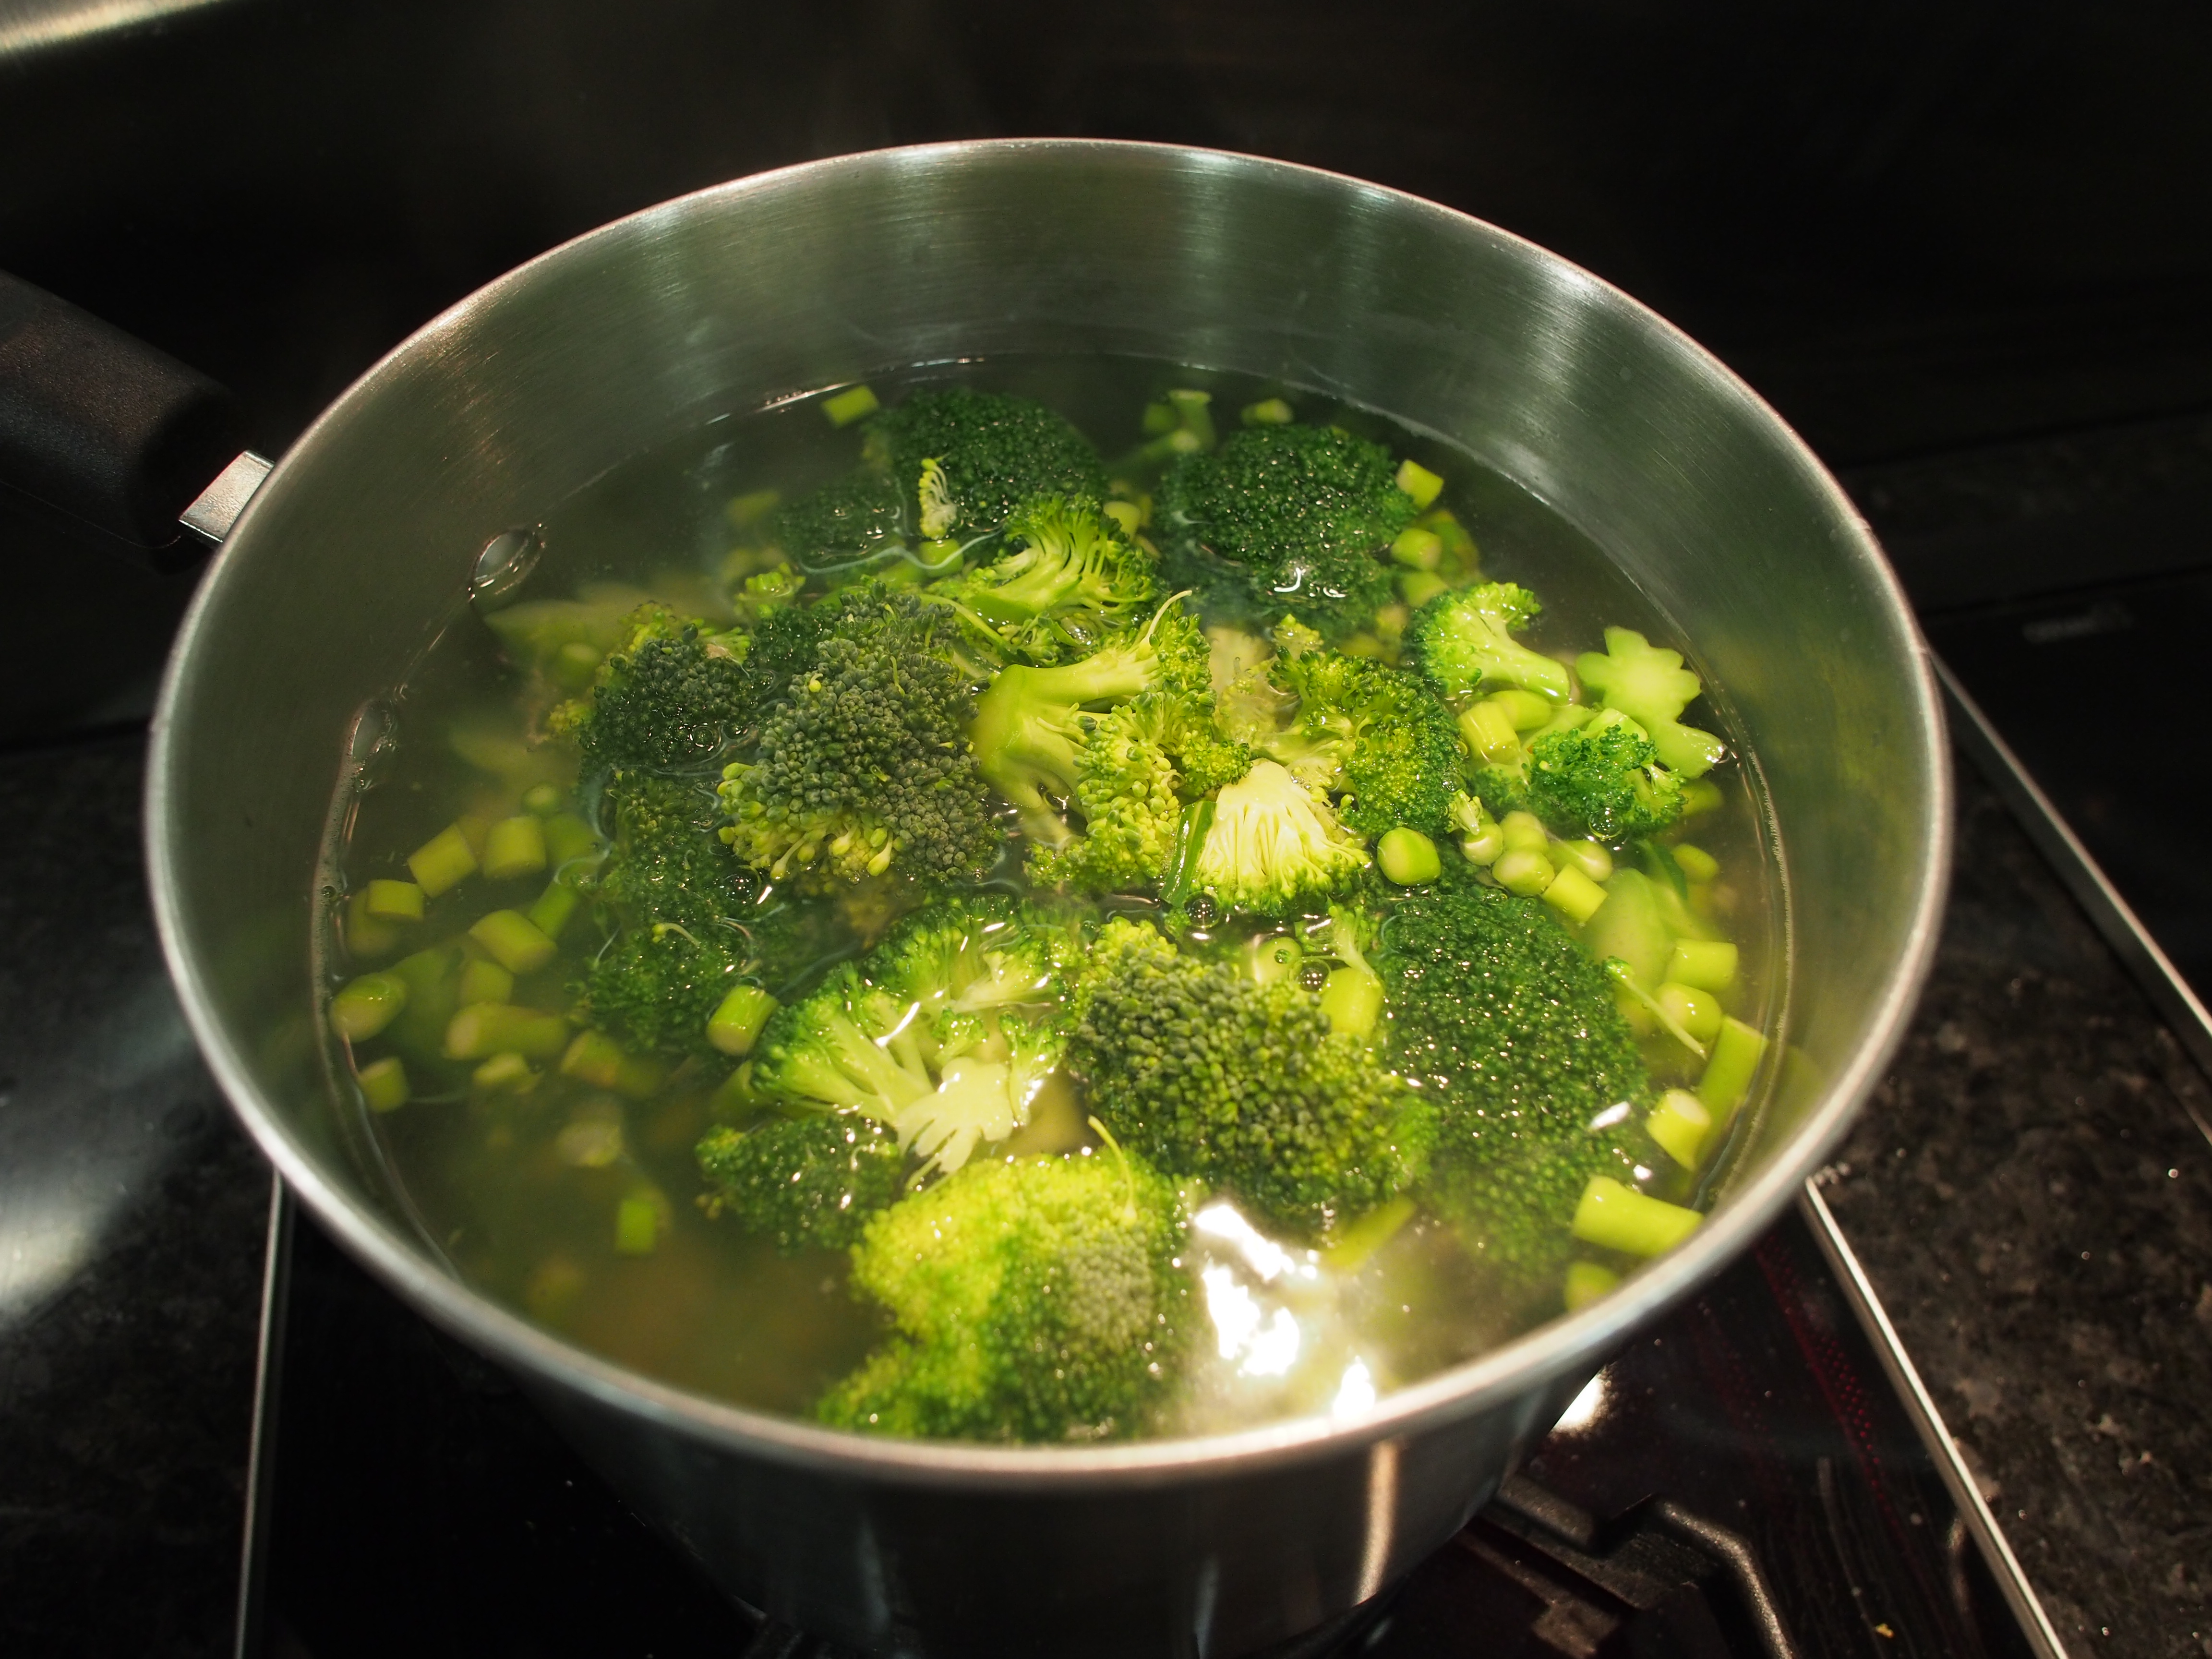
11. This is the perfect time to add your pasta, broccoli stem, and salt into the boiling water
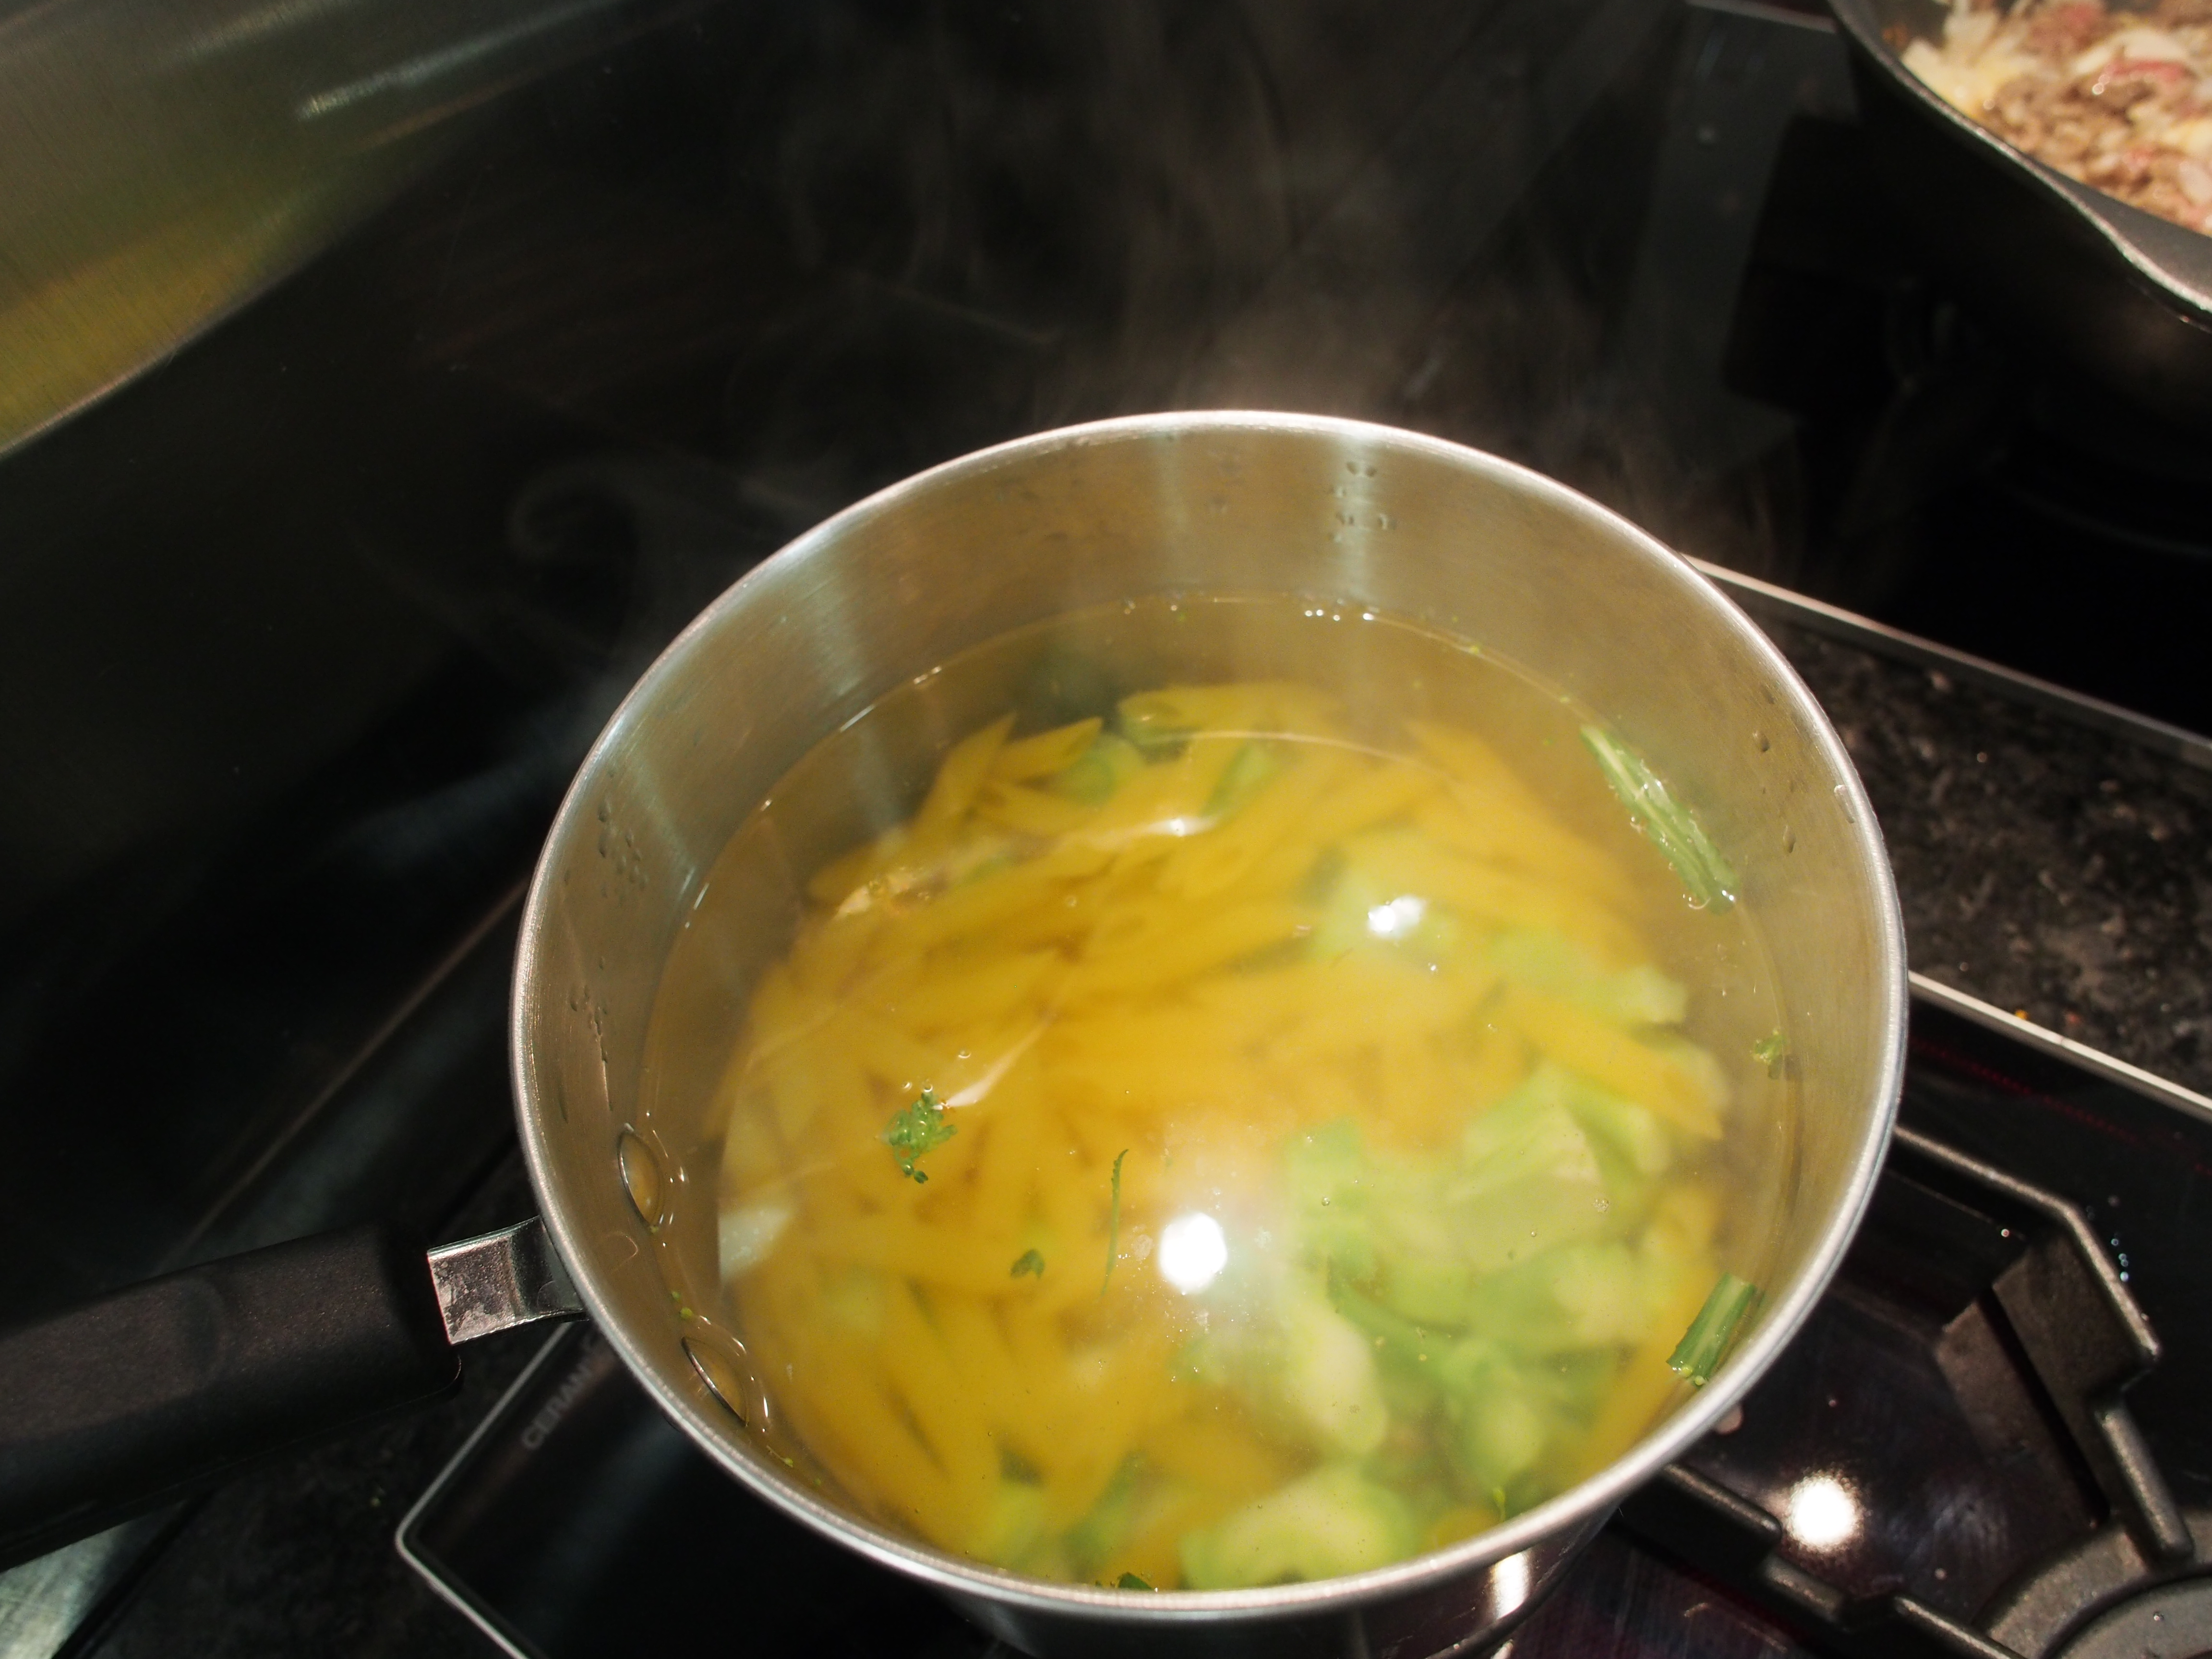
I’m only cooking the pasta to about 60-70% done before transferring it to continue cooking in the sauce so that they can really absorb the flavours of the sauce without overcooking. It’s really not attractive when veggies become yellow from overcooking, so I didn’t cook pasta and veggies too early.
*I didn’t add olive oil to the water because it coats the pasta, making it hard for the sauce to stick to the pasta later

12. Add the parmesan rind and basil/cheese blend to the beef mix.
*I learned to use the parmesan rind from Jamie Oliver, normally we throw the rind out but it is edible and is actually a great seasoning because its salty and creamy
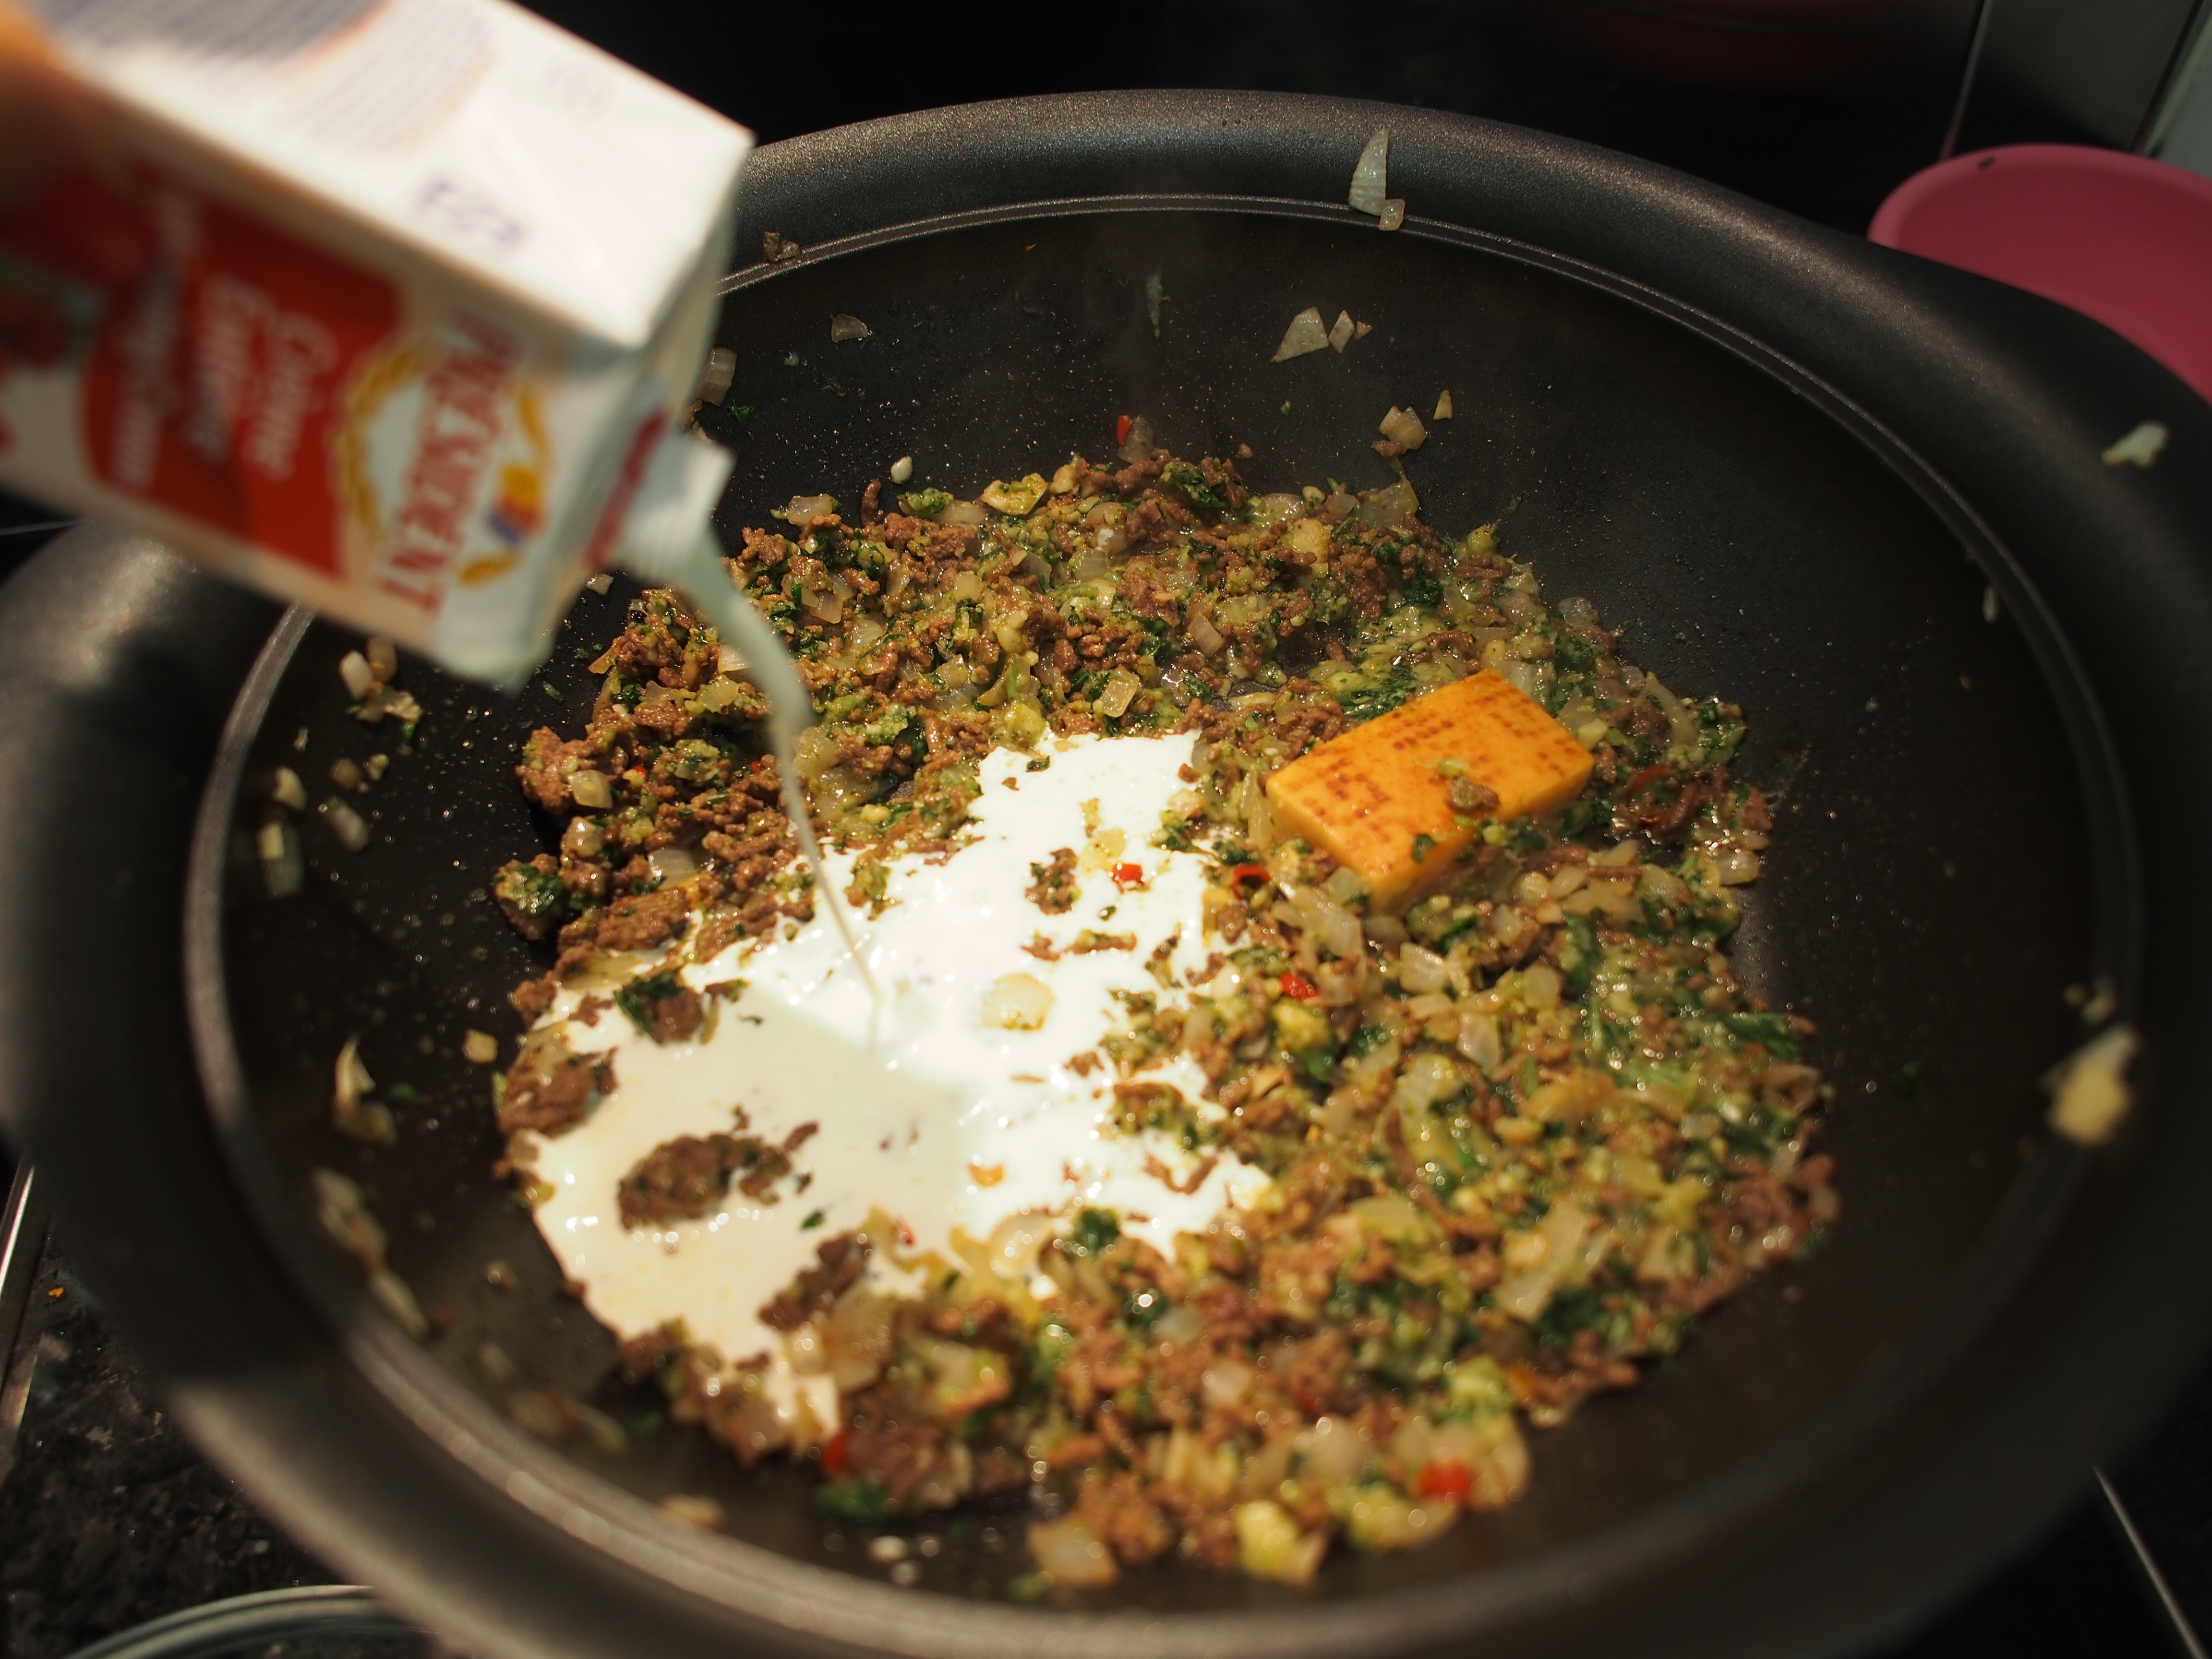
13. Add 100-200 ml of cream depending on how creamy you like it. If you want it to be less creamy, add less cream and use more of the pasta water to cook the pasta through later on. If you want to skip the cream completely and make it a olive oil based sauce, you can add more extra virgin olive oil and use more of the pasta water to cook the pasta with the sauce later on. Your imagination is your limit!
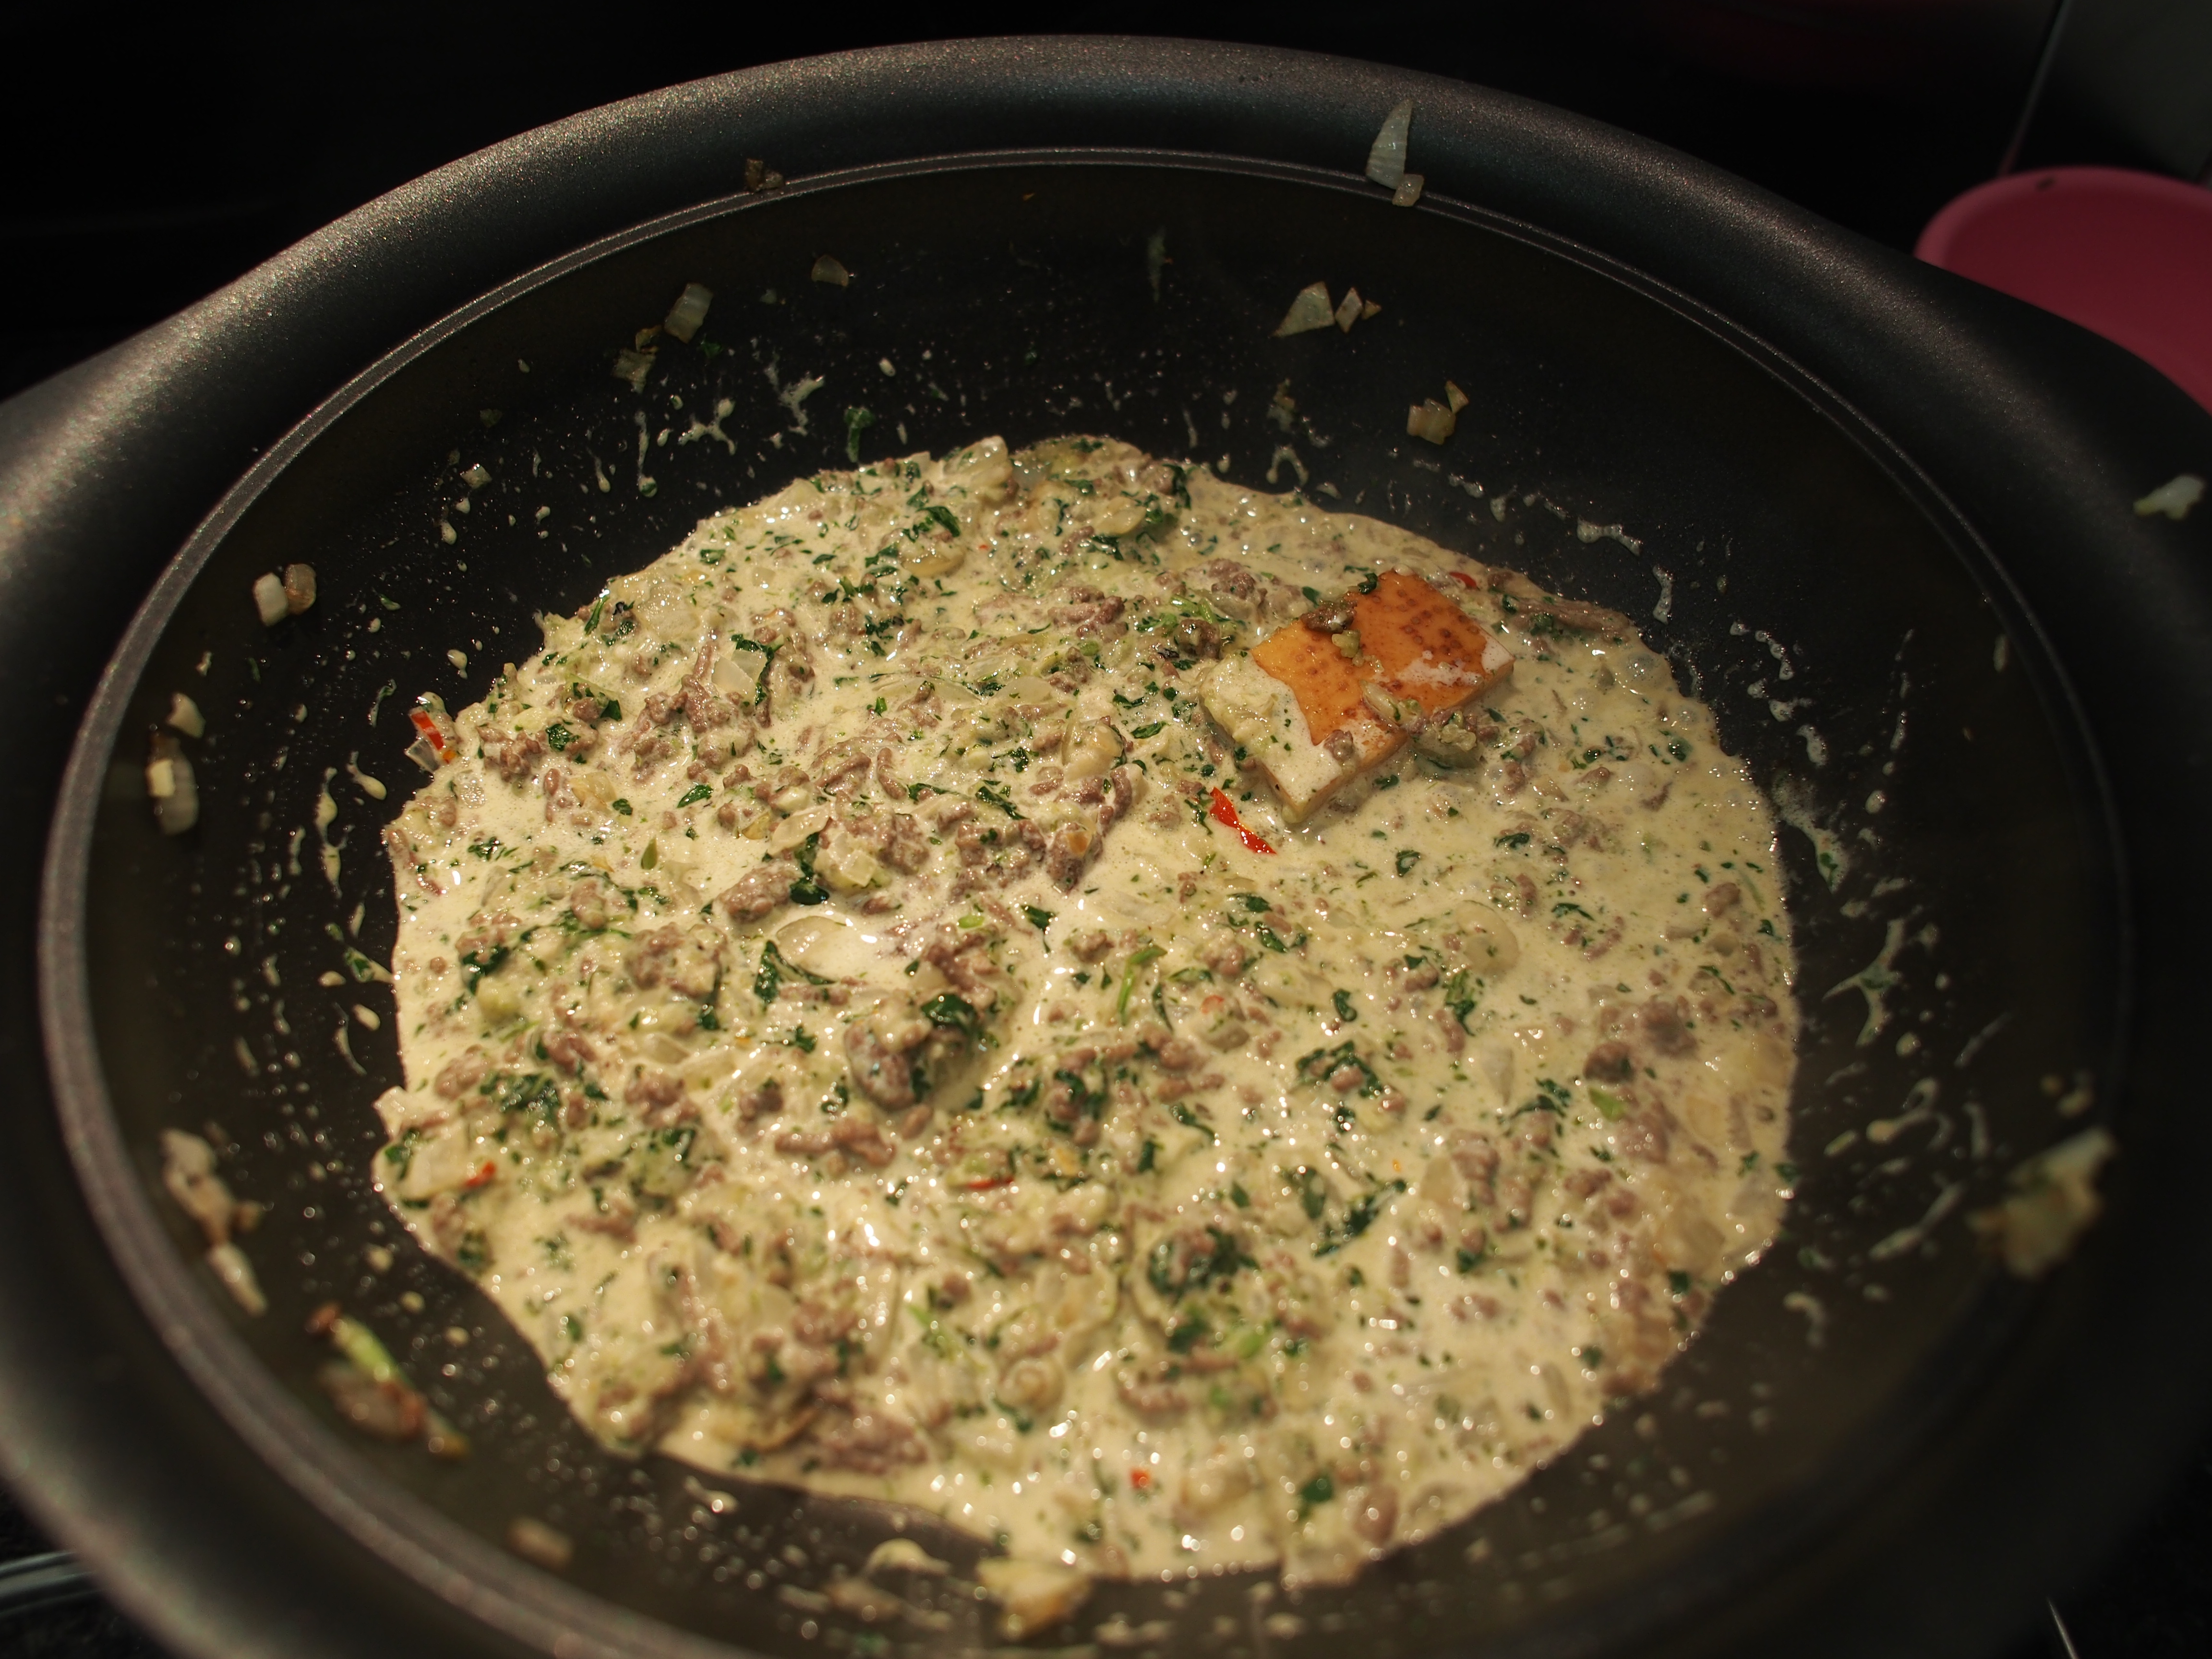
Let the sauce cook together
14. Once the pasta is about halfway cooked, we can add the broccoli florets and chopped asparagus
*I didn’t want to overcook them, so I am putting them in last minute

15. Once the broccoli have boiled, transfer directly over to the pasta sauce
*at this point, the penne should be only 70-80% cooked through, there should still be a thin white line on the inside.
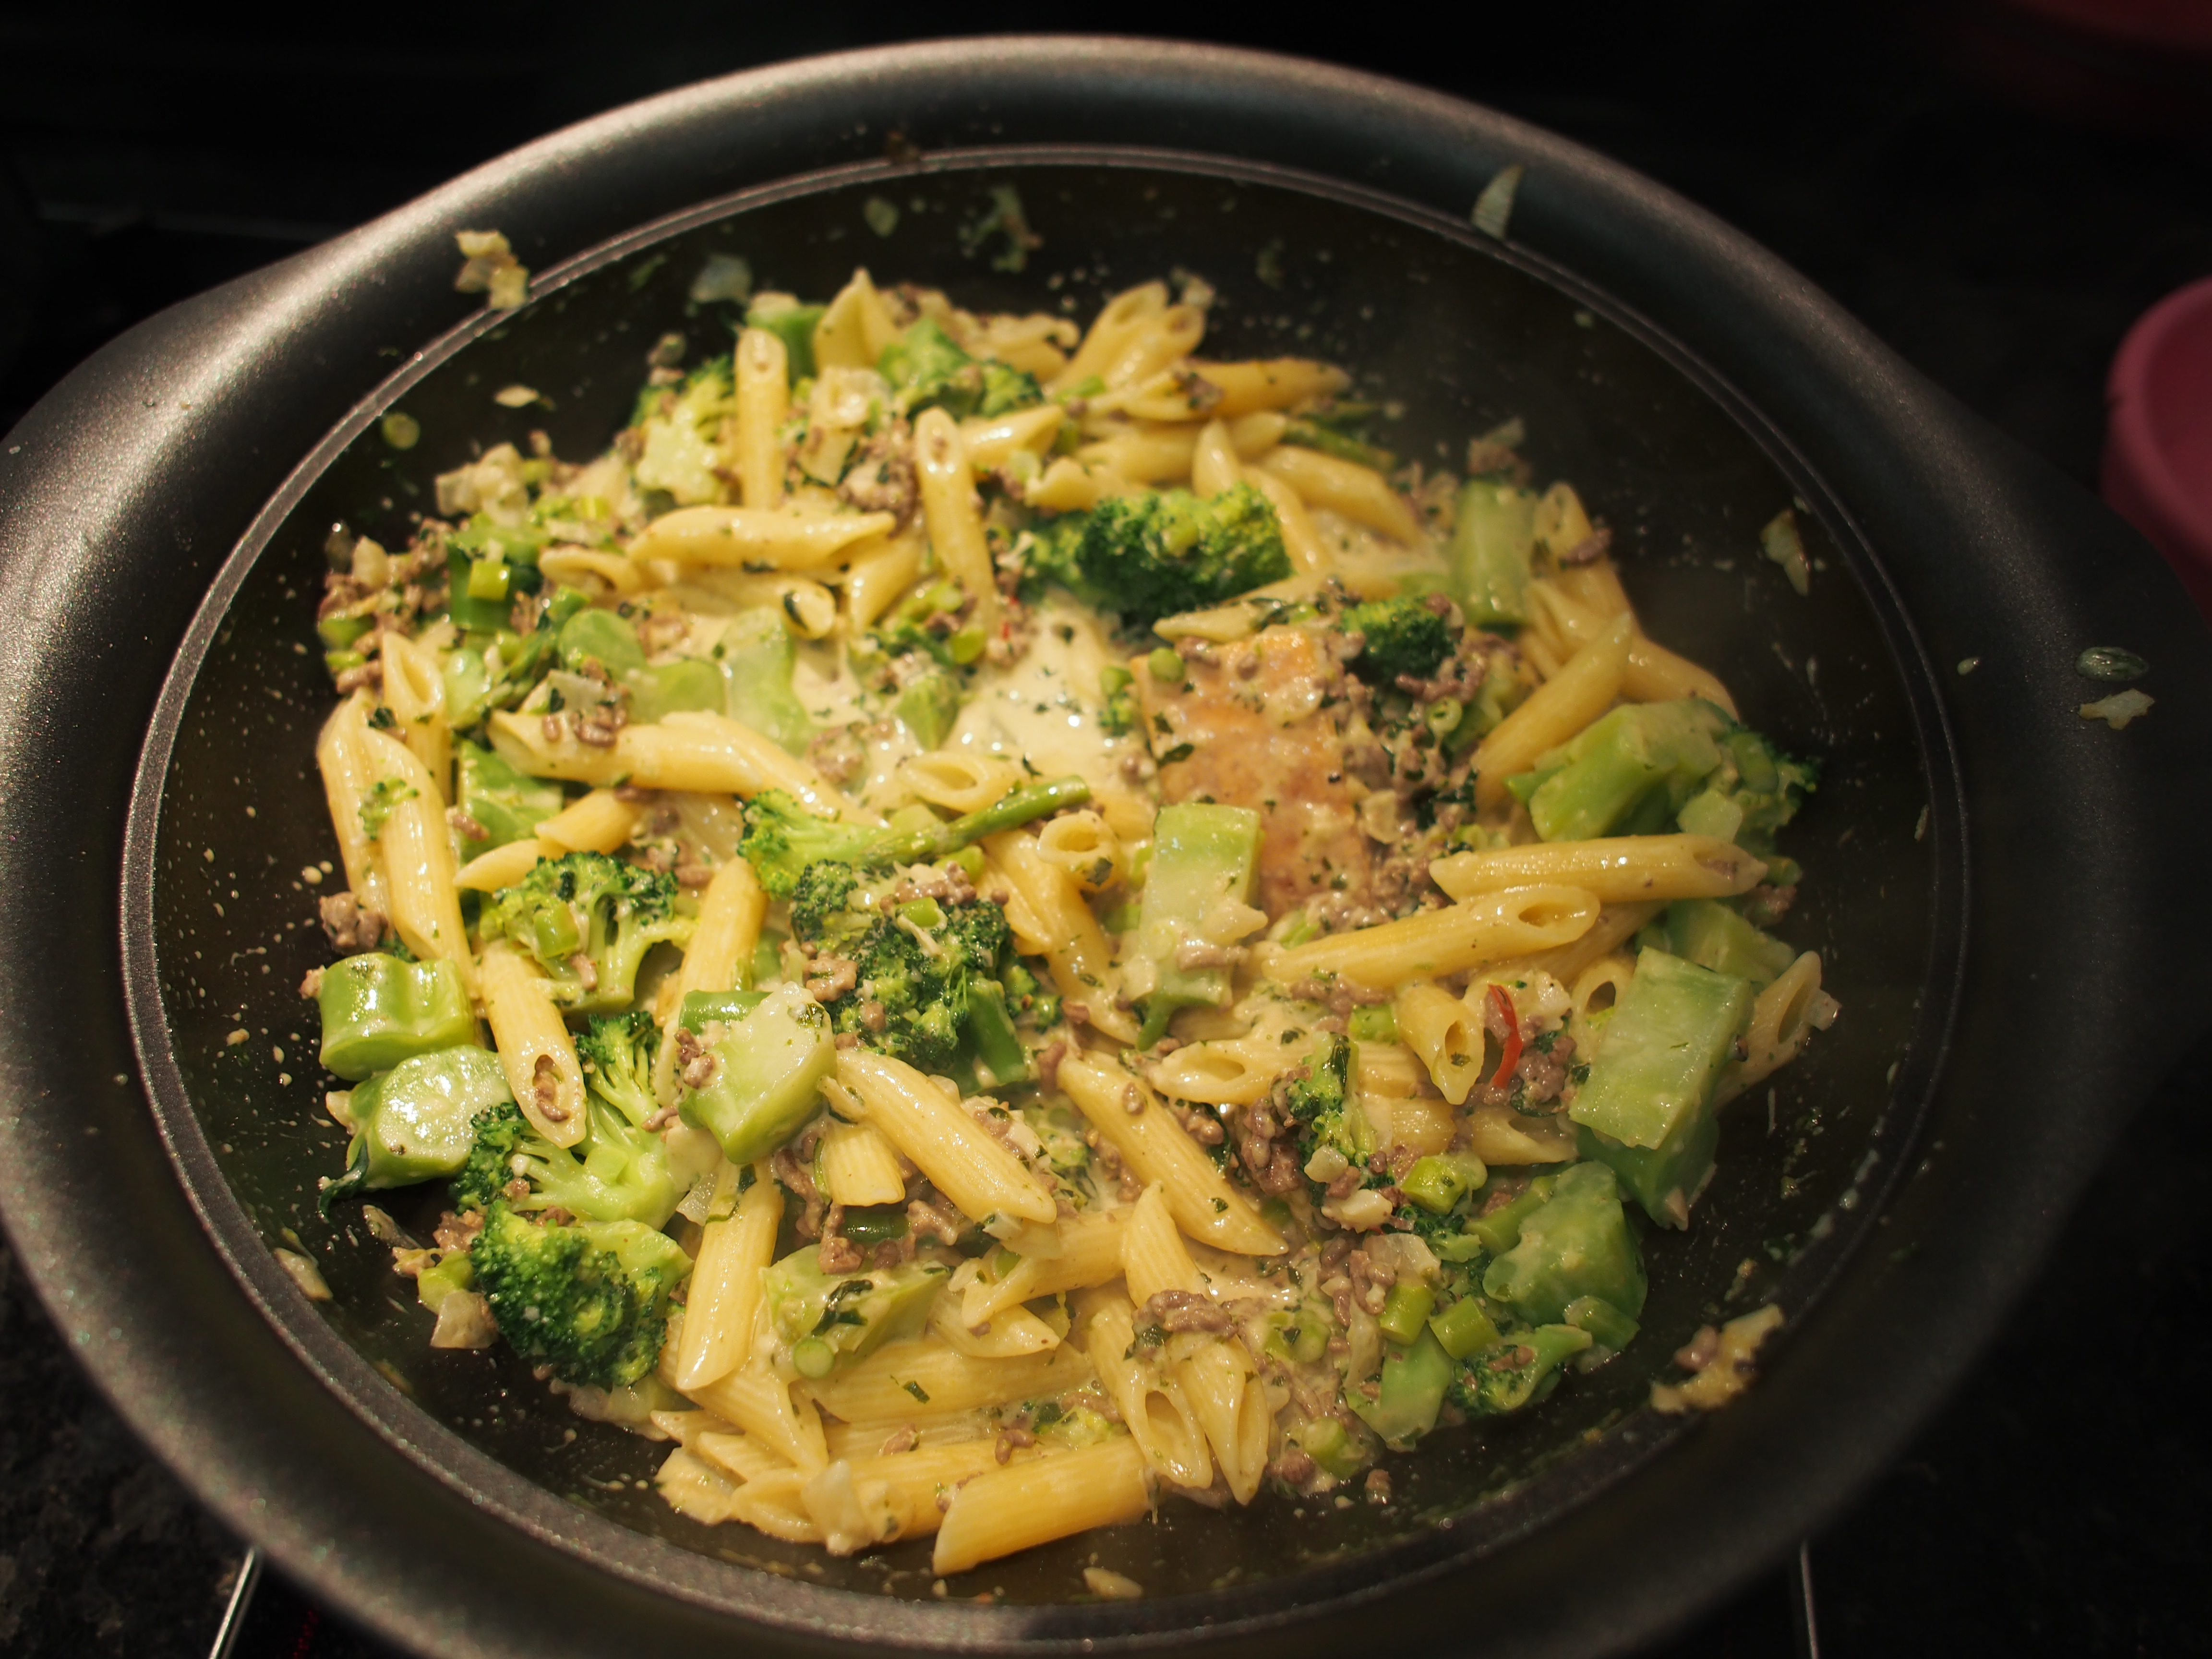
Cook the pasta and sauce together for 1-2 minutes, adding a little of the pasta water as the sauce gets absorbed by the penne.
*Be sure not to overcook the pasta as we will still be baking it
Taste test and see if you want to add more salt, chilli, pepper, pasta water or cream!
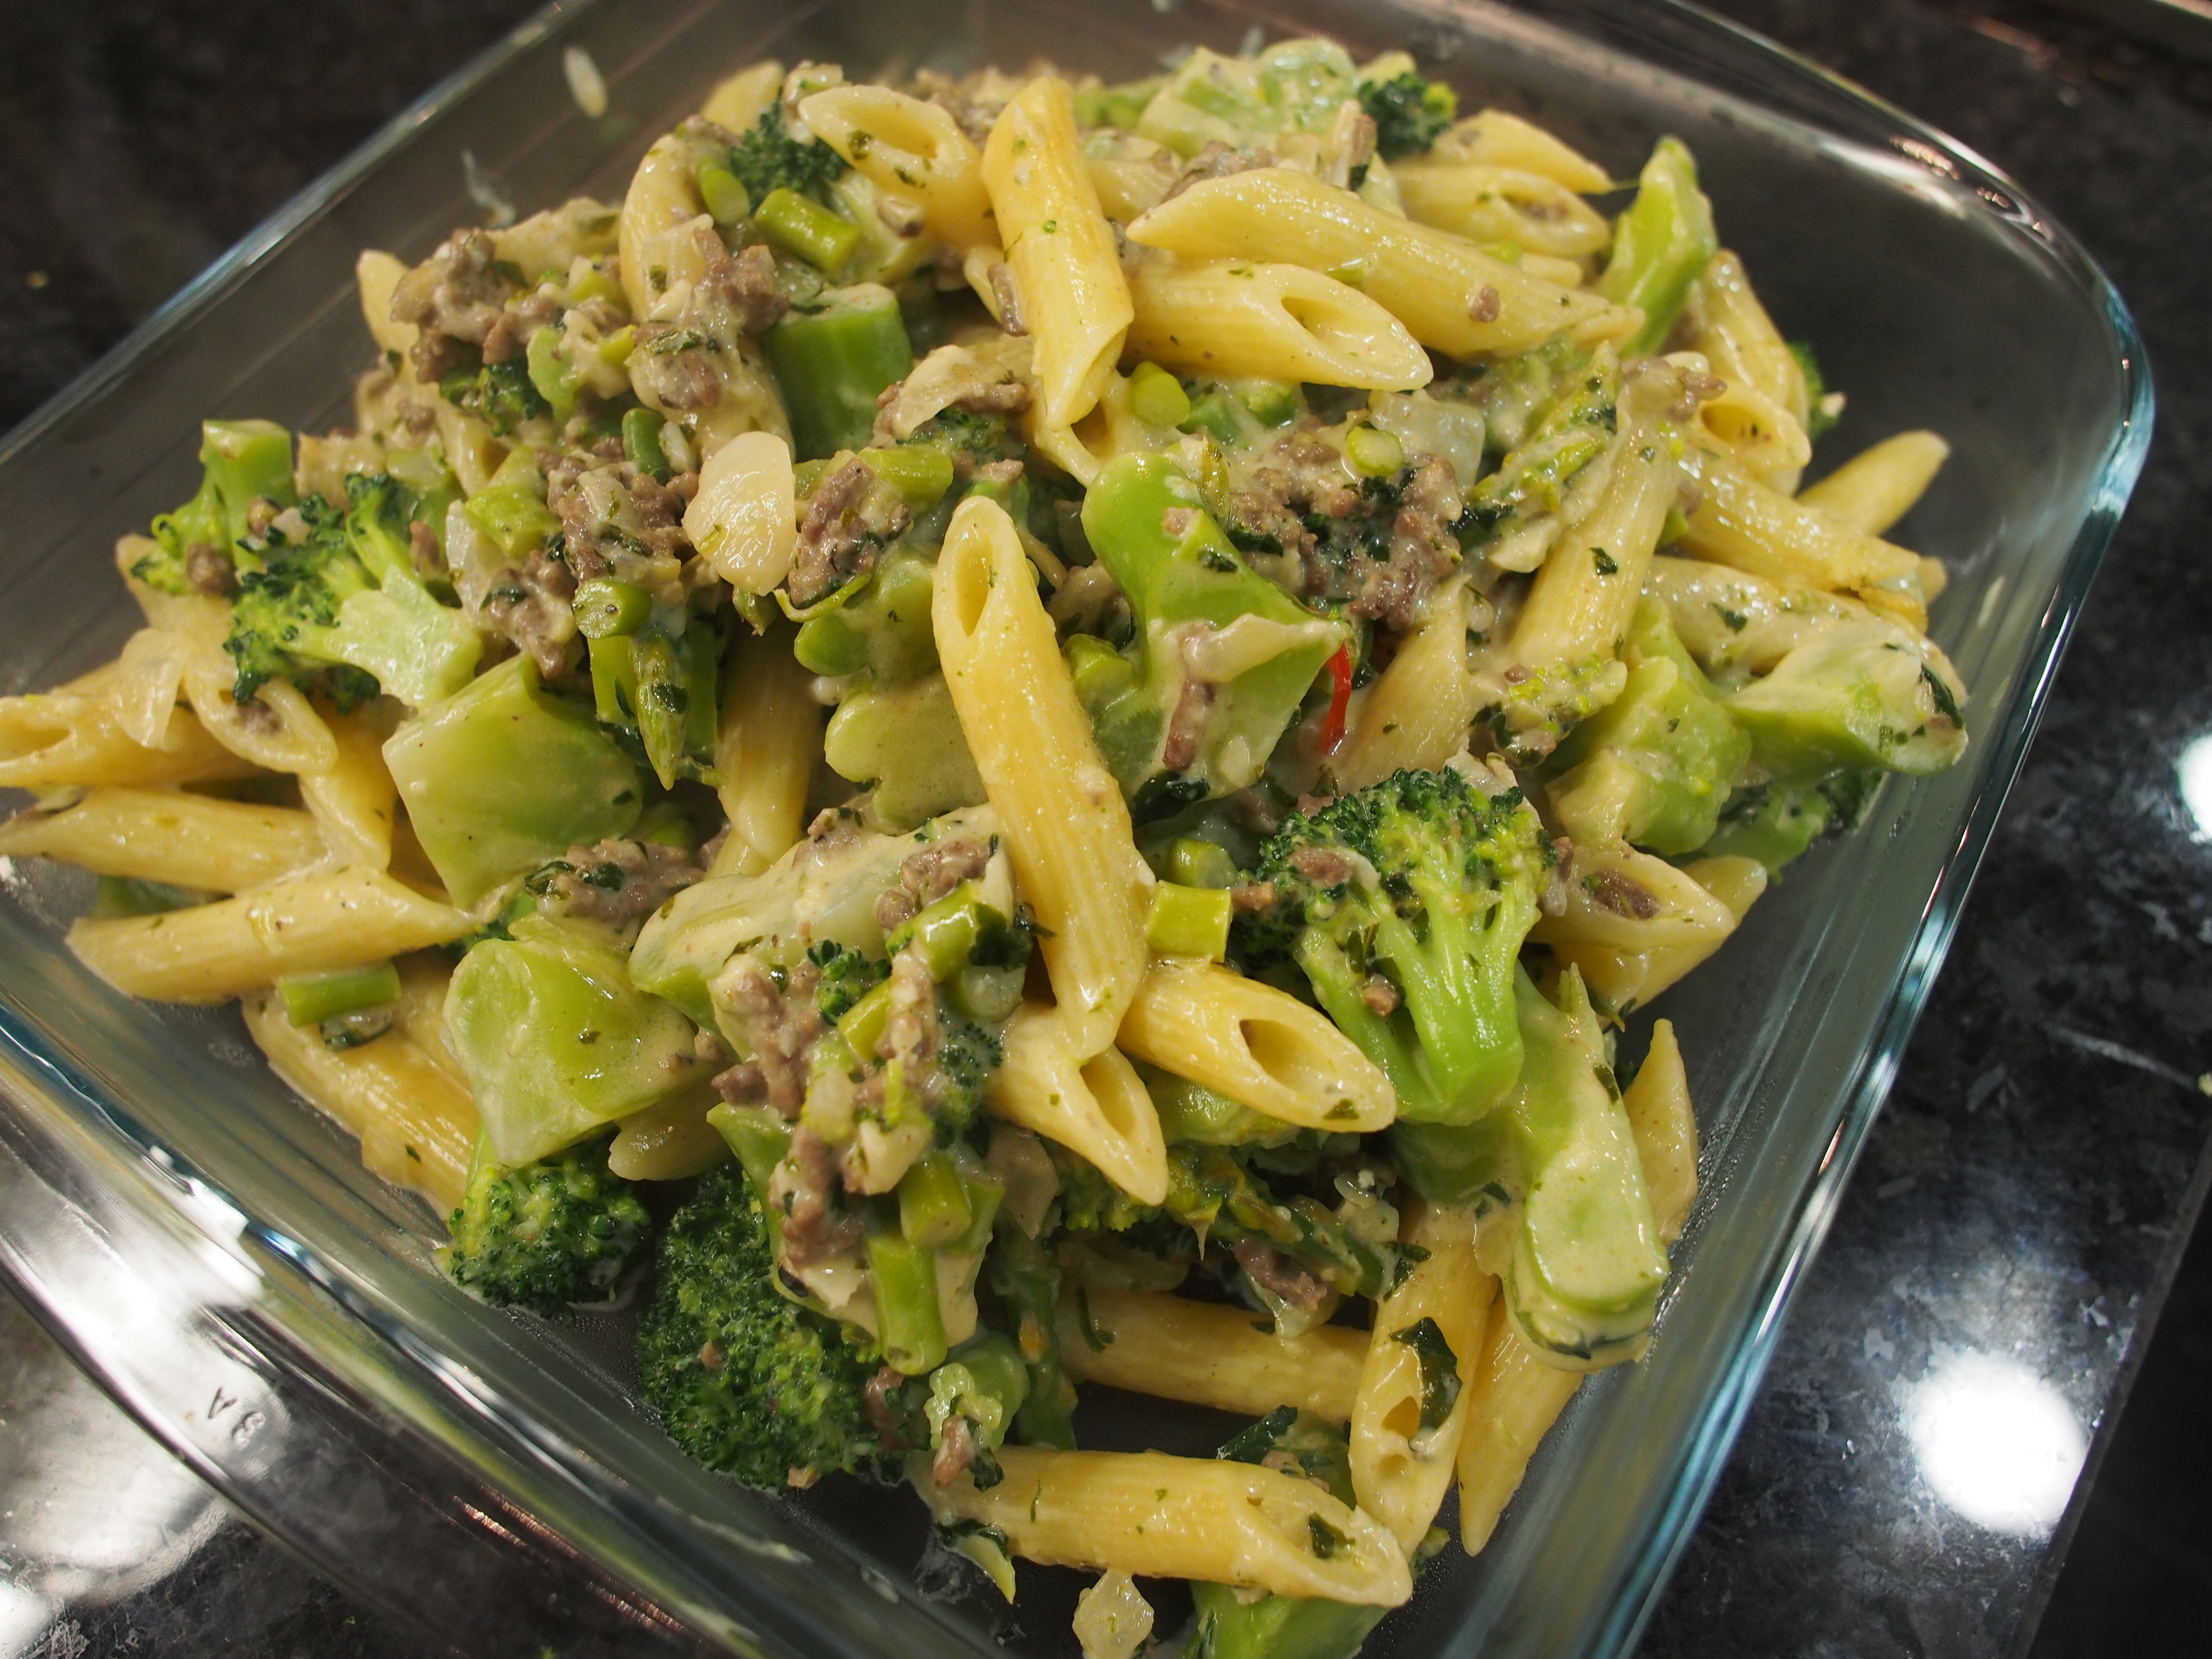
If you want to skip the crispy topping, this is a great pasta just like this!

16. Pour a thin layer of the breadcrumbs on top of the pasta
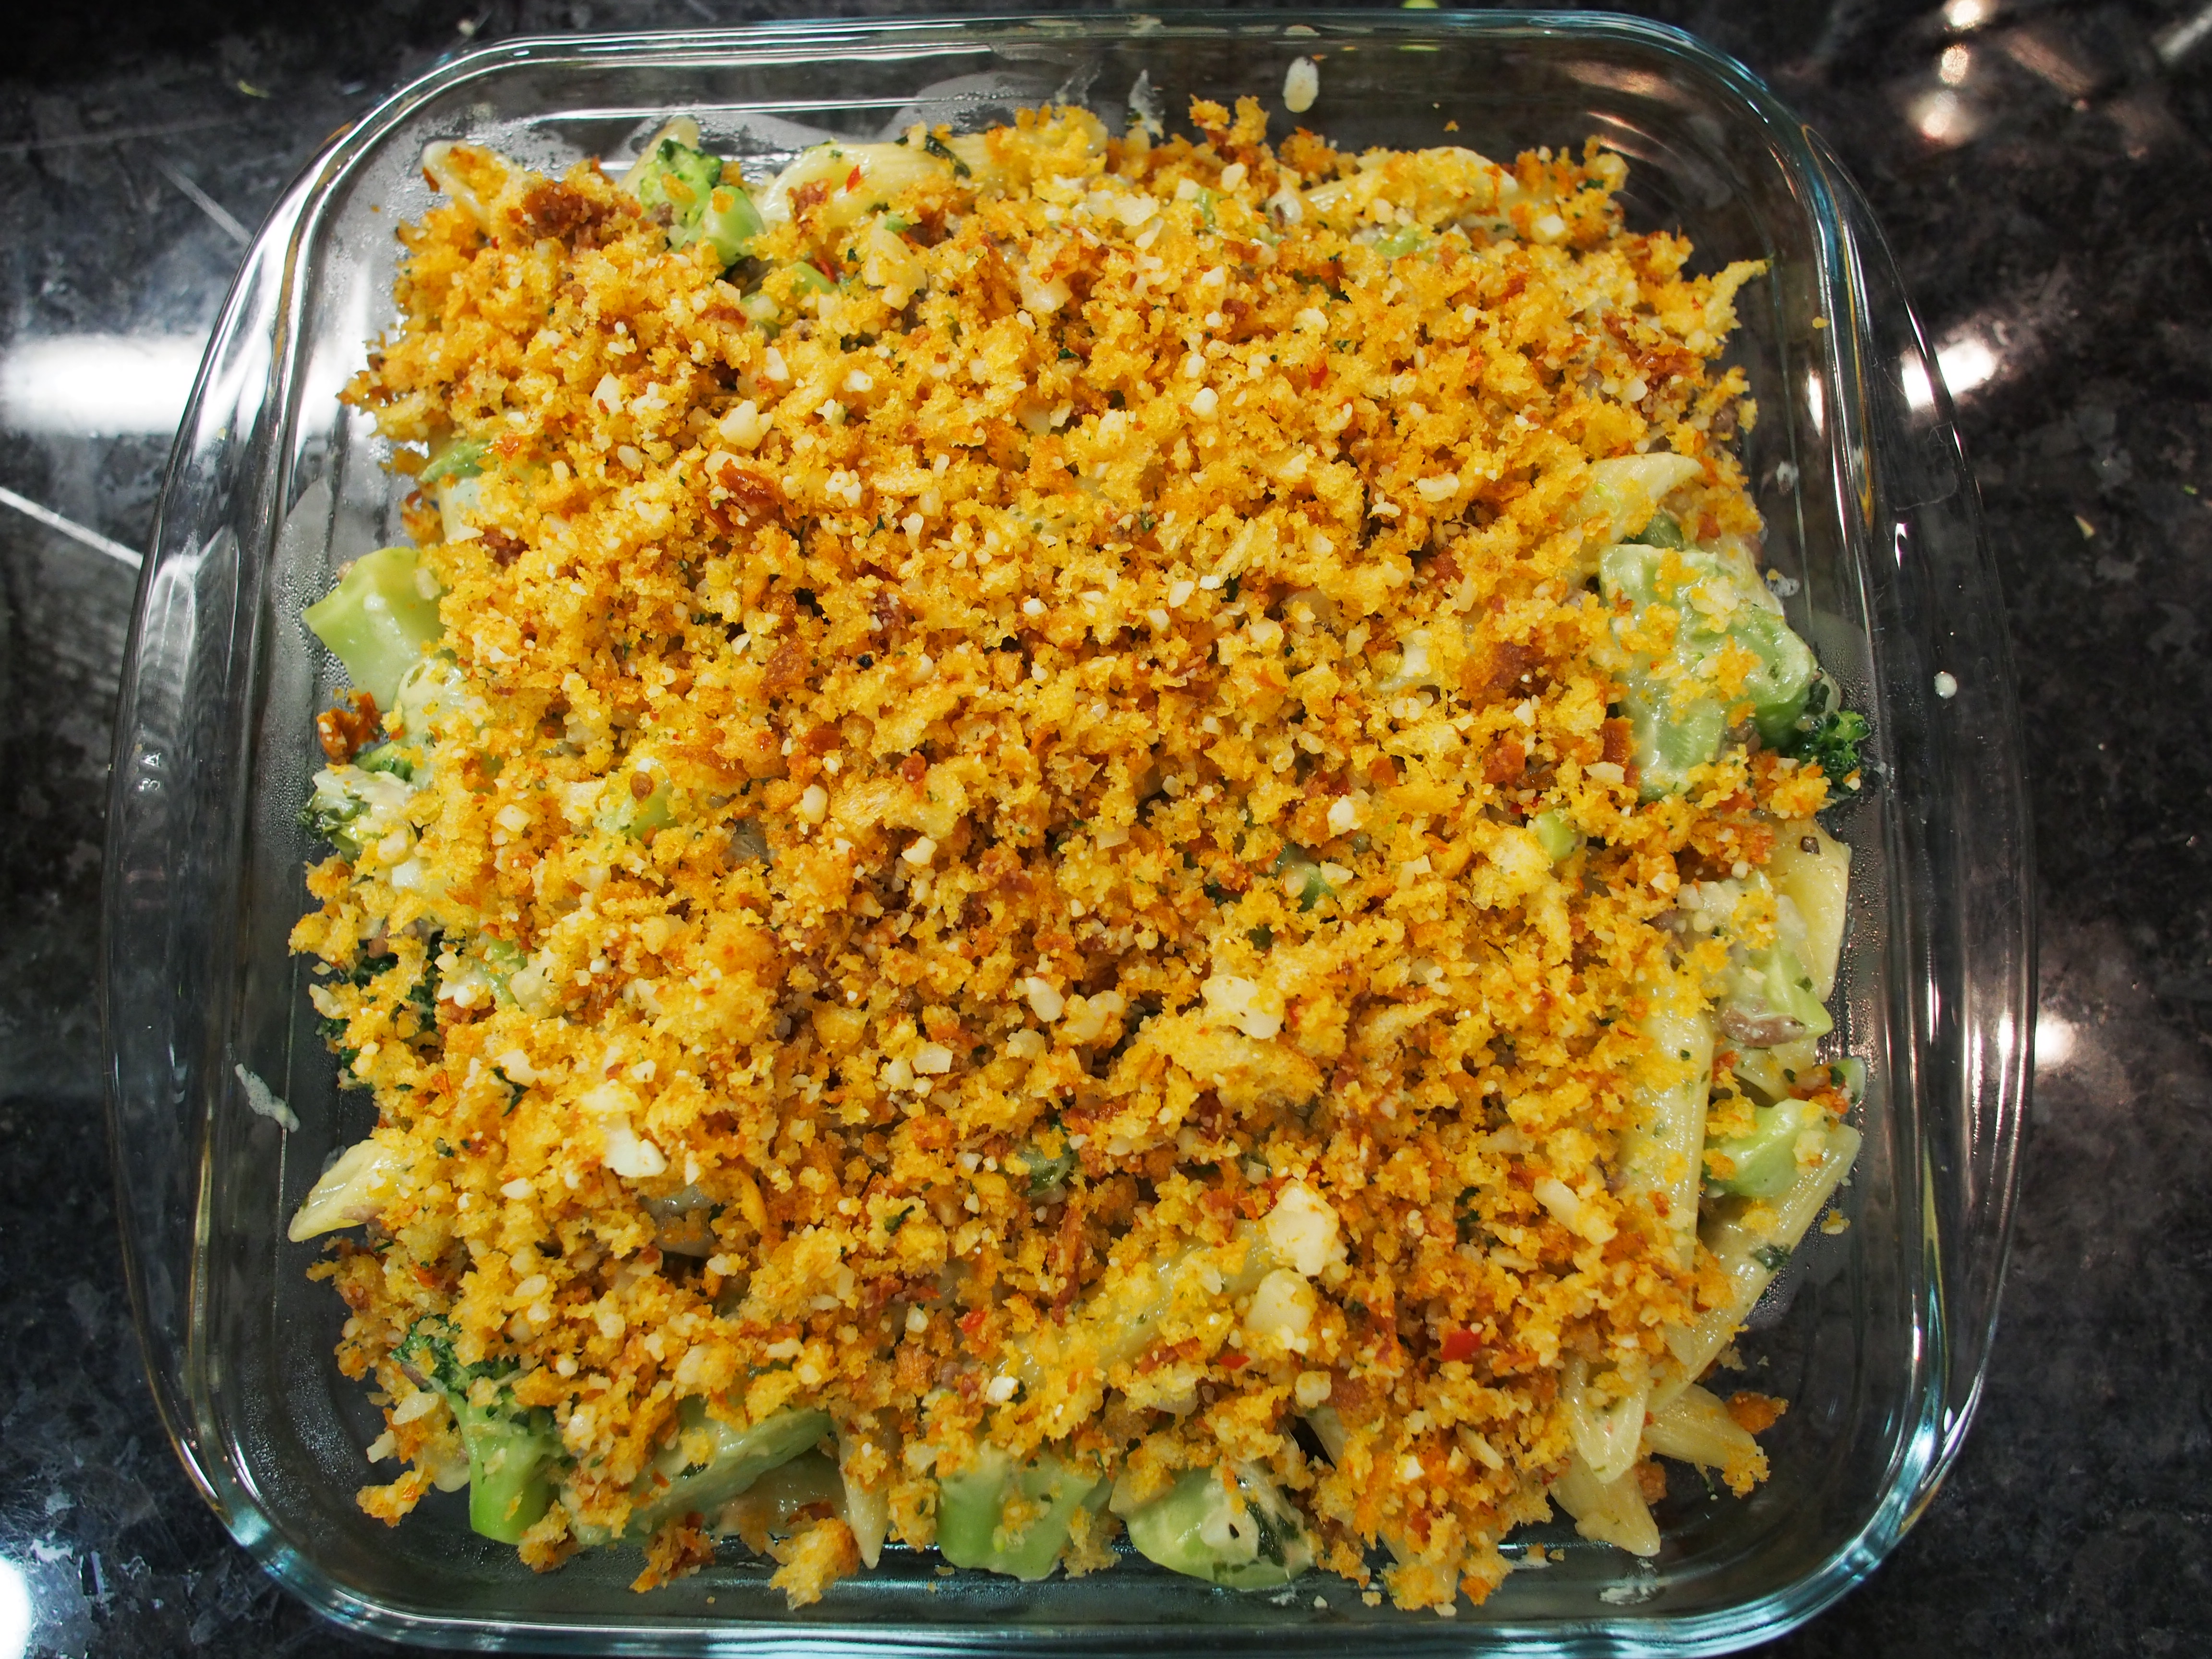
*I just realized this would make a great topping for mac & cheese!
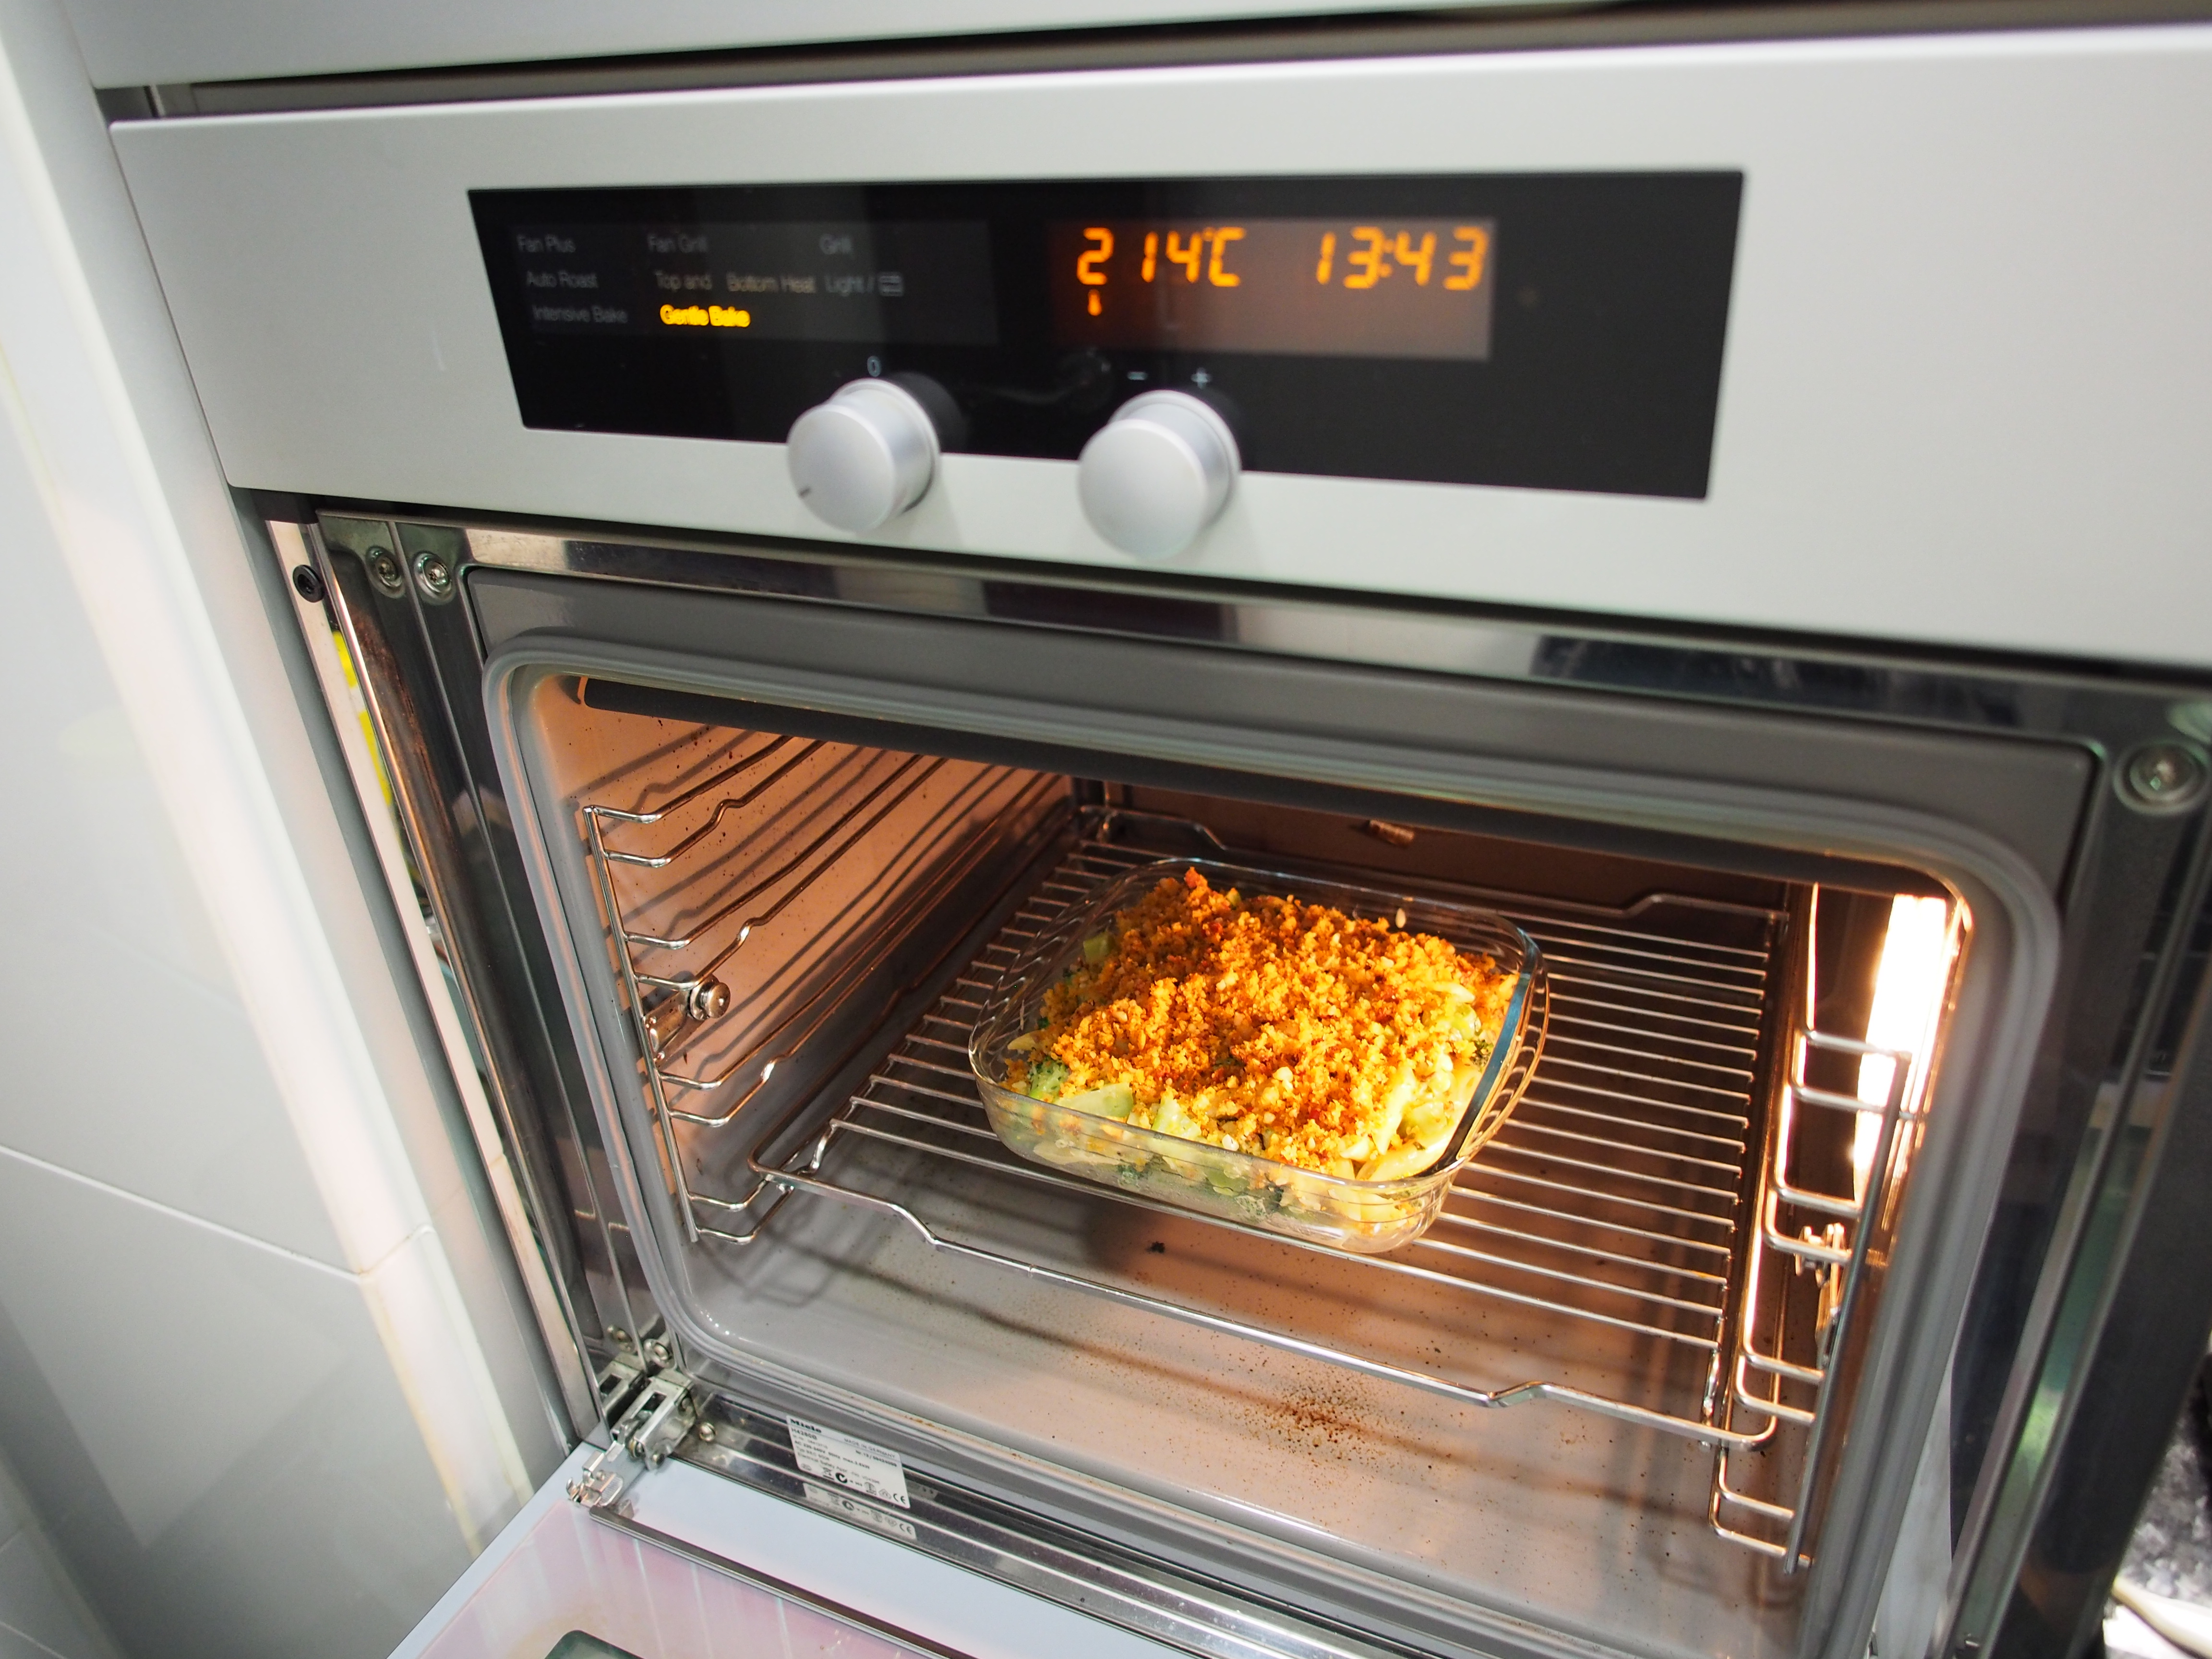
17. And bake for 7-8 minutes in 220 degrees Celsius, or until the crumbs are golden and crispy
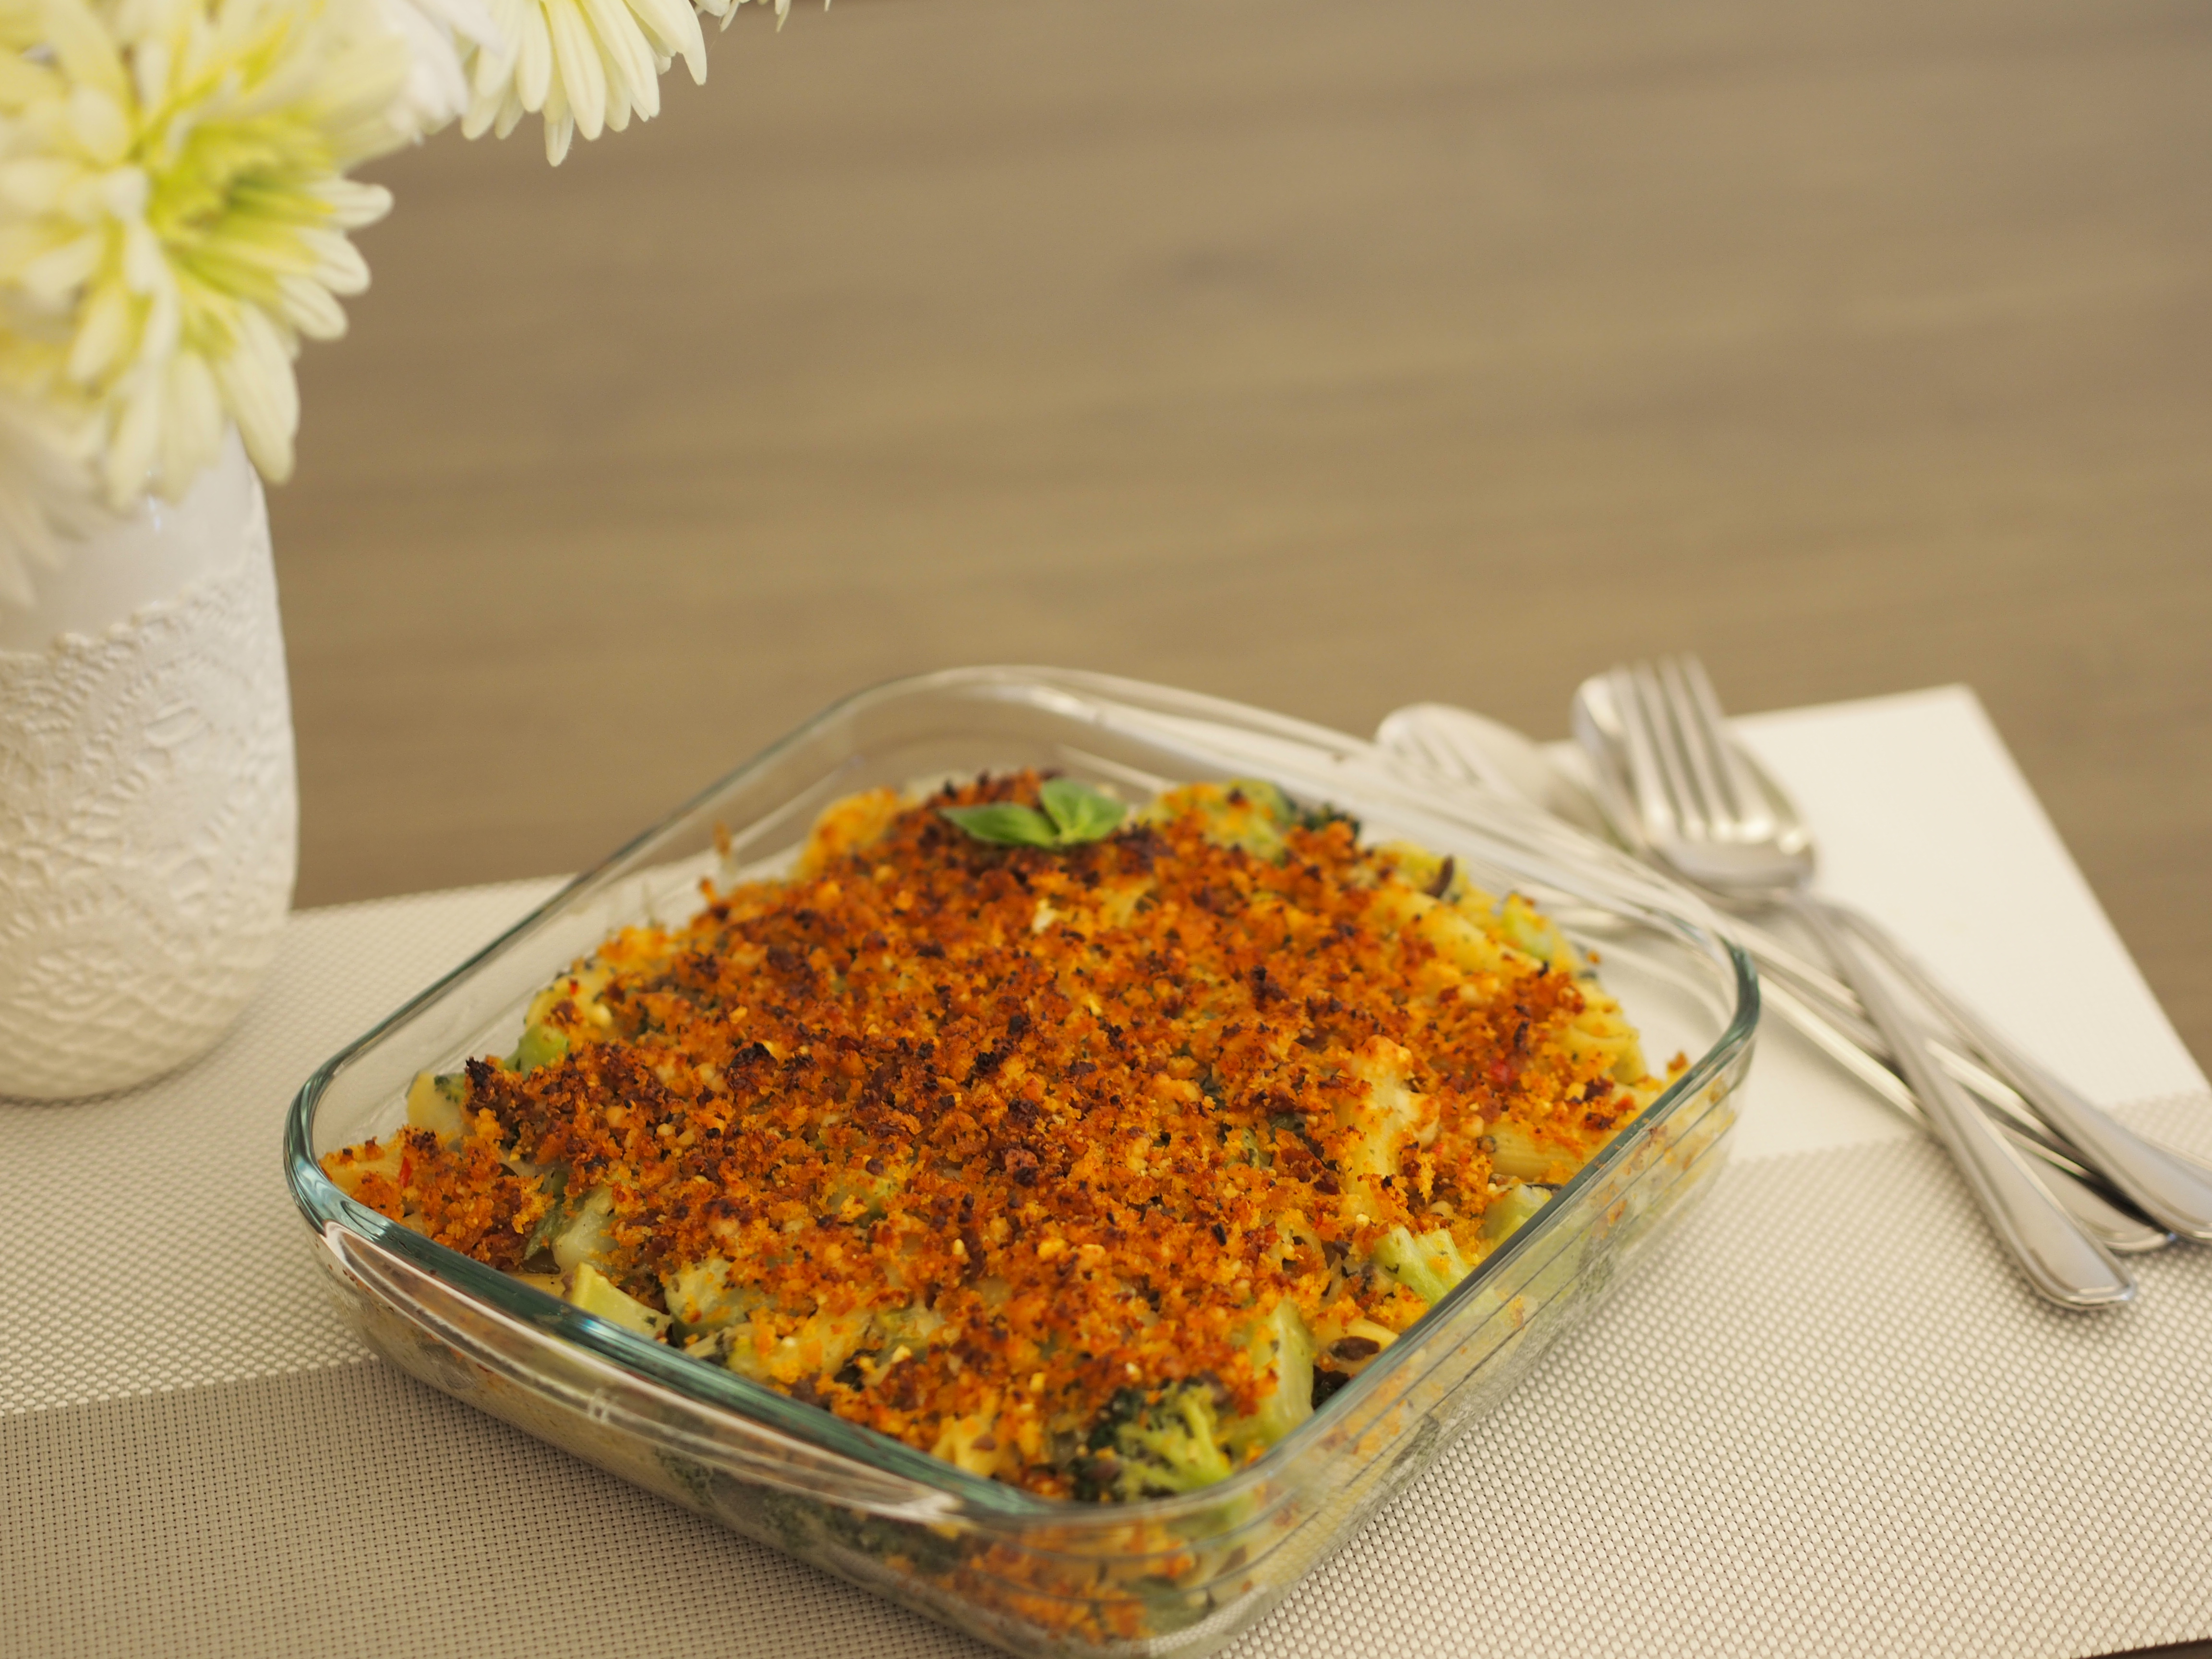

And it’s ready! Decorate with basil leaves if you desire.
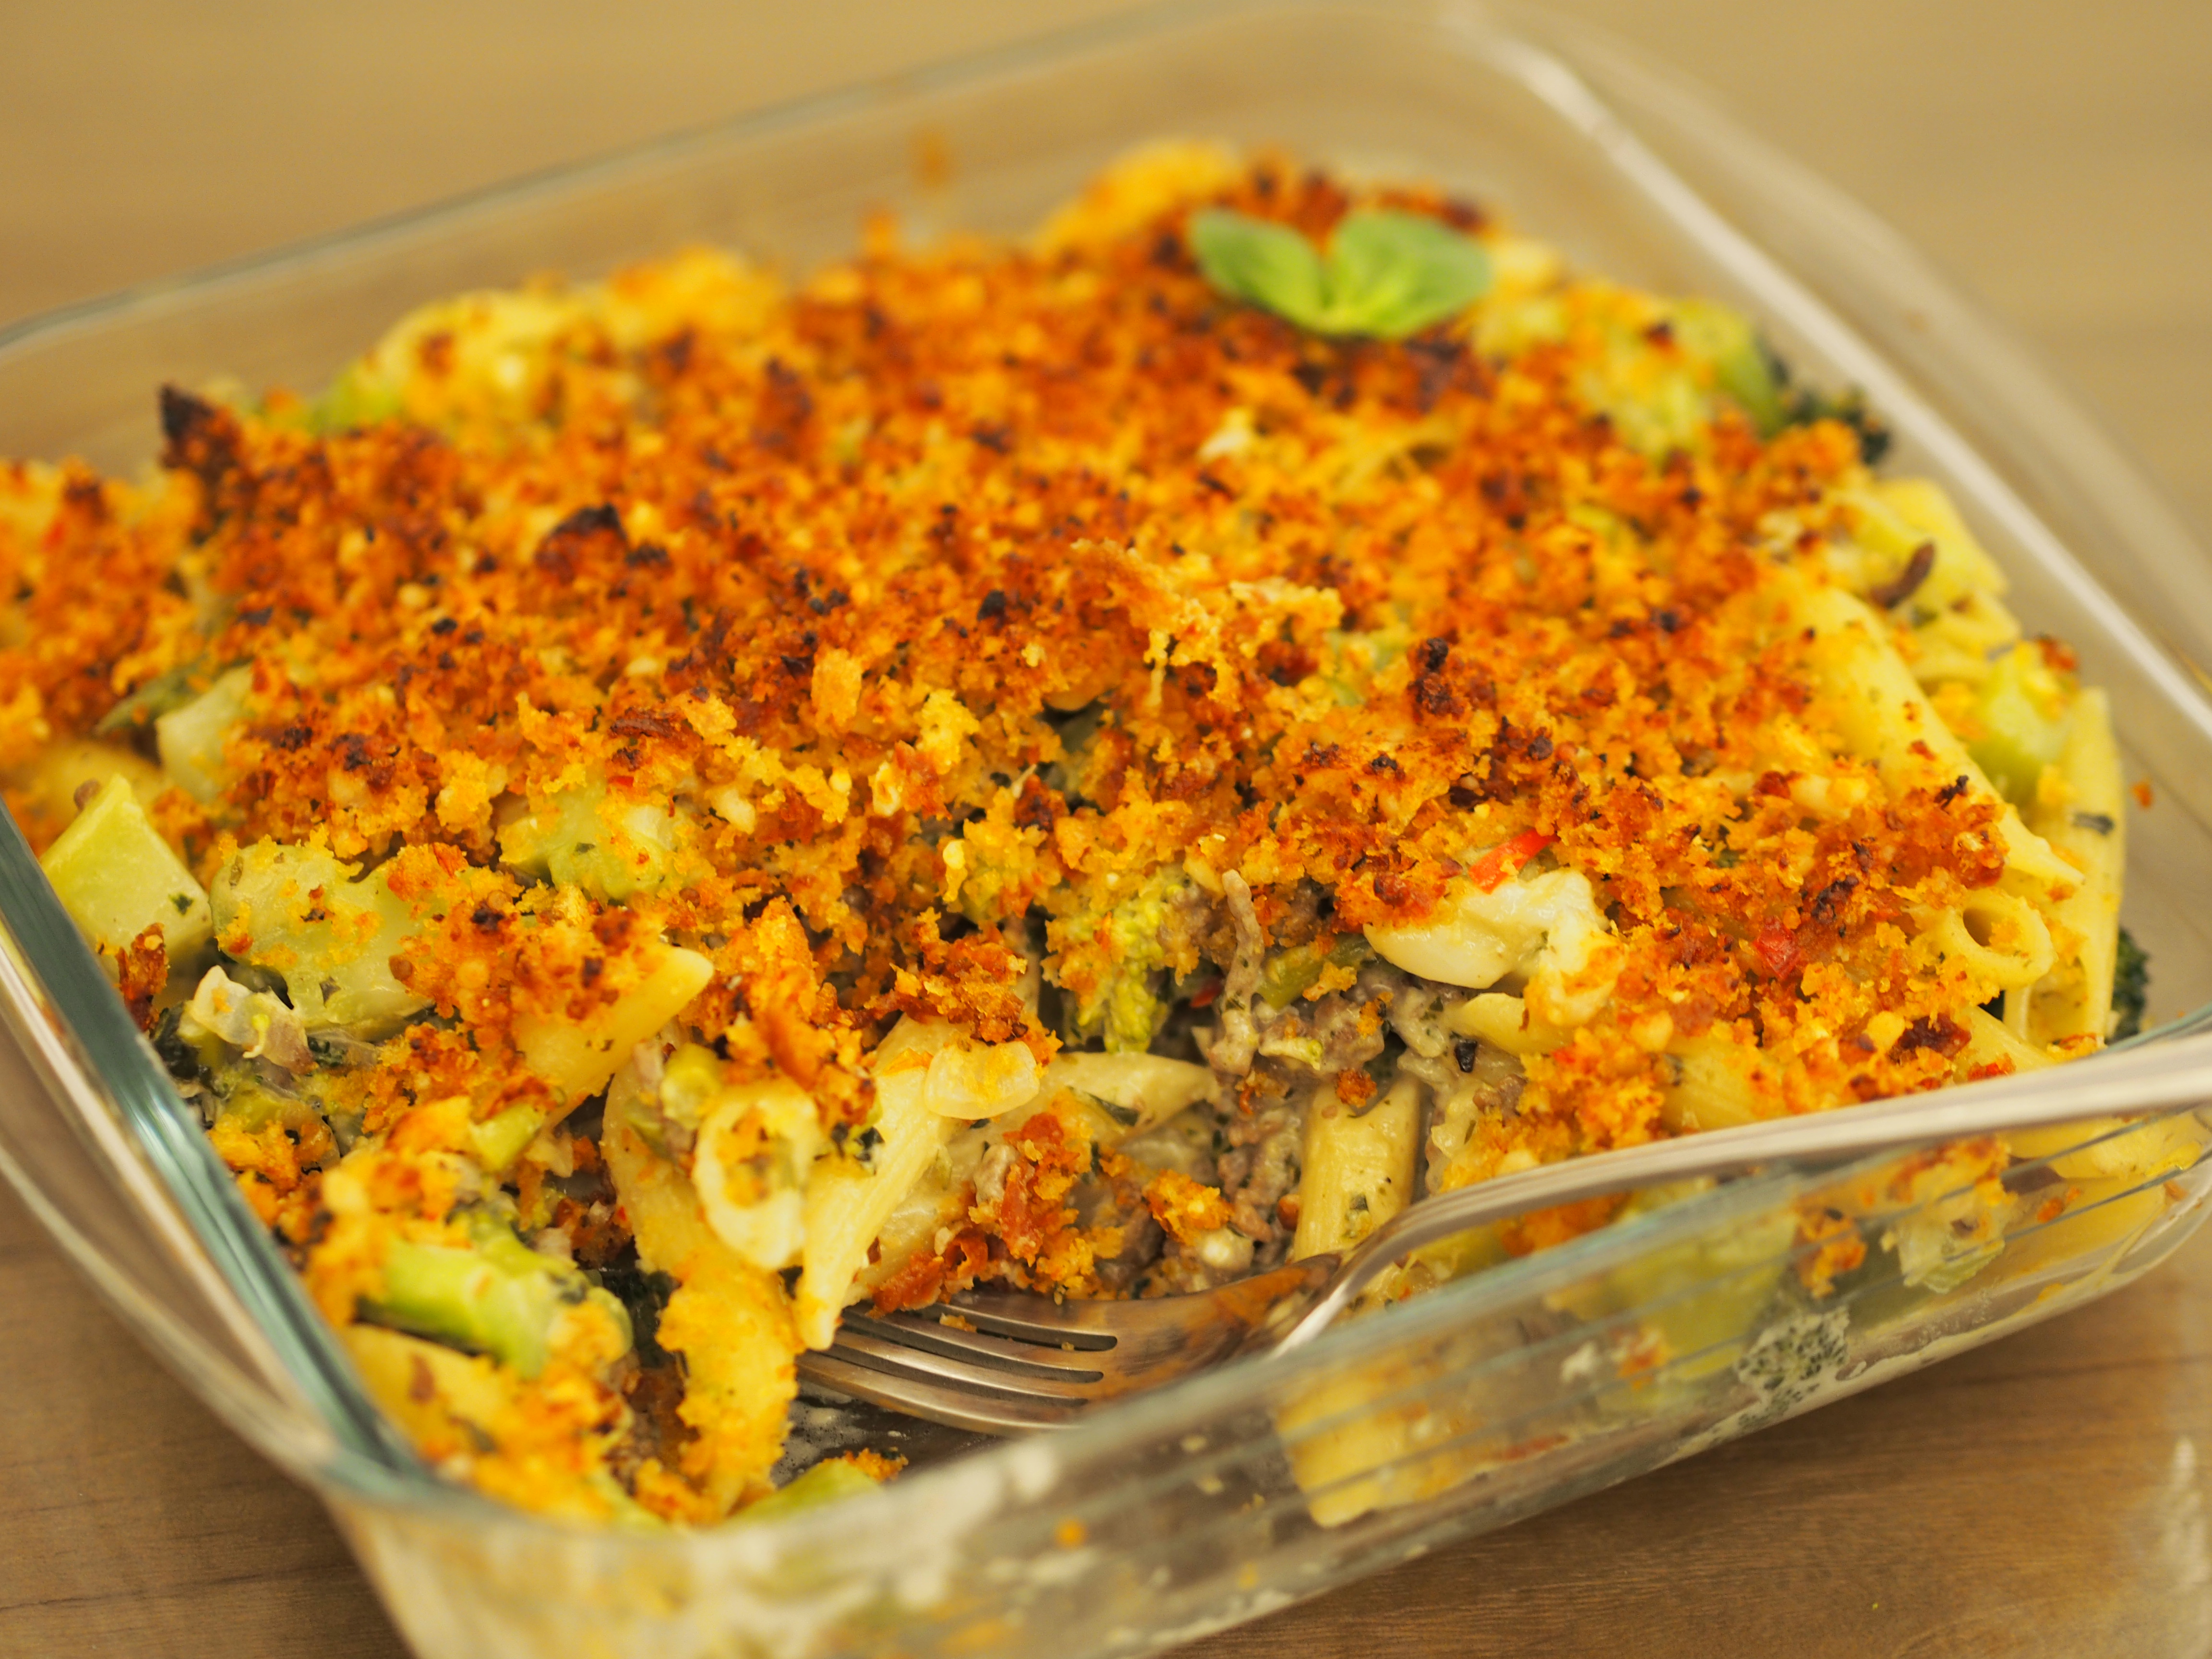
Isn’t a meal always more enjoyable when you can eat right out of the pan? 😀
The top is crispy and crumbly and the sundried tomatos and chilli really give it an extra kick of flavour. We don’t usually eat a lot of veggies in our pastas, but in this dish you wouldn’t even notice you’re eating so much! Also, you can really alter the taste to your liking, making it more or less creamy/spicy/crunchy. And I promise it’s not as ‘oozy creamy’ as you would imagine, the broccoli and chilli really balance out the creaminess. This is a great dish to bring to a pot luck because it’s got everything in one- pasta, meat, veggies, and a display of your skill with the beautiful crumbly crust!
I hope you enjoy, if you ever make this, please let me know and share a picture with me!
Be in love with life.
Much Love,
CC
like! keep this up pls
nice photos btw
this was delicious! Great bonding time for me and my bf! 🙂
Love Jaime! Have never thought of baking broc before but this looks great.
Thank you! 🙂
Looks lovely, Crystal. I love all things with broccoli and the different textures of creamy and crispy. Yum!
Thanks Jess! :))
This looks good, sounds good, and in my imagination tastes good. I will have to verify my imagination soon.
Thanks!! Pls do let me know how it goes if u try it! 🙂
Pingback: Valentine’s Day: Matcha Green Tea and White Chocolate Molten Lava Cake 抹茶心太軟 | Cooked for You
Pingback: Cooked For You: Matcha Green Tea and White Chocolate Molten Lava Cake |
I love how this recipe combines different textures and flavors.