Valentine’s Day: Matcha Green Tea and White Chocolate Molten Lava Cake 抹茶心太軟
As this year’s Valentine’s very conveniently falls on a Friday, have you started planning what to do for your loved ones yet? Even though you may still be recovering from the recent string of celebrations- Christmas, New Years, (the wedding for us), and Chinese New Year, there is always room to celebrate love. Bosco and I have agreed that Valentine’s Day should be about more than just spending money on each other. Last year he DIY-ed a box of scratch cards for me while I made a photo frame saying “I love you because…(fill in with whiteboard marker)”. Not only are they constant reminders of our appreciation for each other, they are also completely unique and irreplaceable. Now I know you may be thinking you don’t have time, but a simple hand written card plus a home cooked meal is more than enough to remind those around you how much you love them. For more DIY ideas, check out my friends’ DIY website SweetP.


Check out my first youtube video! Maybe I’ll make cooking videos one day? What do you lovely people think? Please comment and subscribe if you’d like that! 🙂
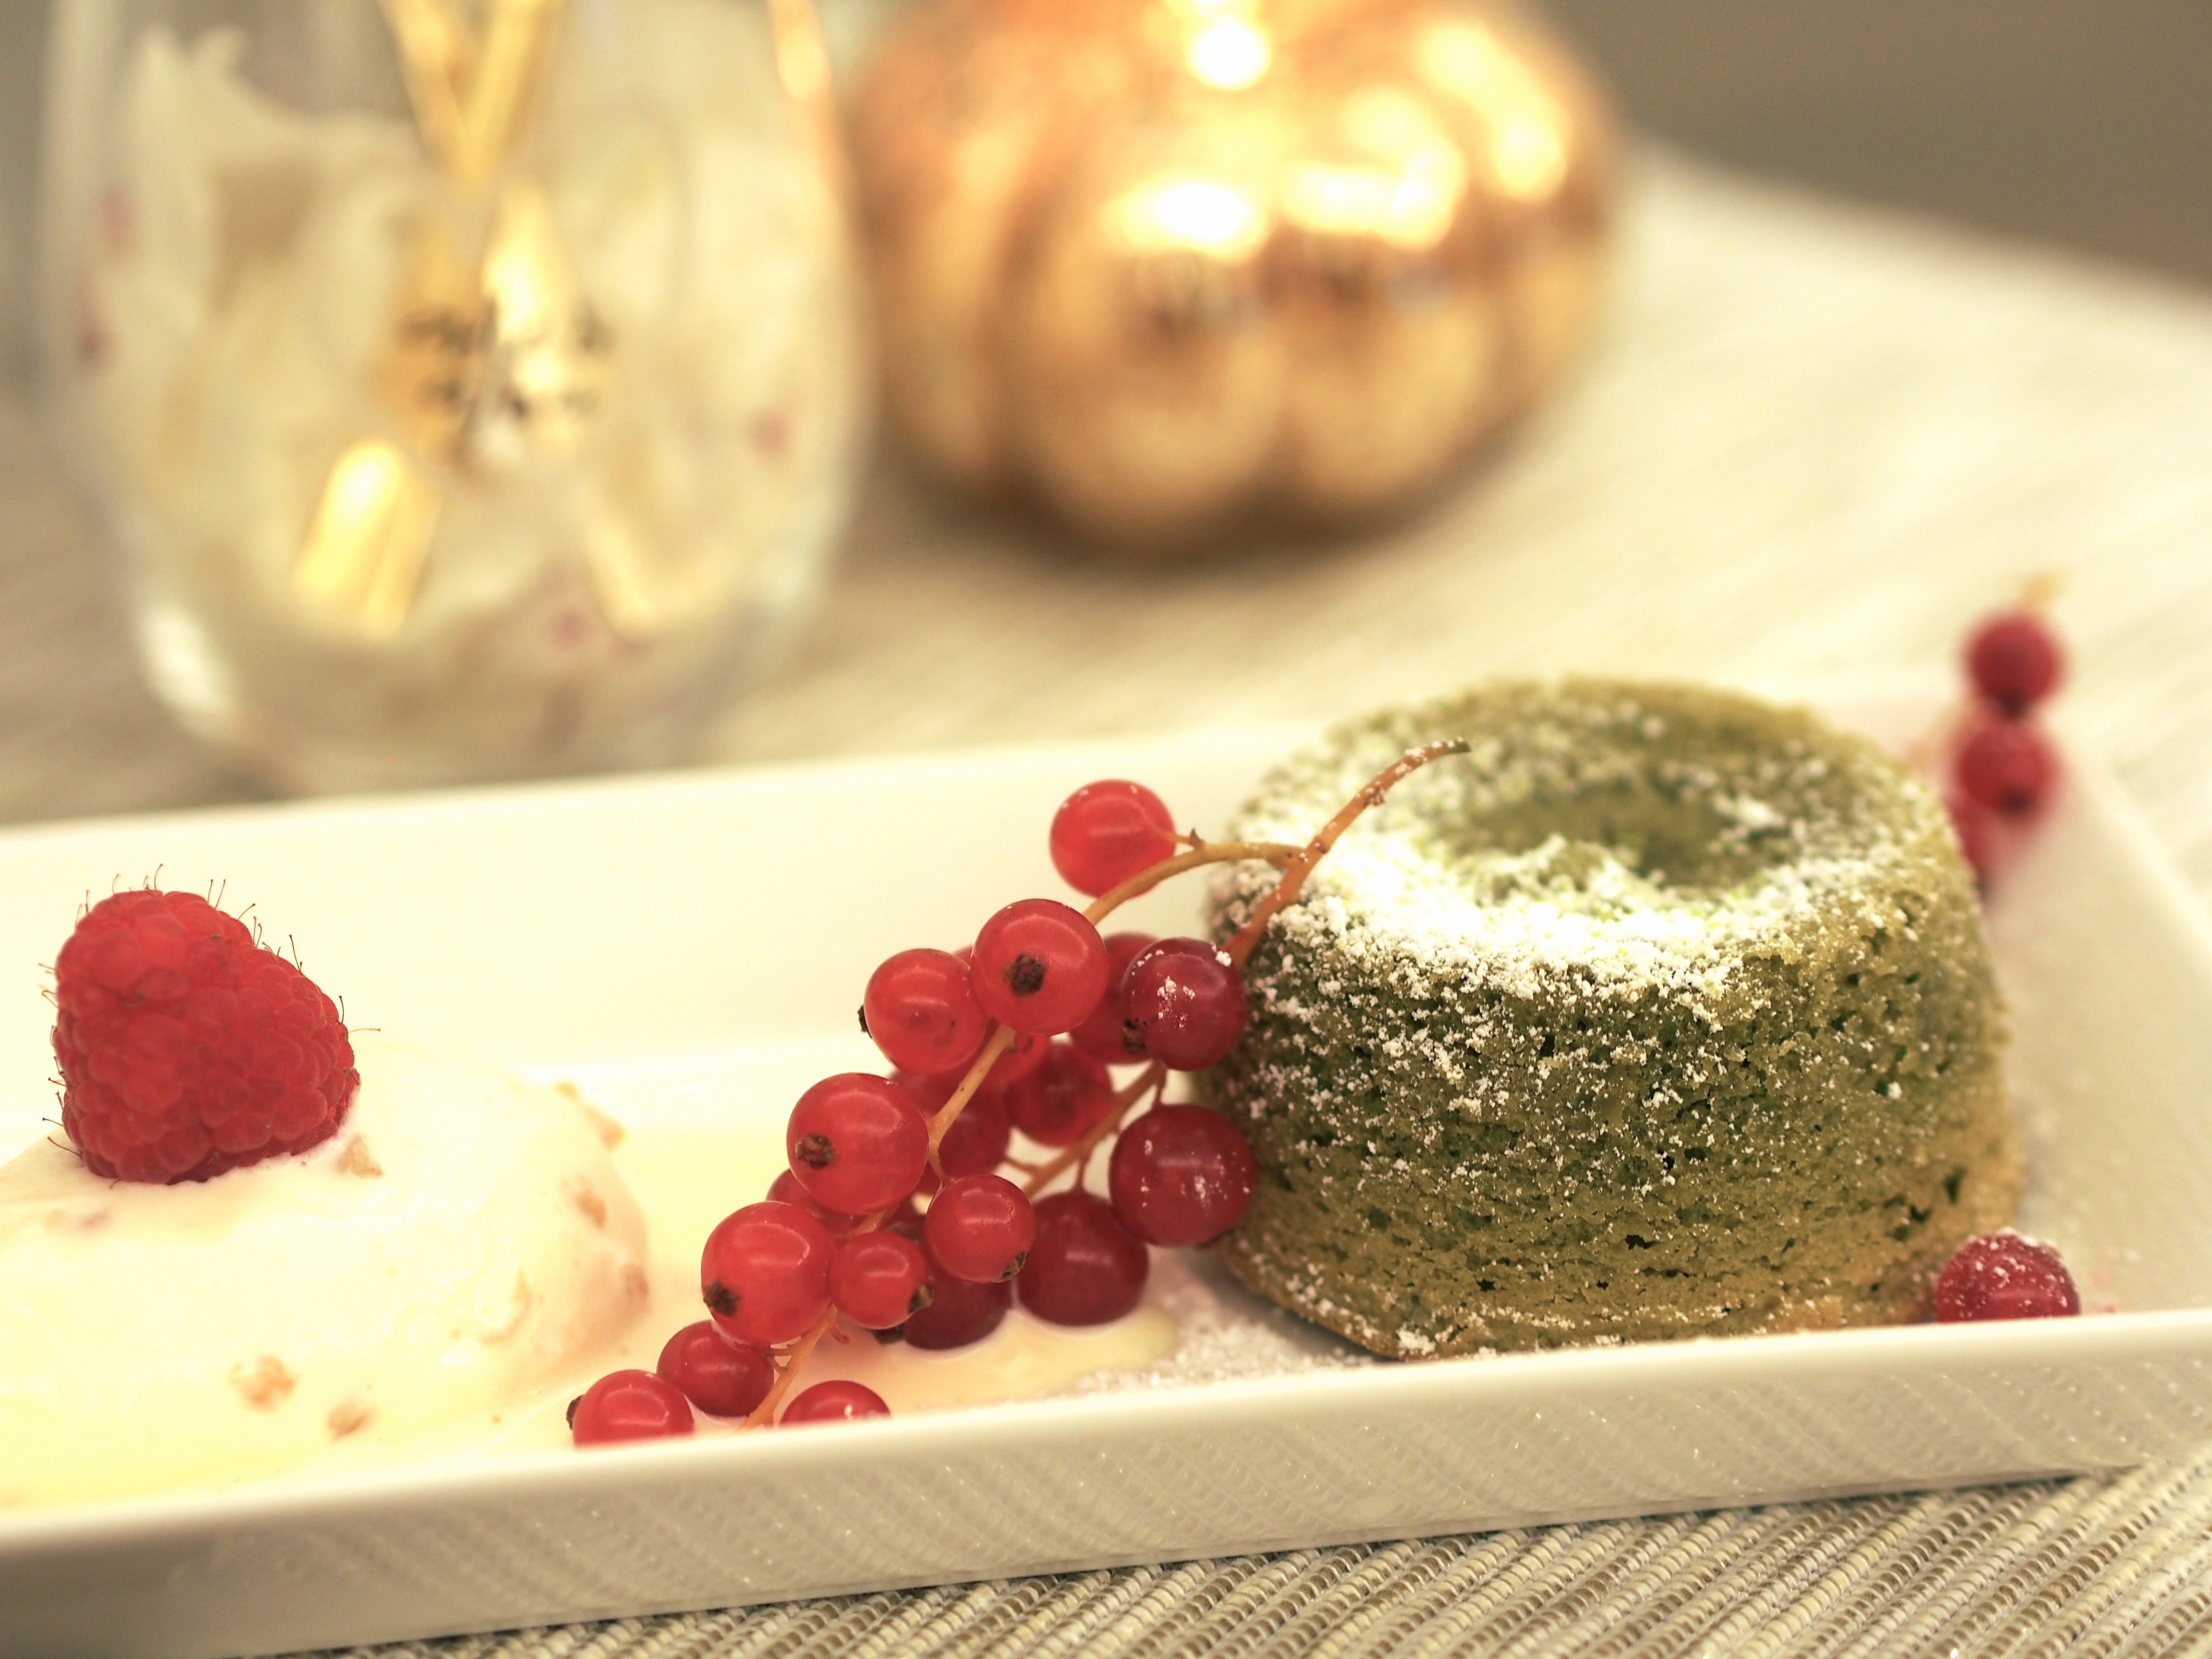
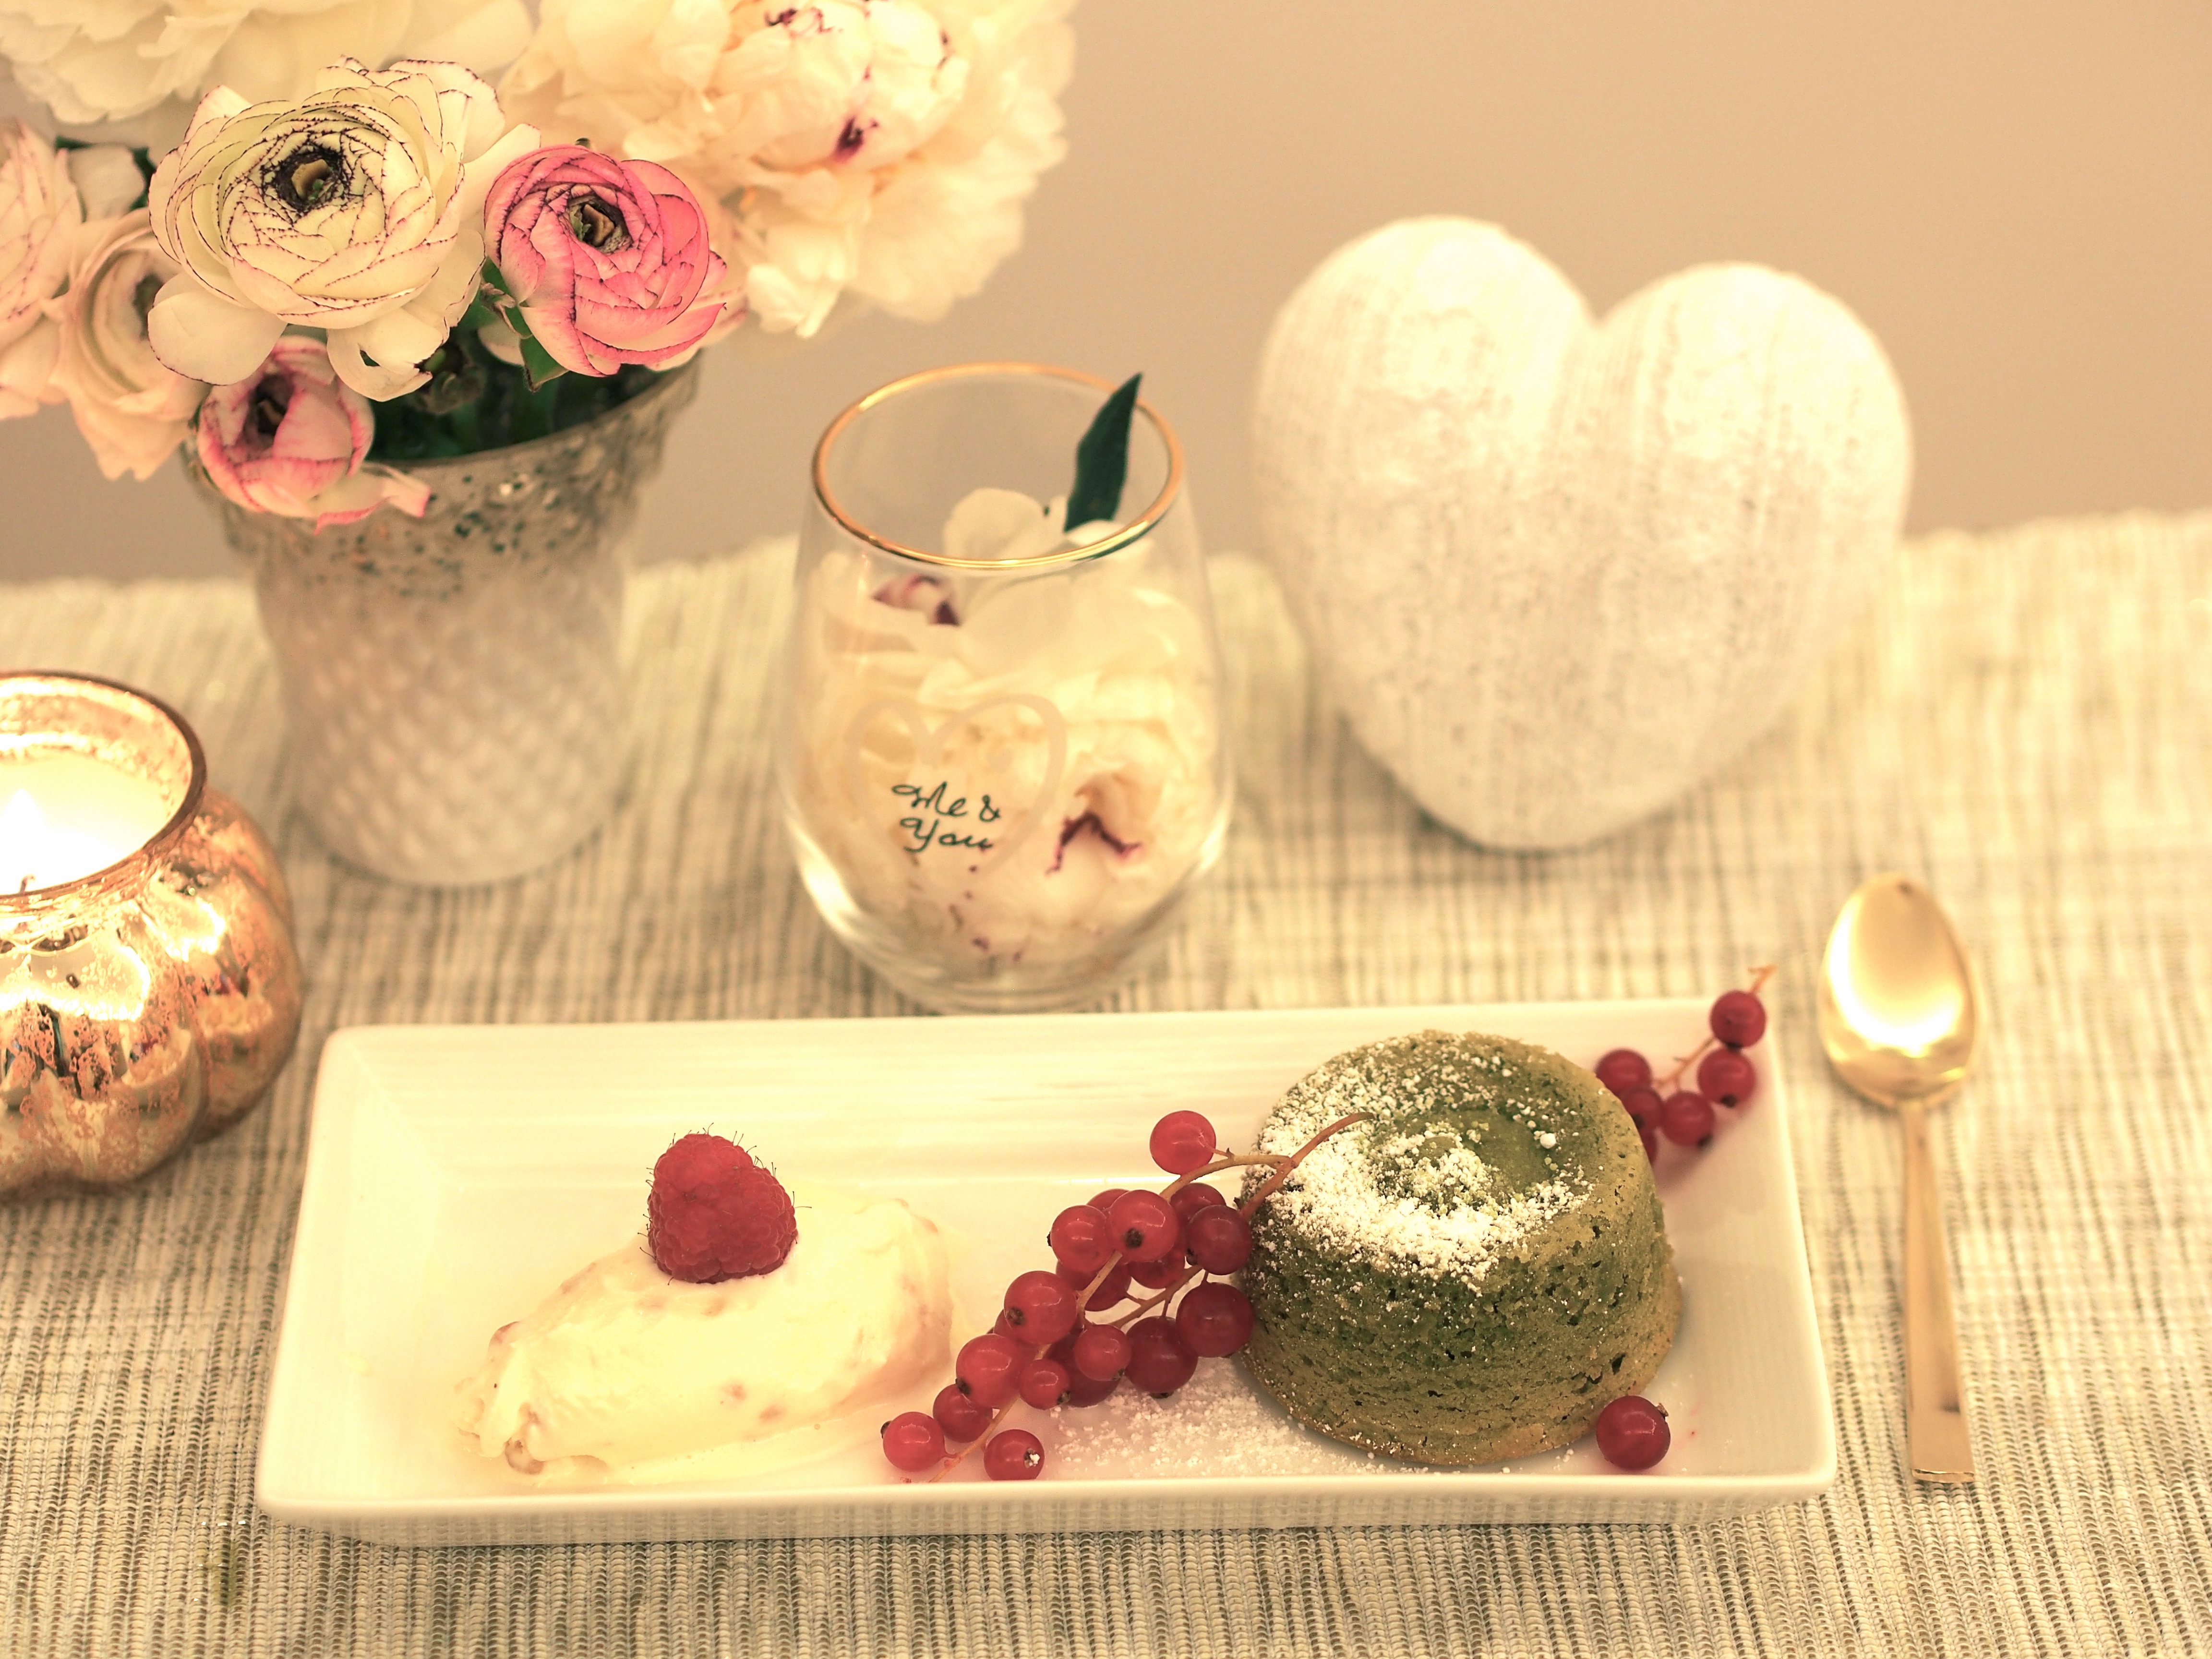
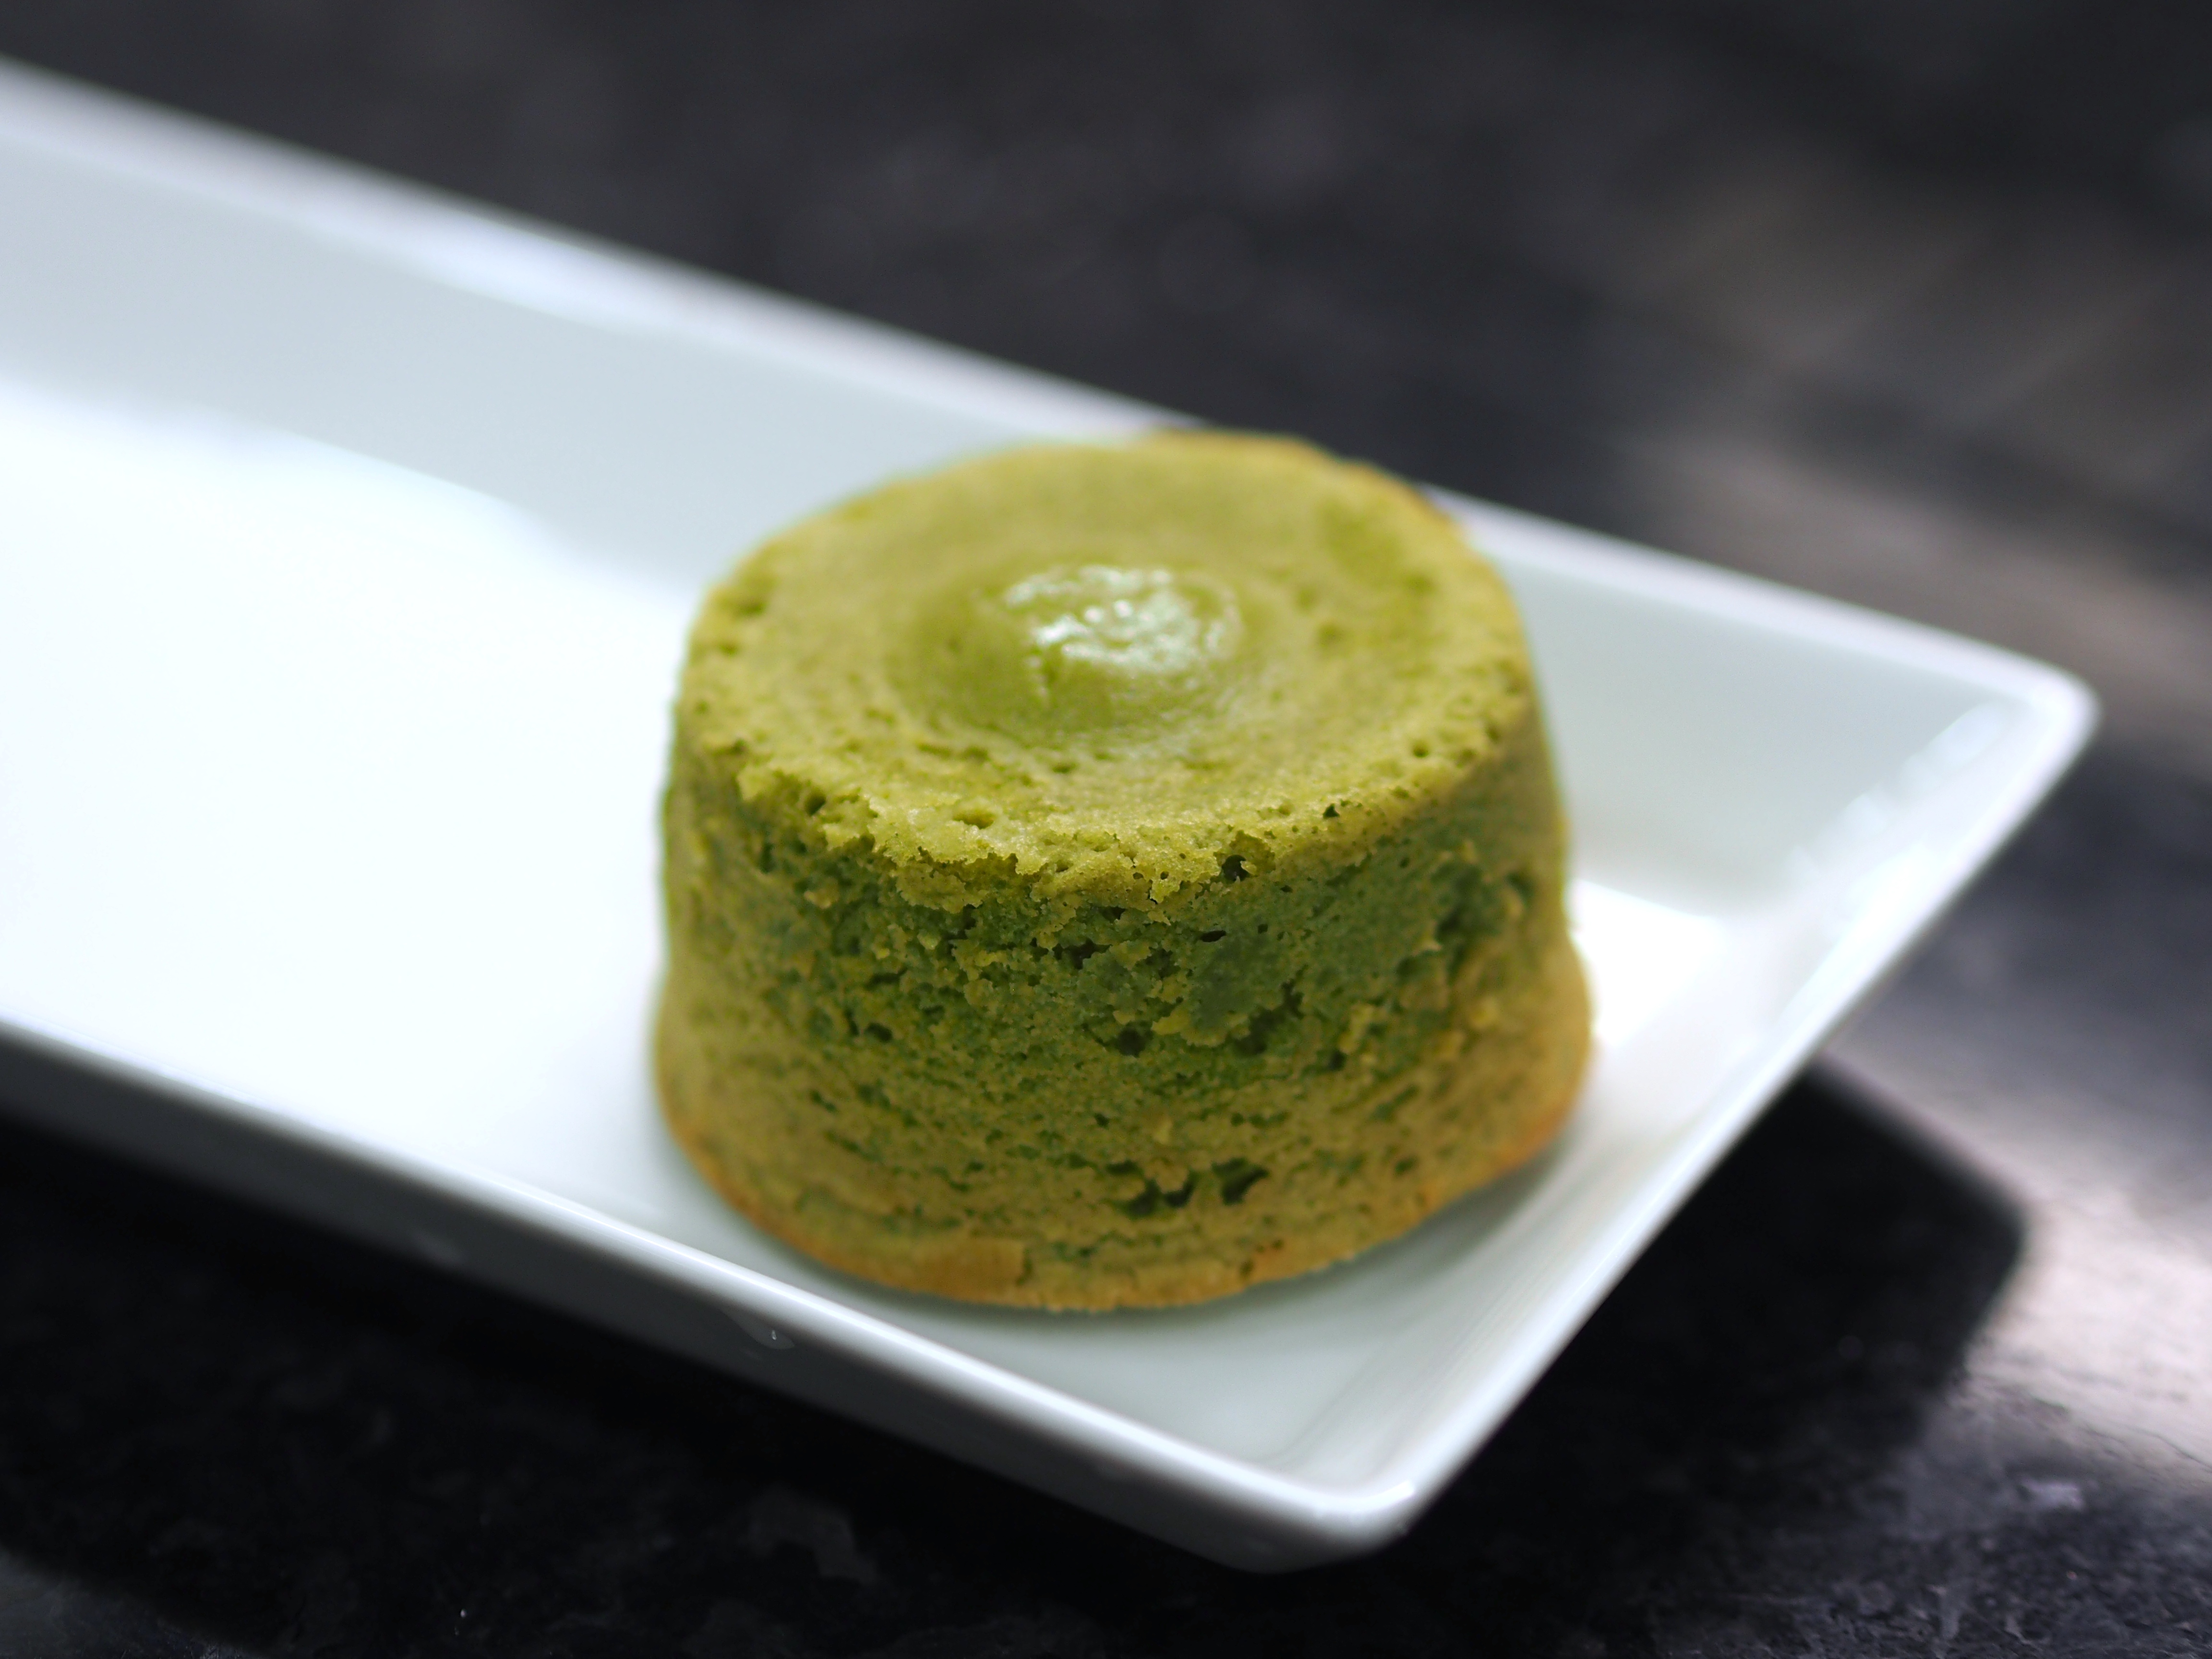
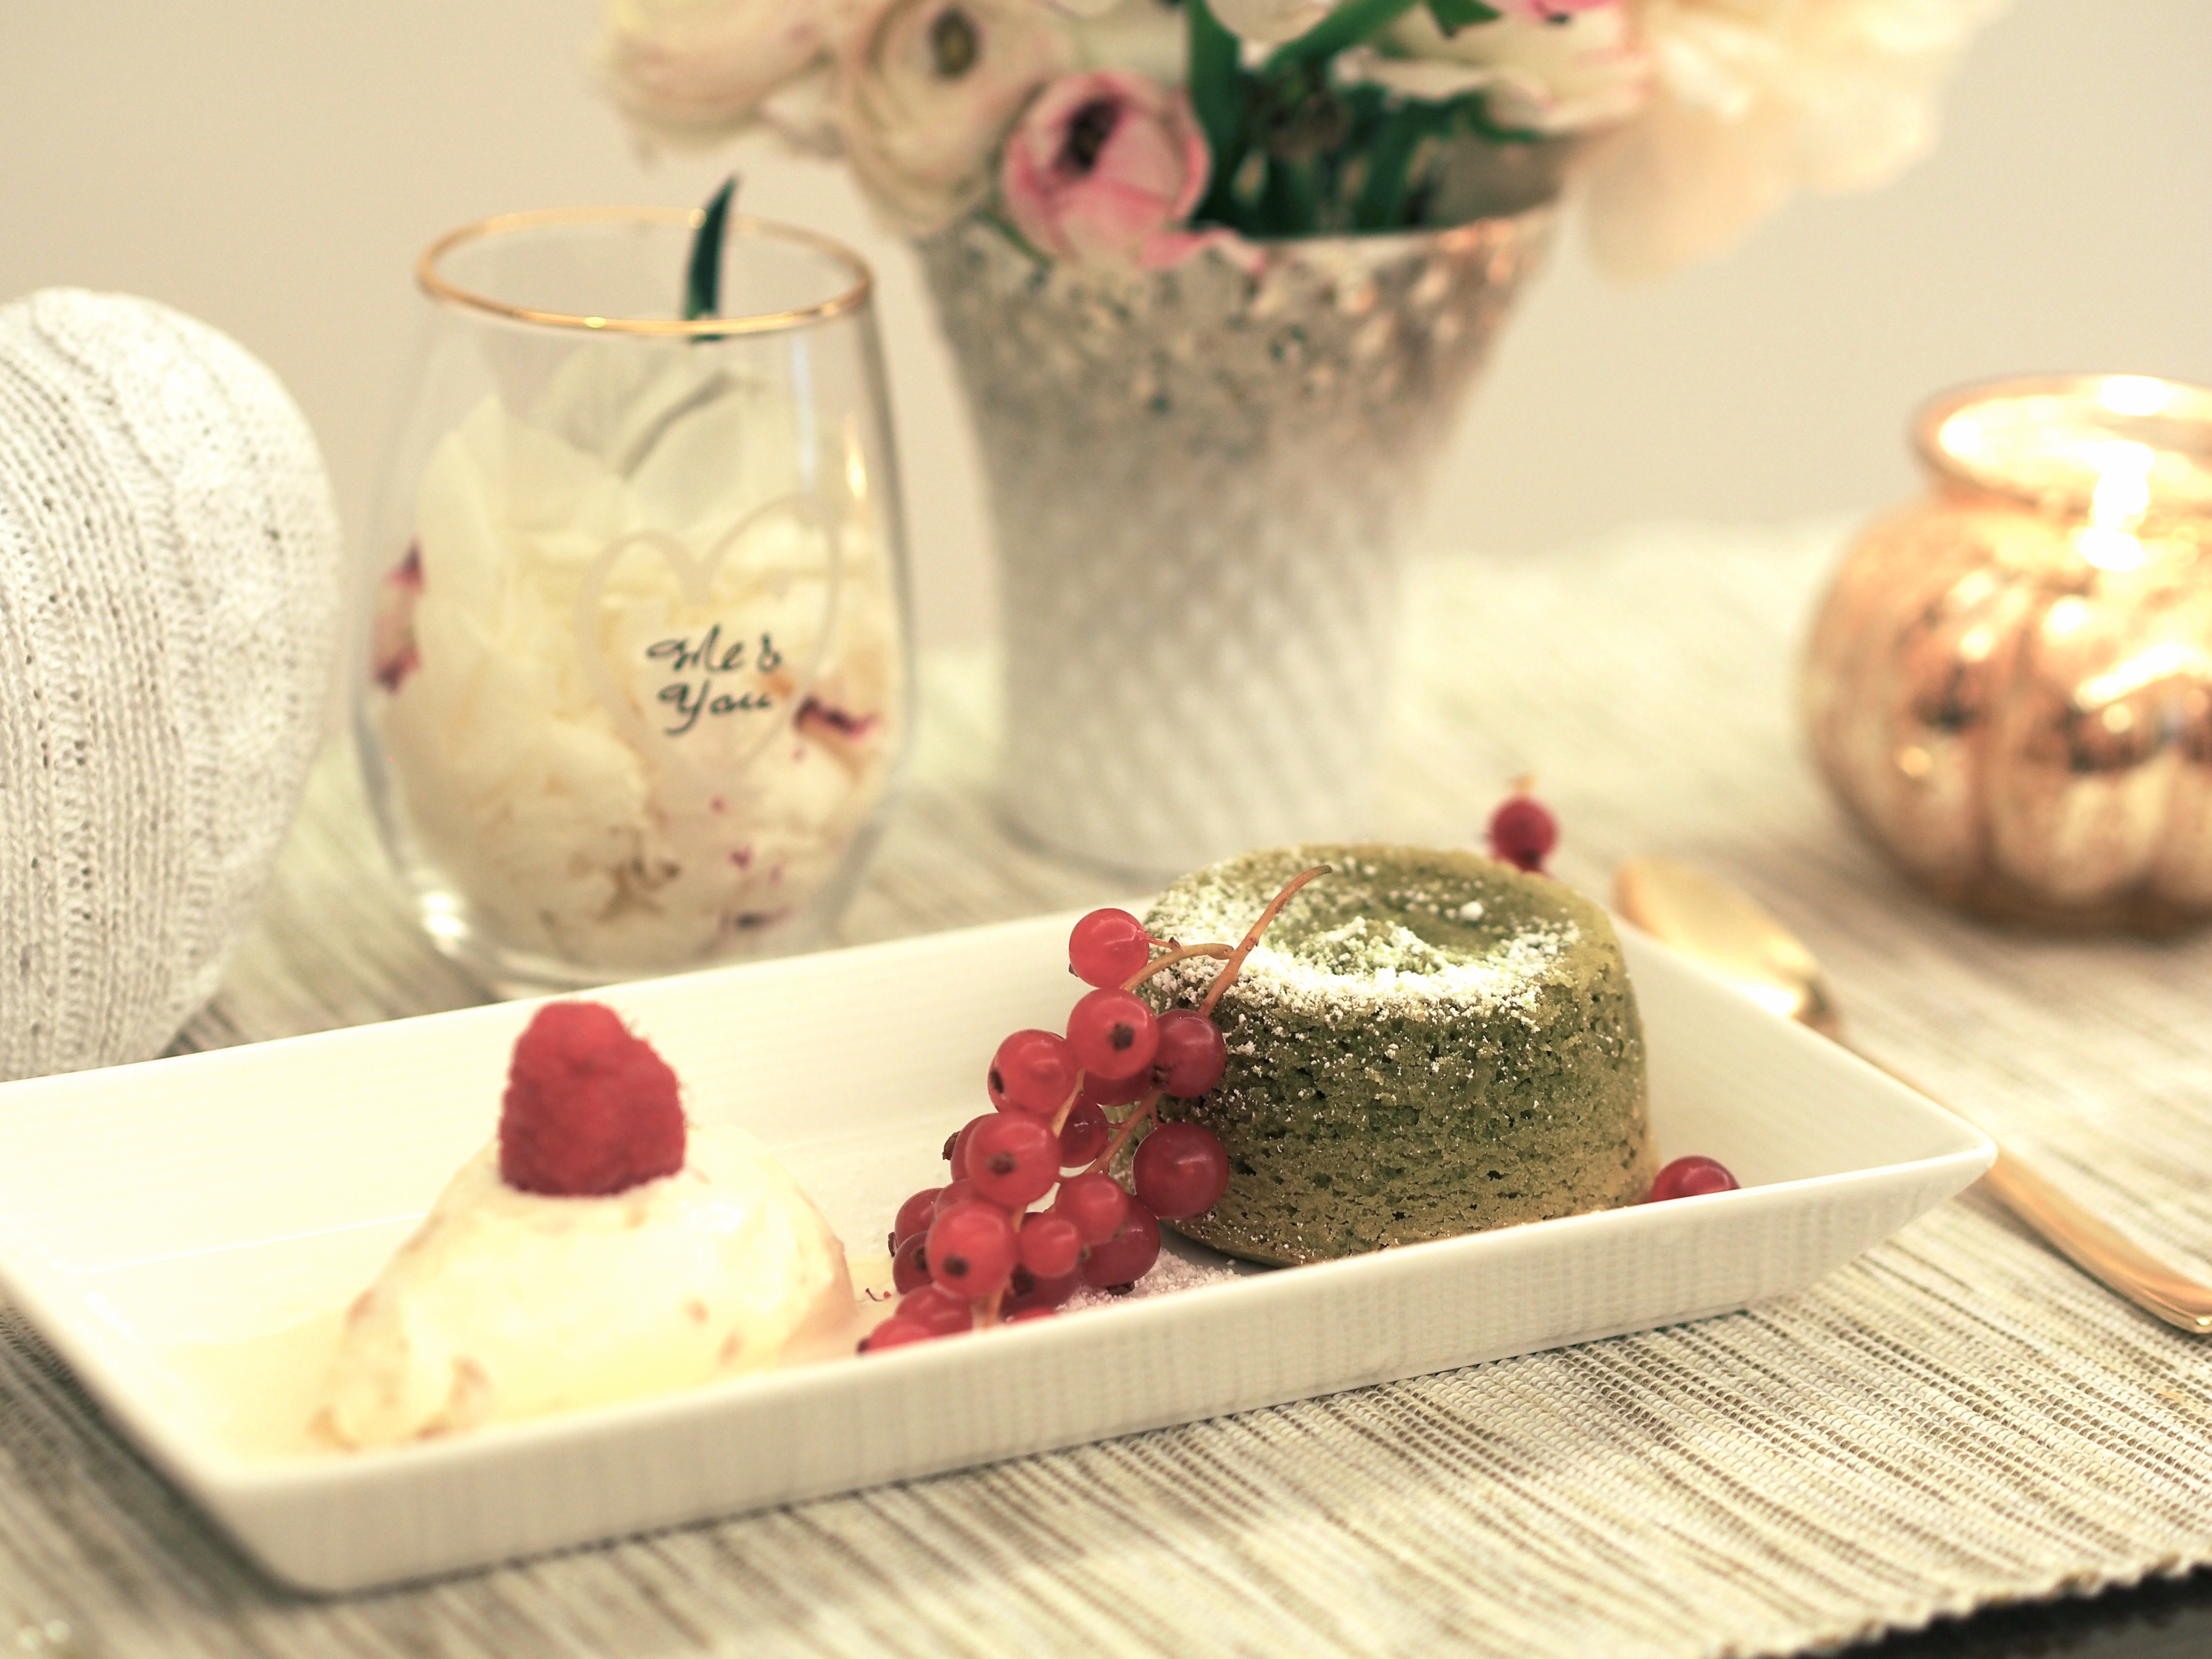
I usually celebrate Valentine’s day with half a day off to prepare a home cooked dinner complete with candles and wine for Bosco. I’ve previously made creamy tomato chicken with pesto pasta, a roast chicken, and a baked pasta. This year I wanted to make an extra special treat for him- this luscious green tea and white chocolate molten lava cake adapted from Sorted Food. With a light spongey outer layer that breaks open to a gush of warm chocolatey green tea lava, this cake is perfectly balanced between the slight bitterness of the green tea and sweetness of the white chocolate. The good thing is it is not overpoweringly dense or sweet. Top it off with some ice cream/berries and the contrasting hot/cold, sweet/tart, sponge/lava combinations will be amazing. This can be made and frozen up to a month in advance so you will have a stress-free evening. Also this sort of fusion dessert will go well with basically any food. What better way to surprise your loved ones than with this luscious dessert they will be craving for years to come!
Remarks: This sensitive cake is easy to make, but difficult to perfect. As little as a gram of ingredients or 10 seconds more or less in the oven can change this from oozy lava to doughy batter. All ovens are different and different ramekin sizes/molds will require a different baking time. So make sure to do a trial and watch very carefully the last 2 minutes to ensure you can pull them out the second it is ready. Trust me, better safe than sorry!


Difficulty: 3/3
Preparation Time: 30 minutes
Freeze Time: Minimum 4 hours/overnight
Bake Time: Approx. 16-18 mins, 180C
Serving: 3 pieces
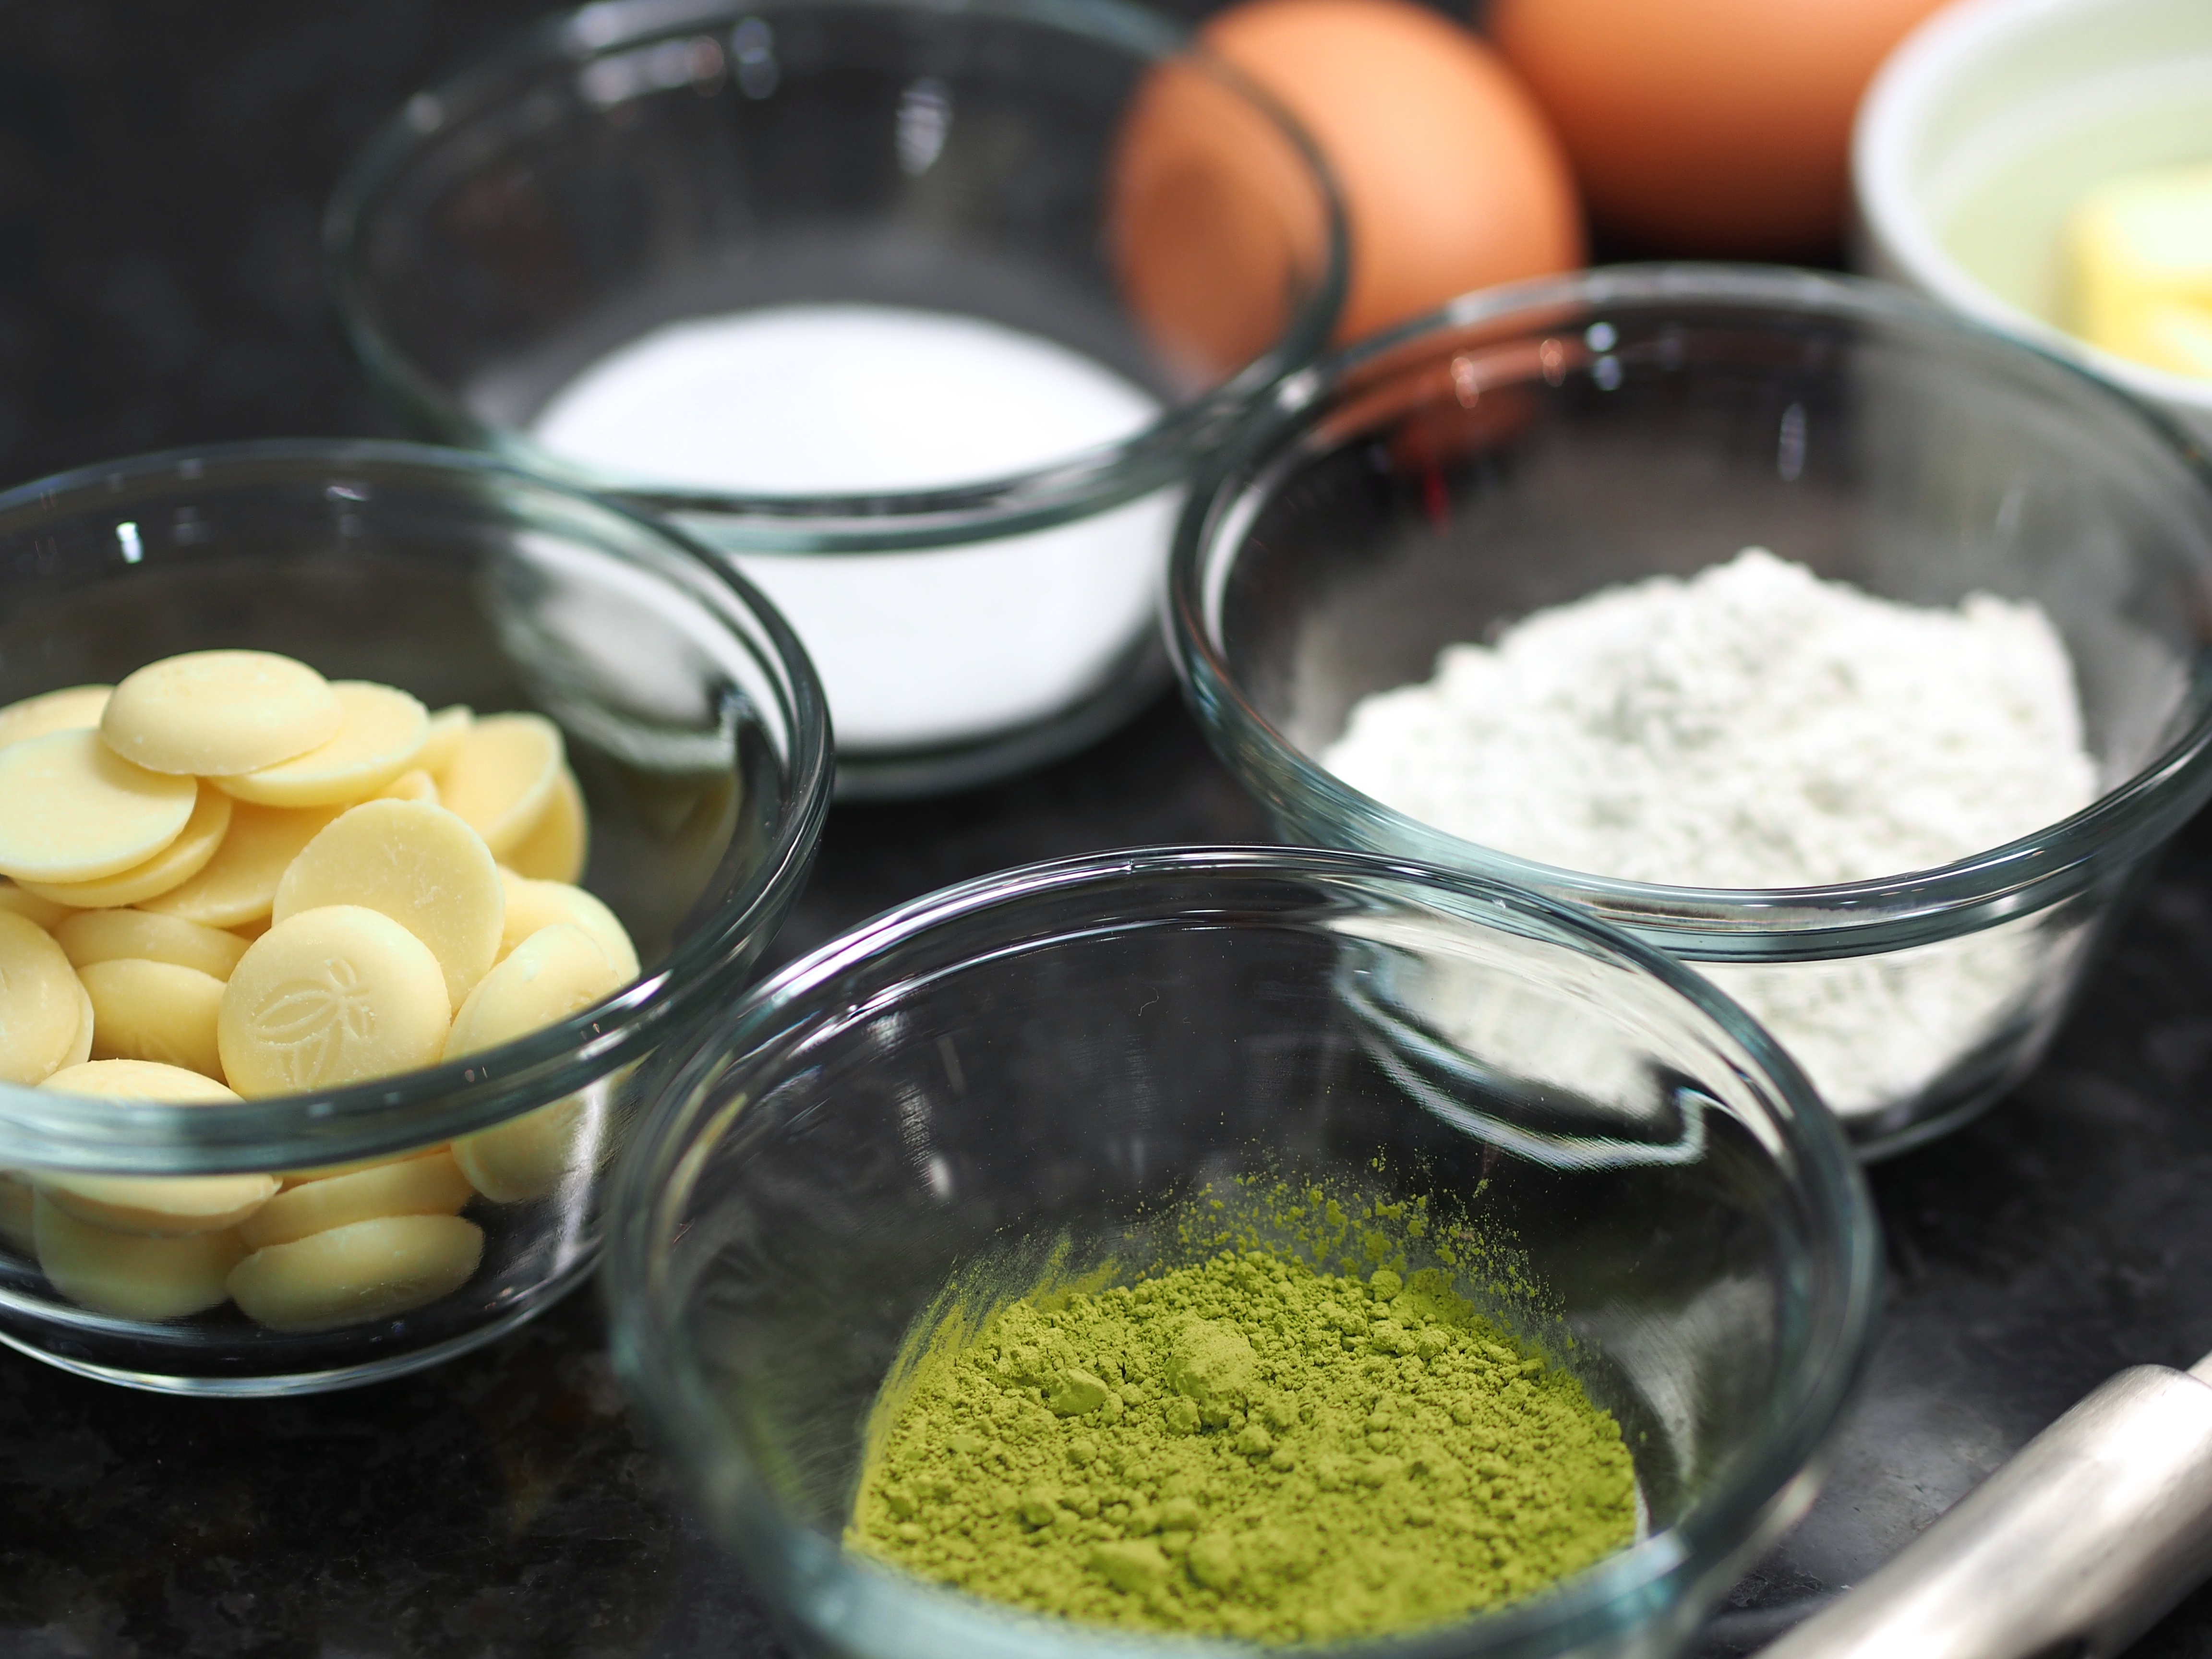
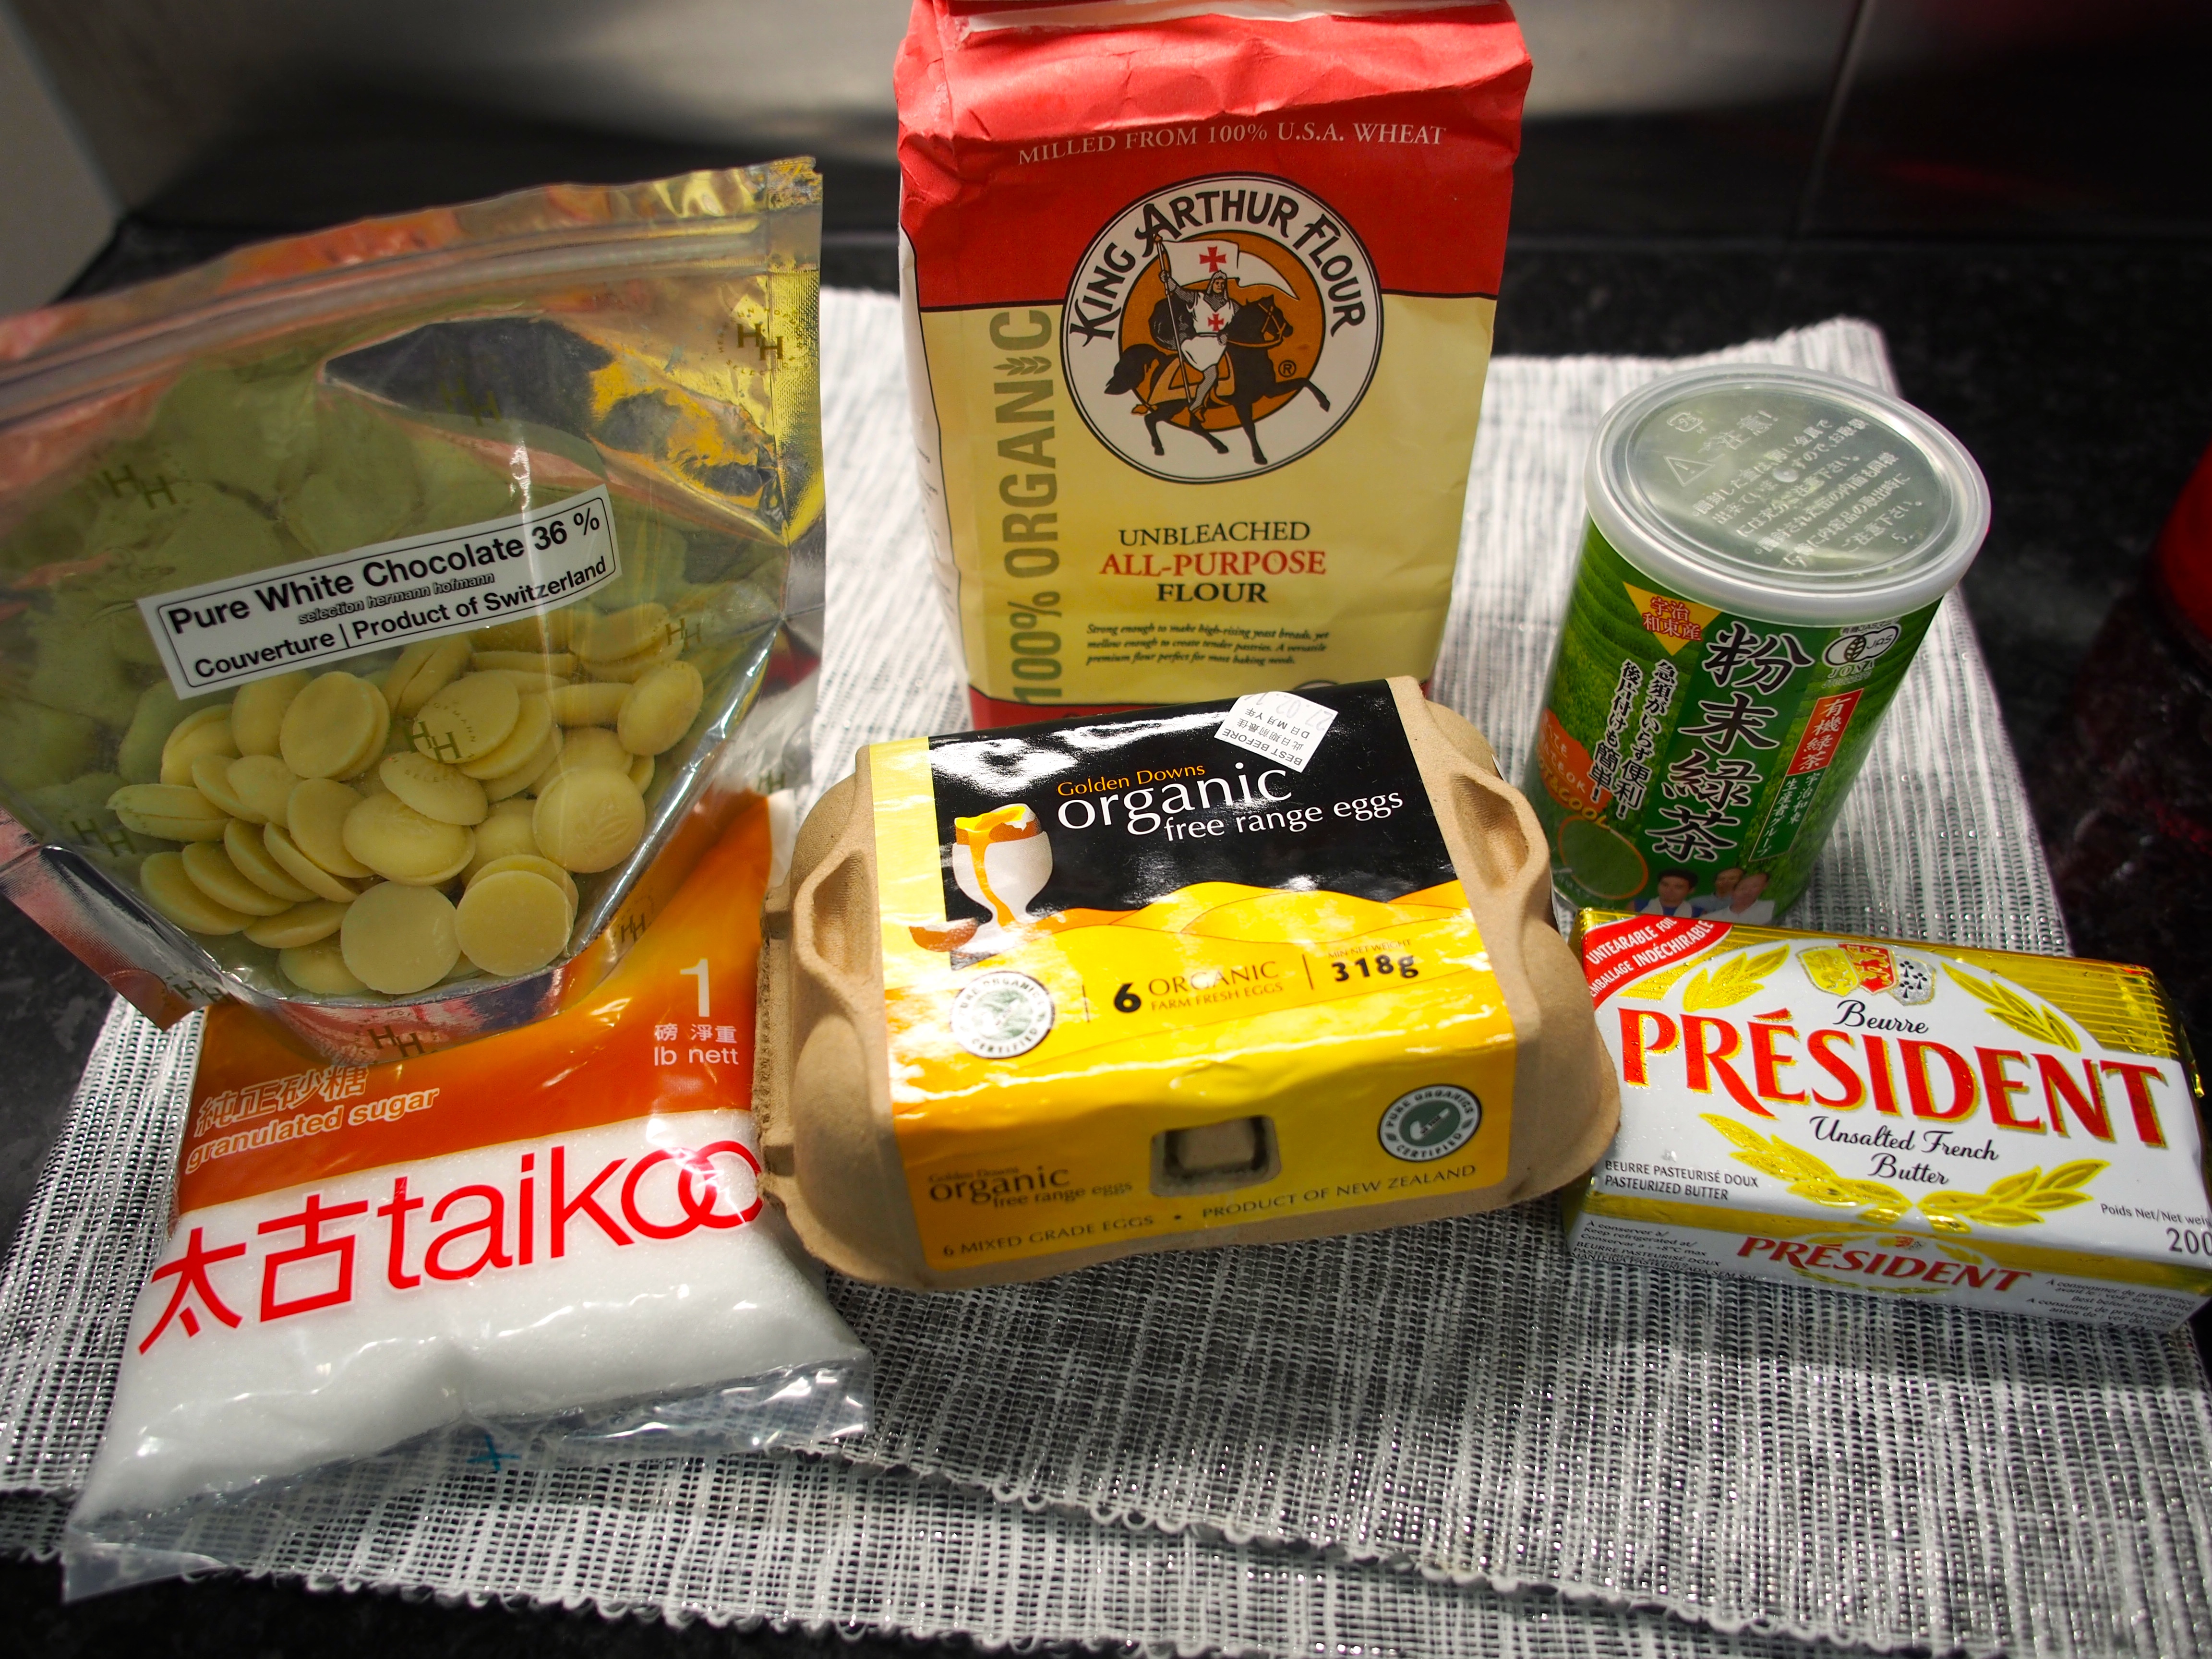
Ingredients:
40 g butter
80 g good quality white chocolate
40 g castor sugar (or granulated)
2 eggs
34 g all purpose flour
6 g good quality matcha powder
Decoration:
Icing Sugar
Raspberries/red currents
Ice Cream
Essential tools:
Three 4-oz ramekins
Kitchen Scale
Nonstick Cooking Paper
*Everything can be found at City’Super


1. Lightly butter the insides of the ramekins and dust with flour or cut up nonstick cooking paper to fit the bottom of the ramekin. Chill in fridge.

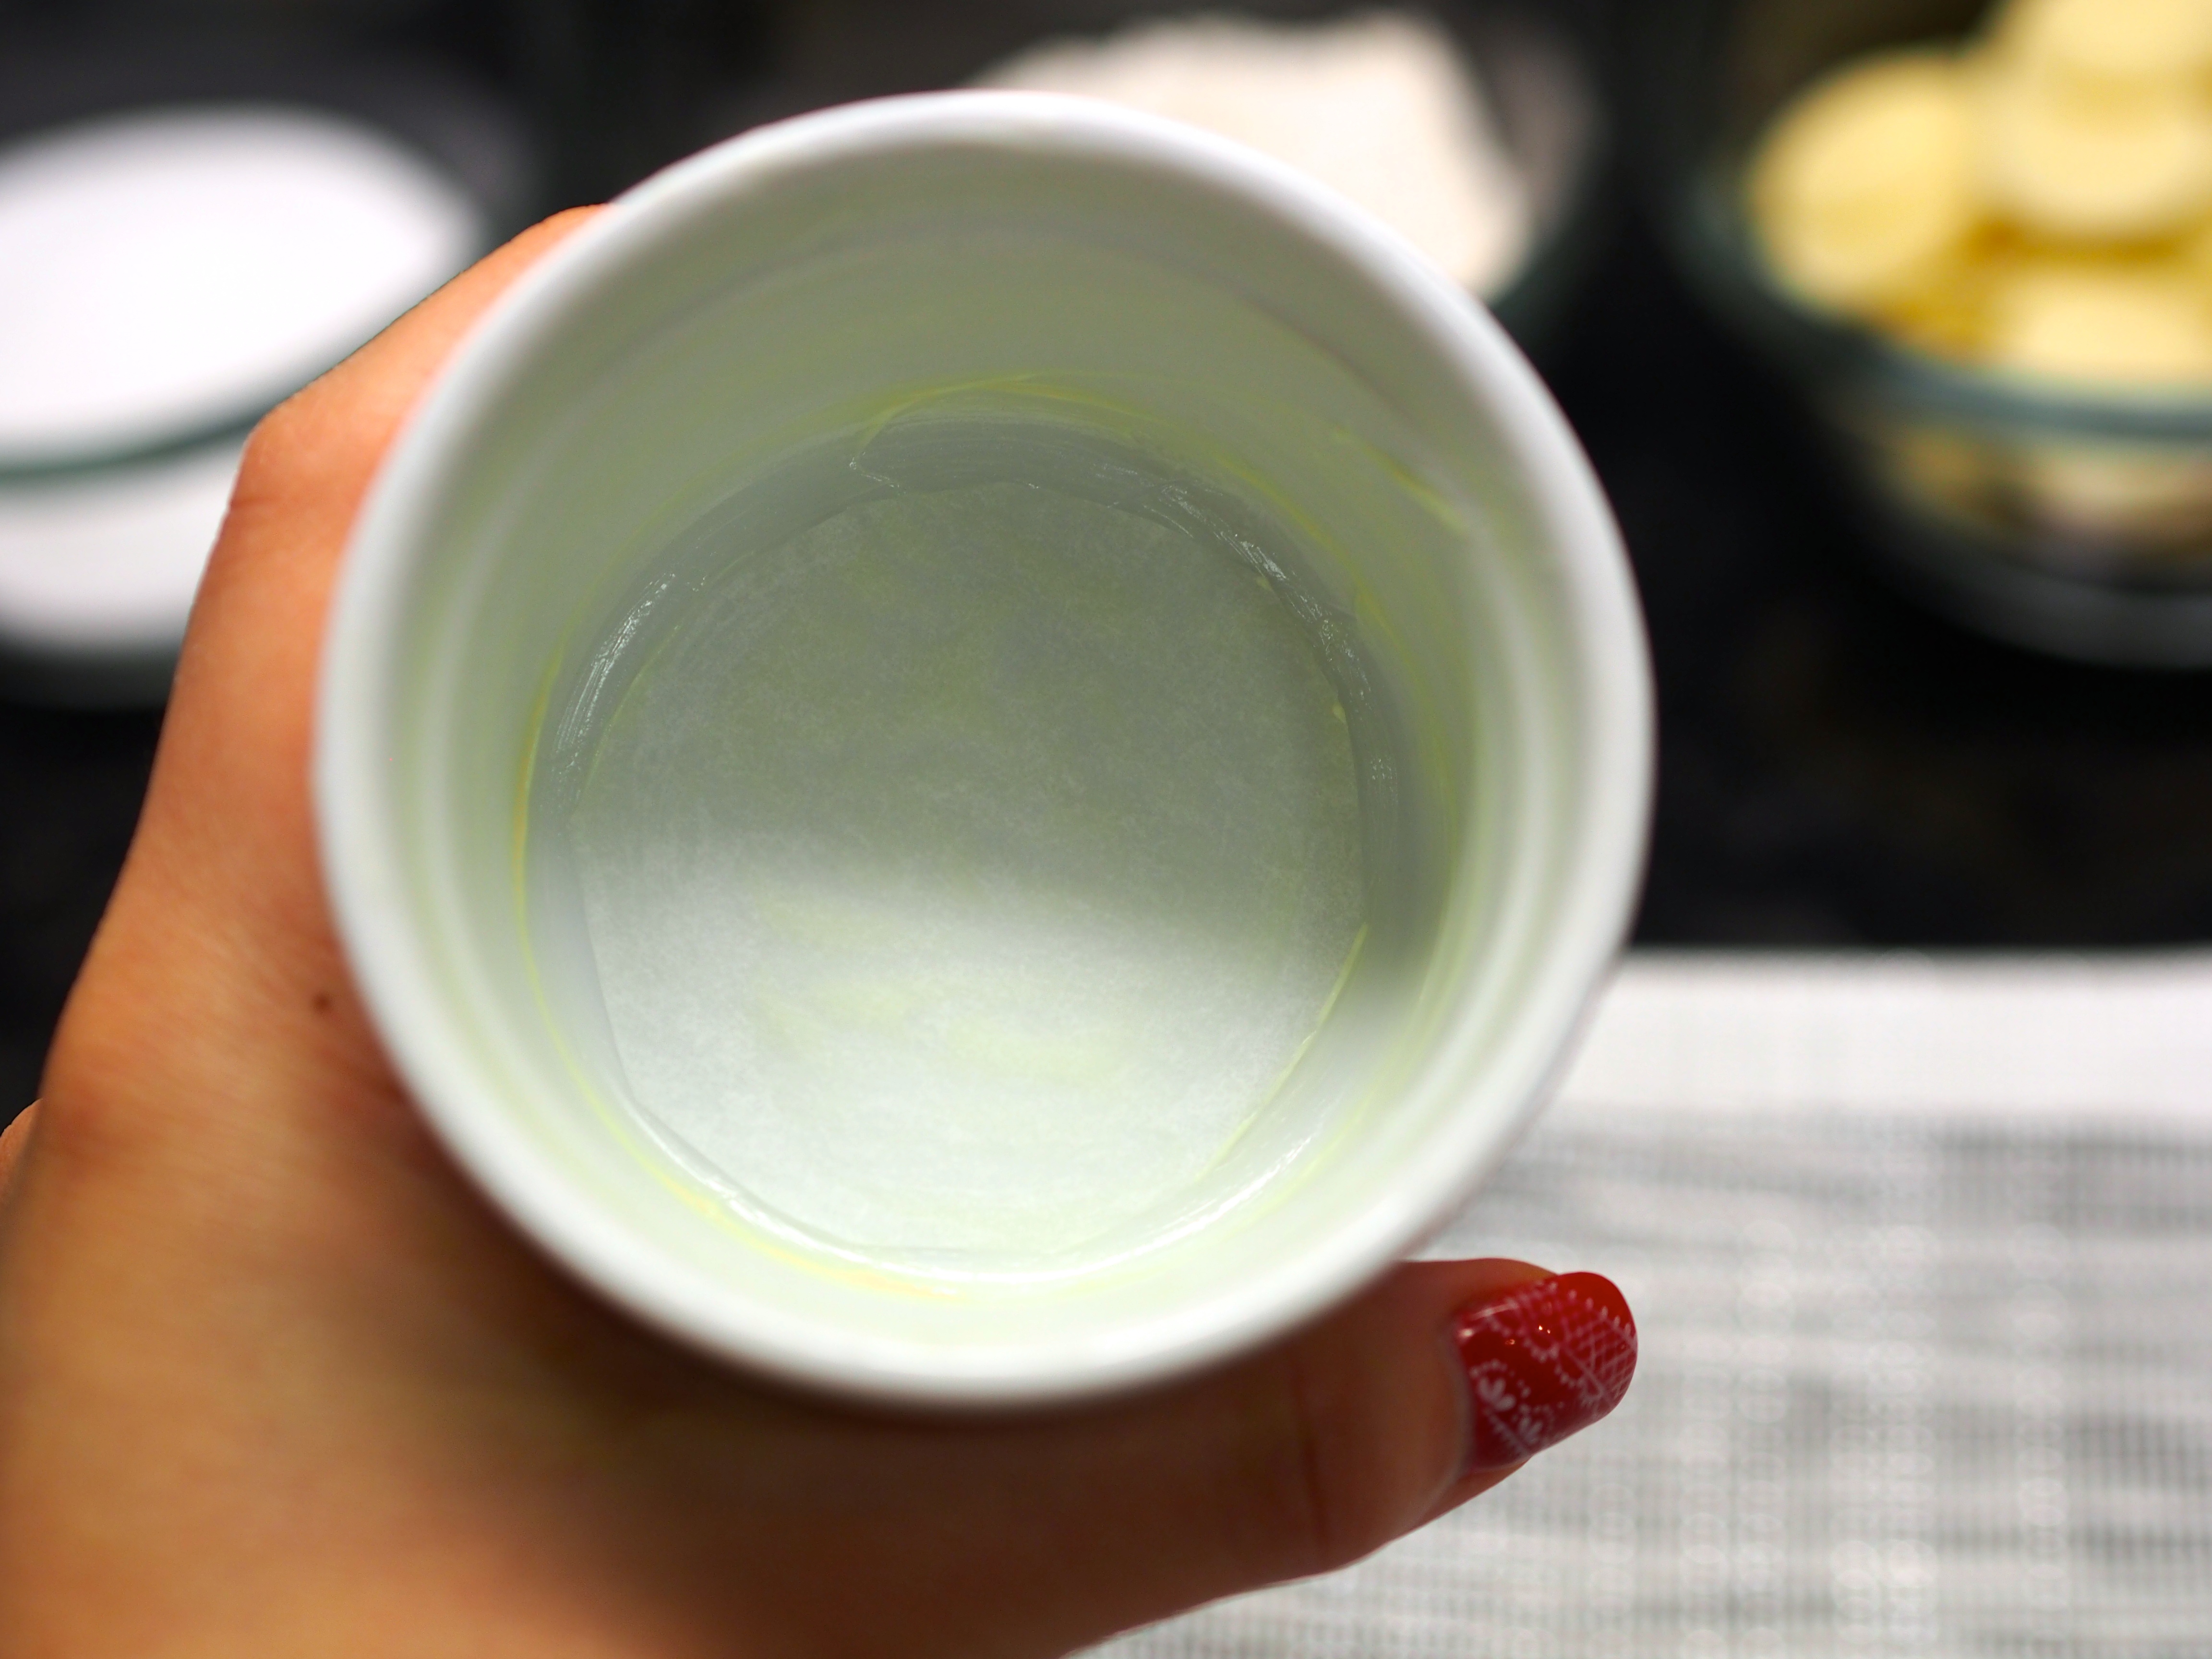
*This will prevent the runny centre of the cake from sticking to the ramekin when you flip it out!
2. Melt the butter in a double boiler over simmering water. Once melted, turn off the heat and add the white chocolate, stirring constantly until smooth. Remove from double boiler and sift in and mix the matcha powder until completely smooth.


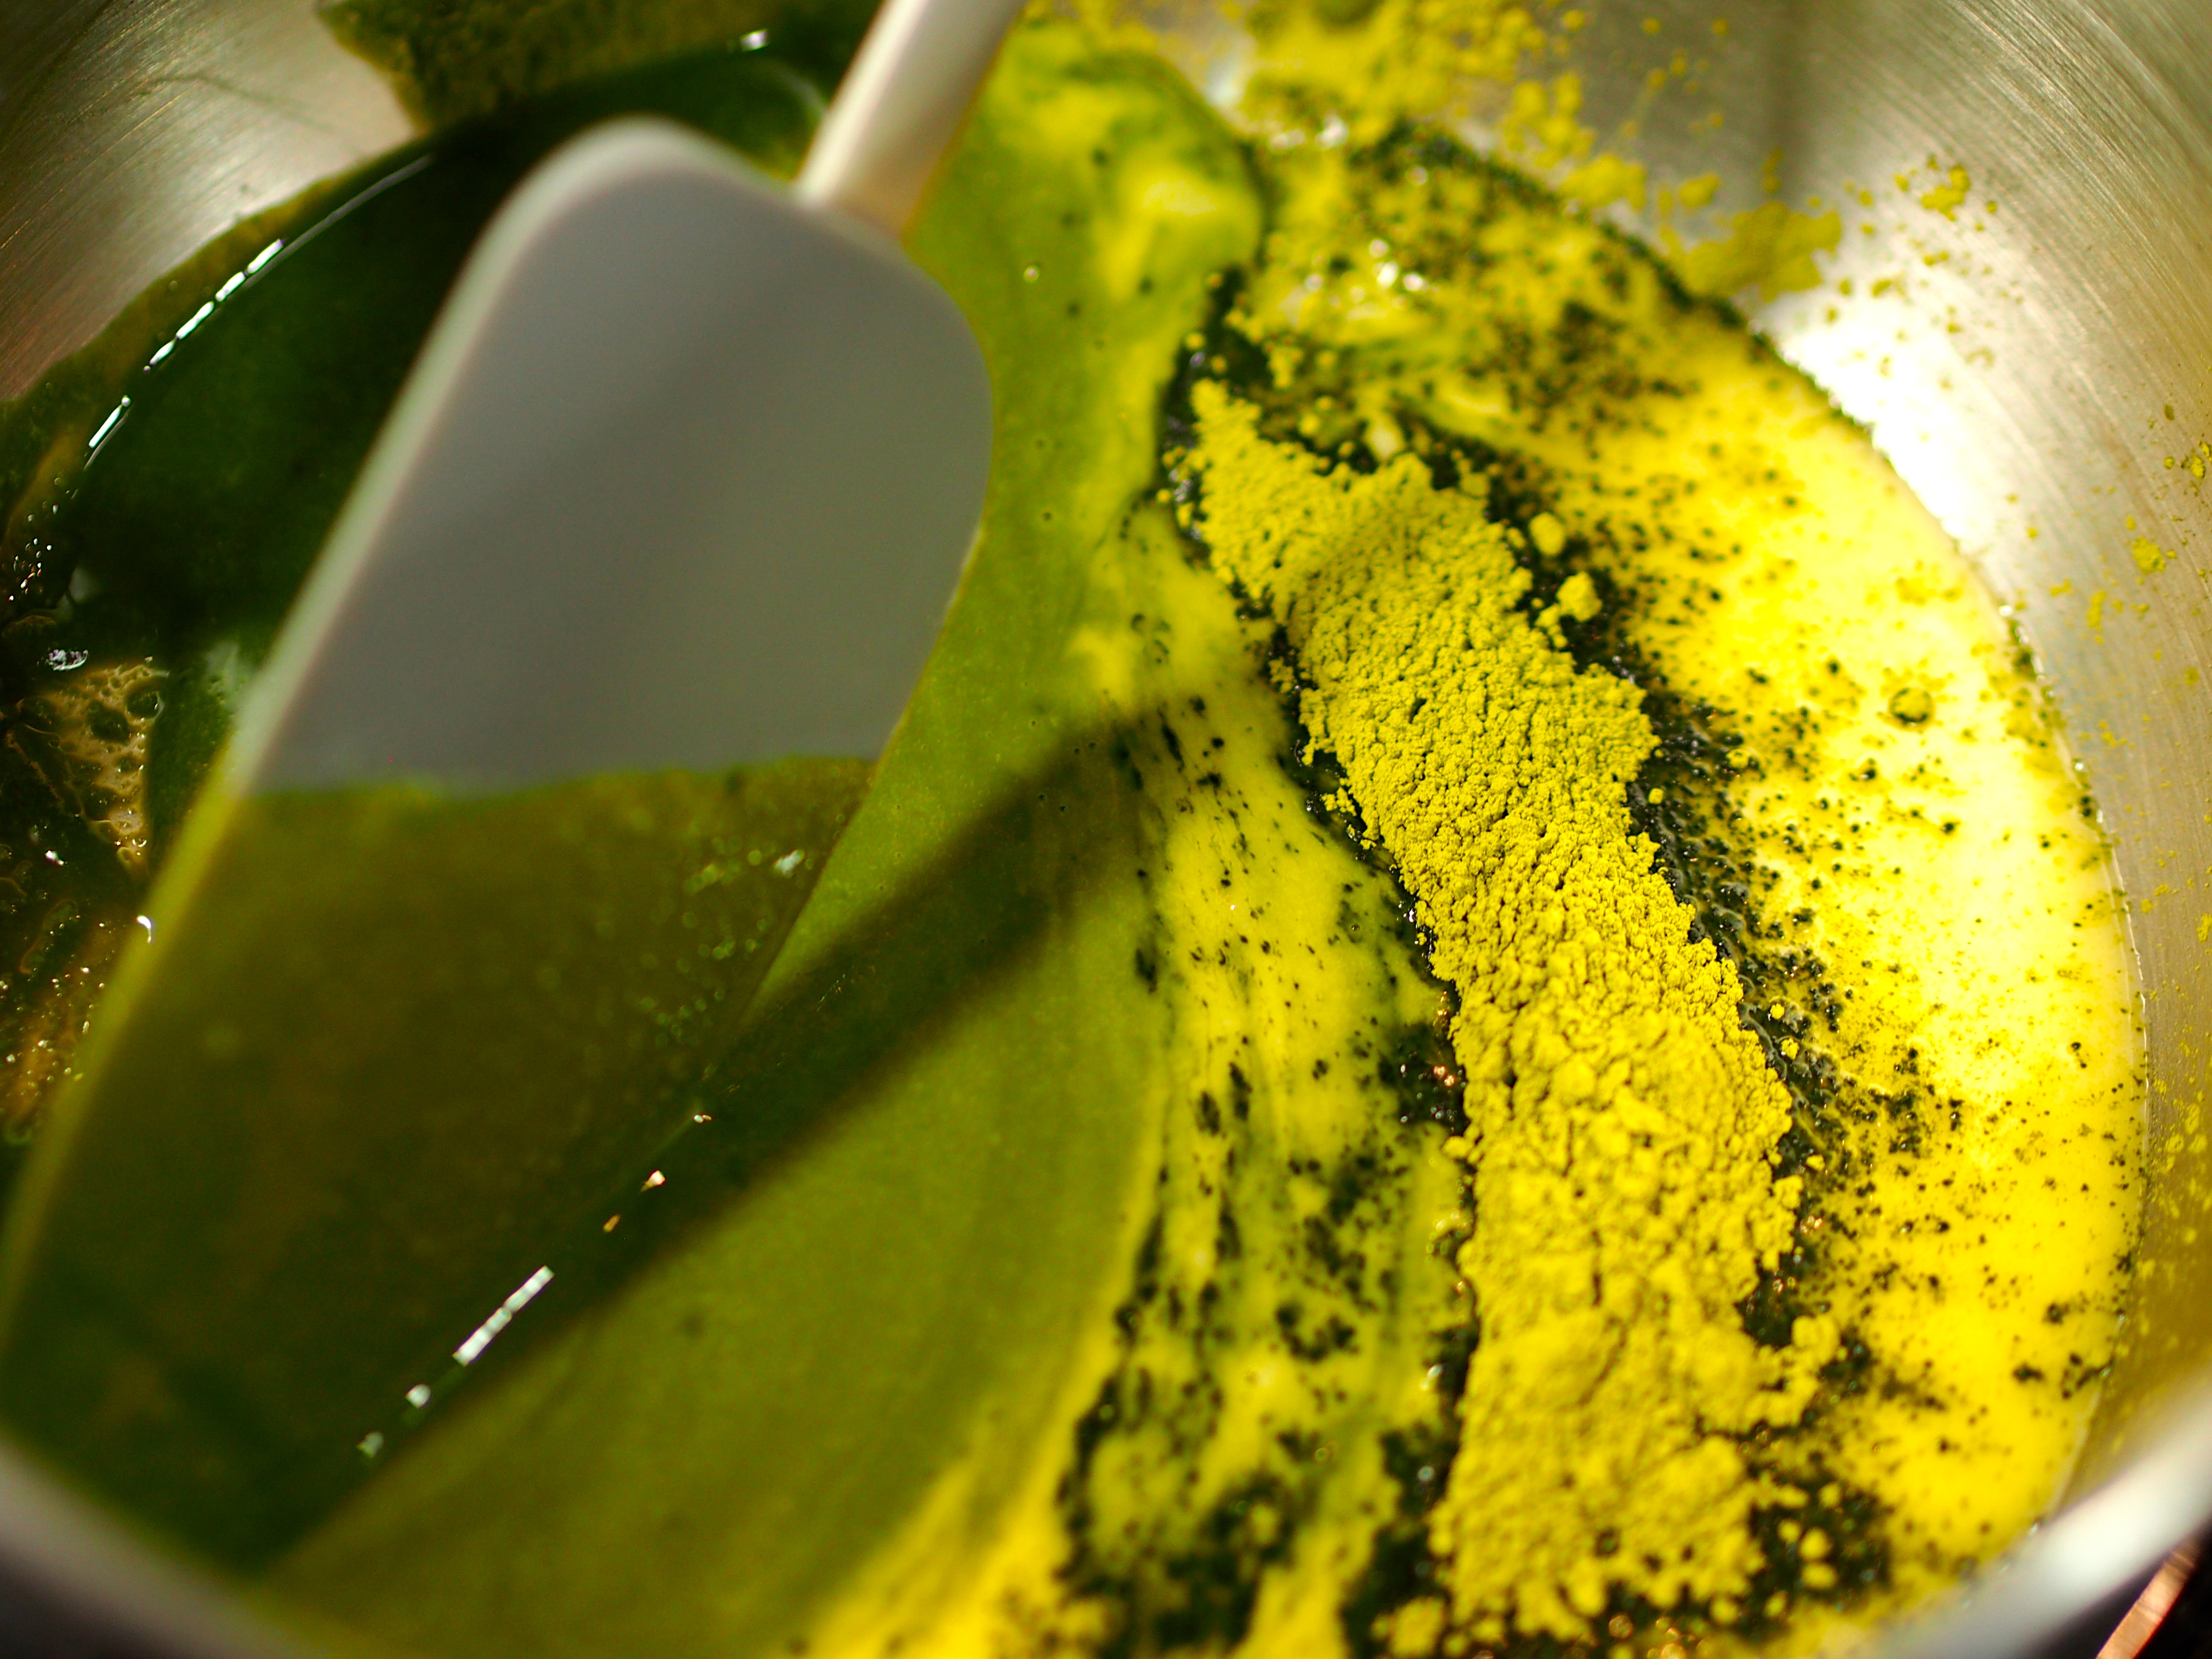
*White chocolate is very sensitive to heat and water, make sure your utensils are dry and the bowl is just warm to touch before adding the chocolate or else it will clump up and be unusable!
*matcha powder is naturally very clumpy, so adding it in now allows it to be completely melted and blended into the mixture
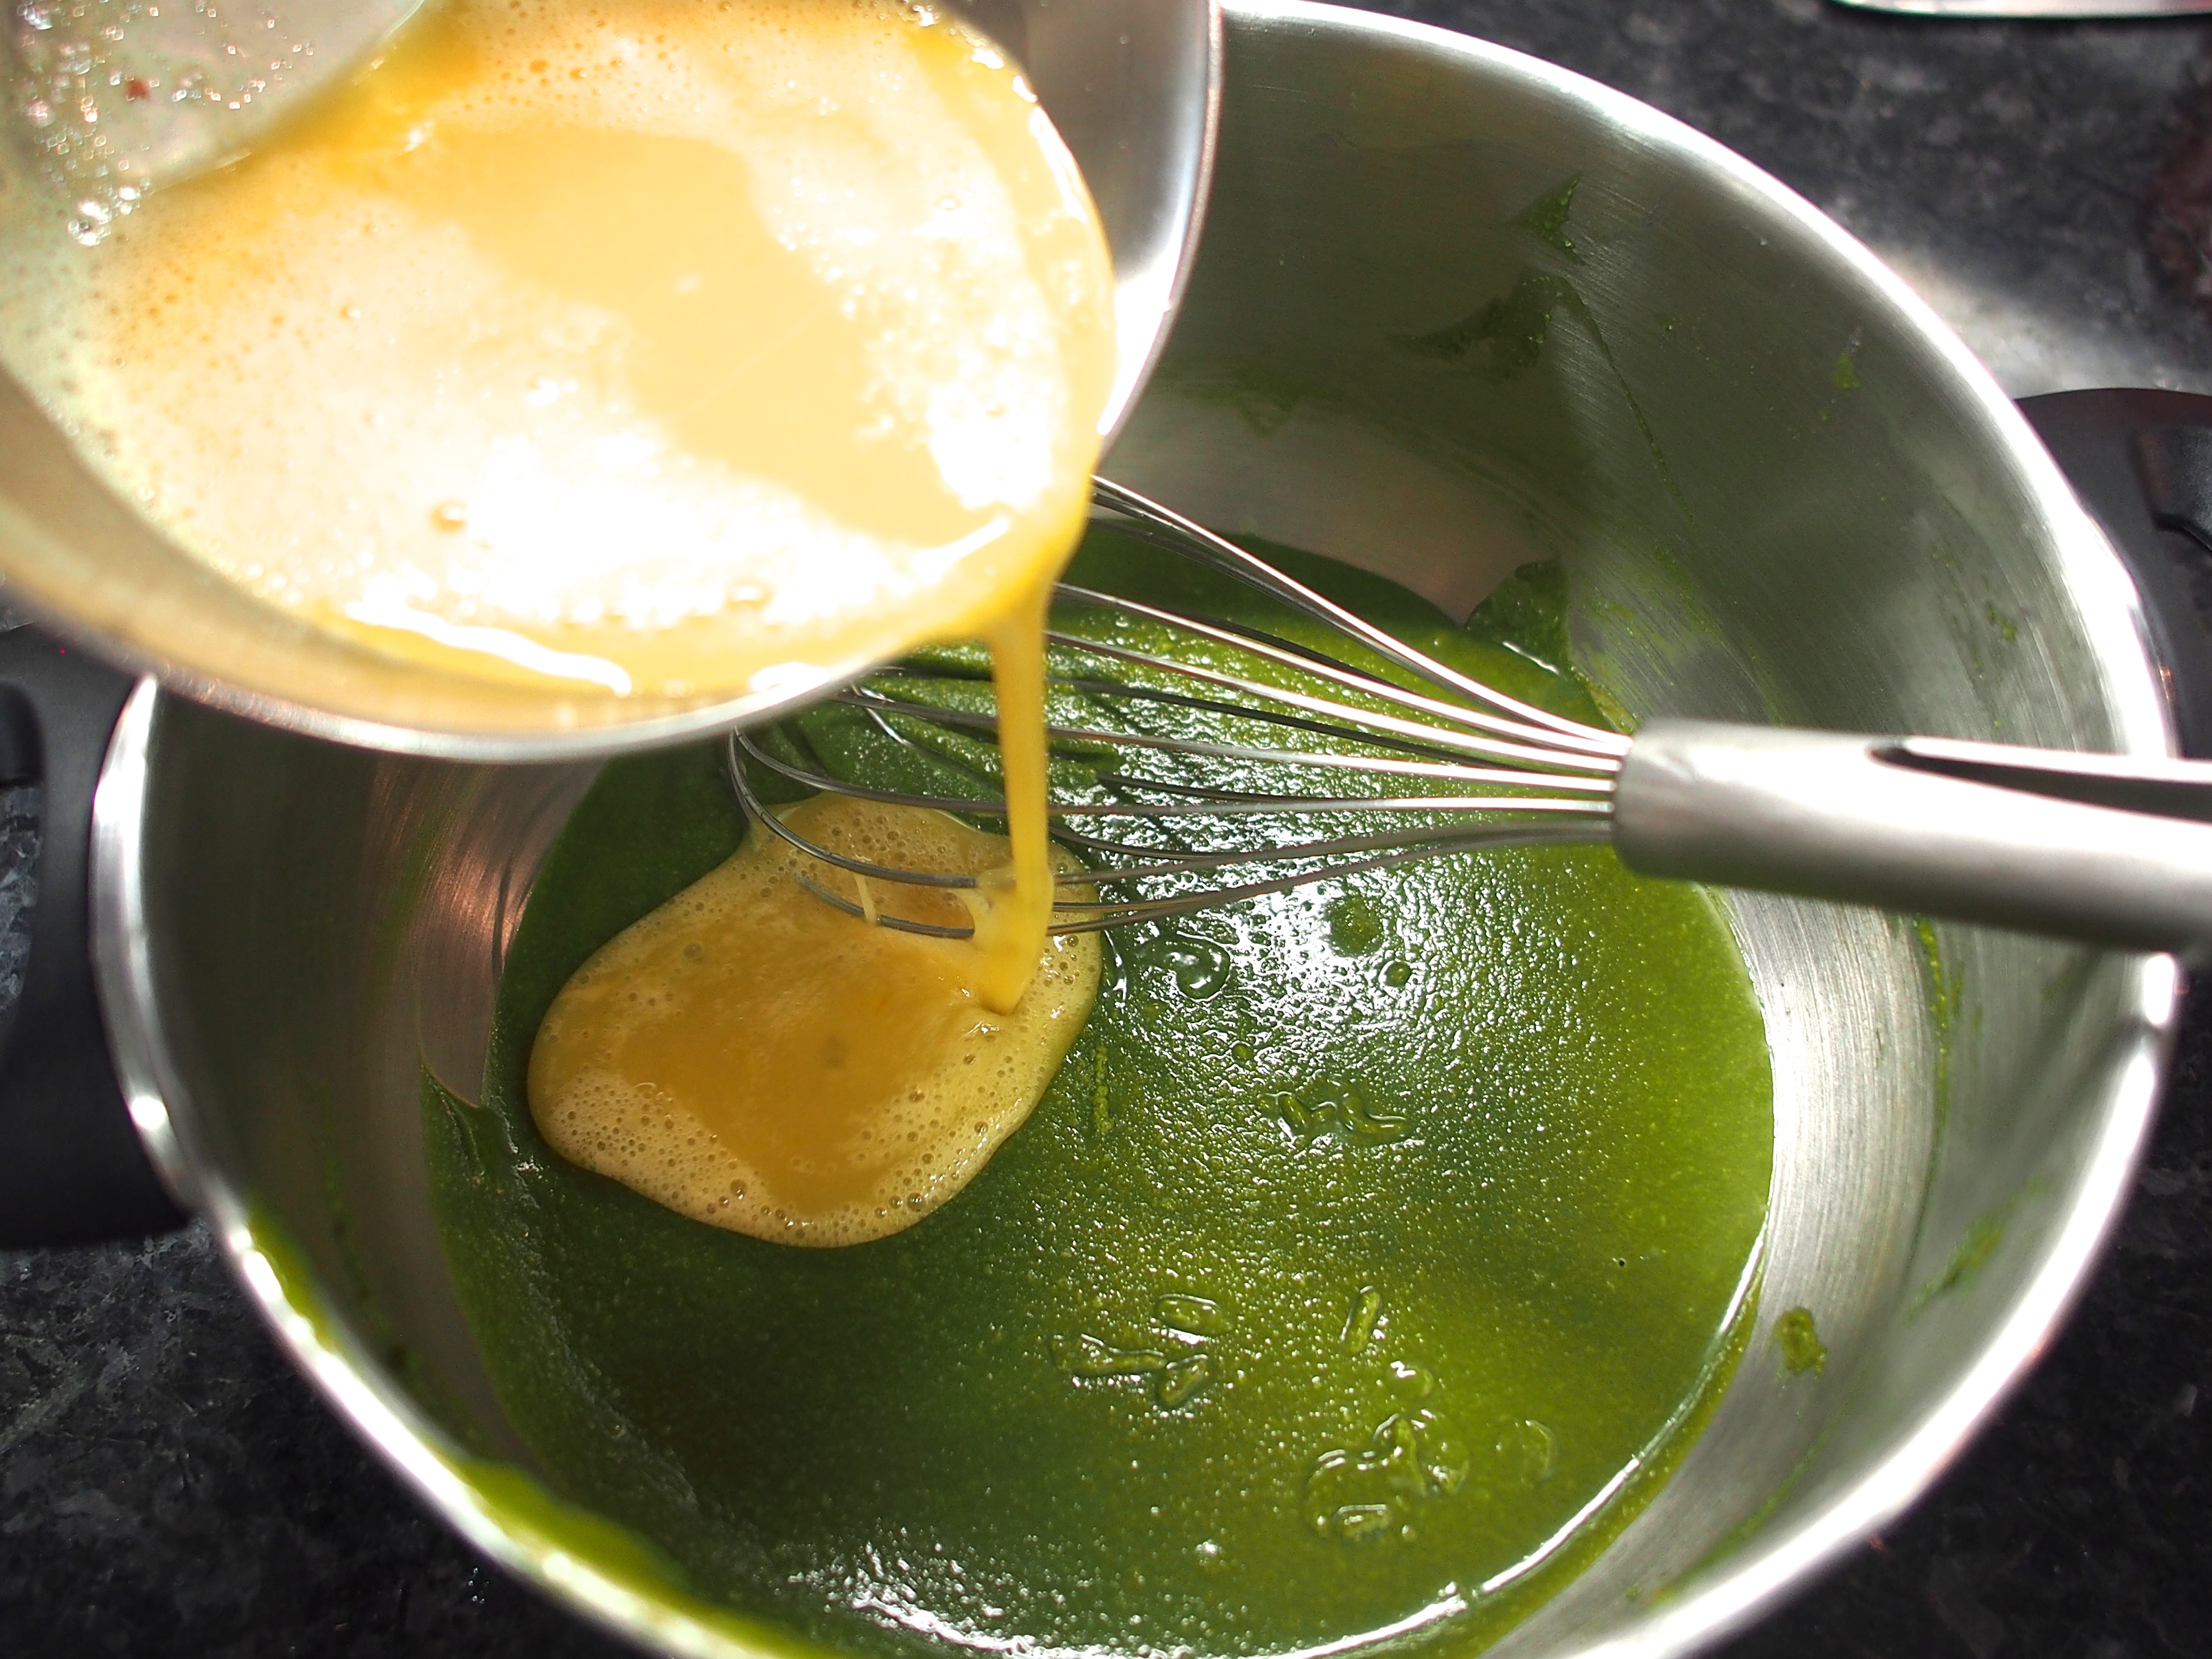
3. In a separate bowl, lightly beat the eggs and sugar until the sugar has melted. Then add to the chocolate mixture, stirring constantly as the cold eggs will start to set the chocolate.

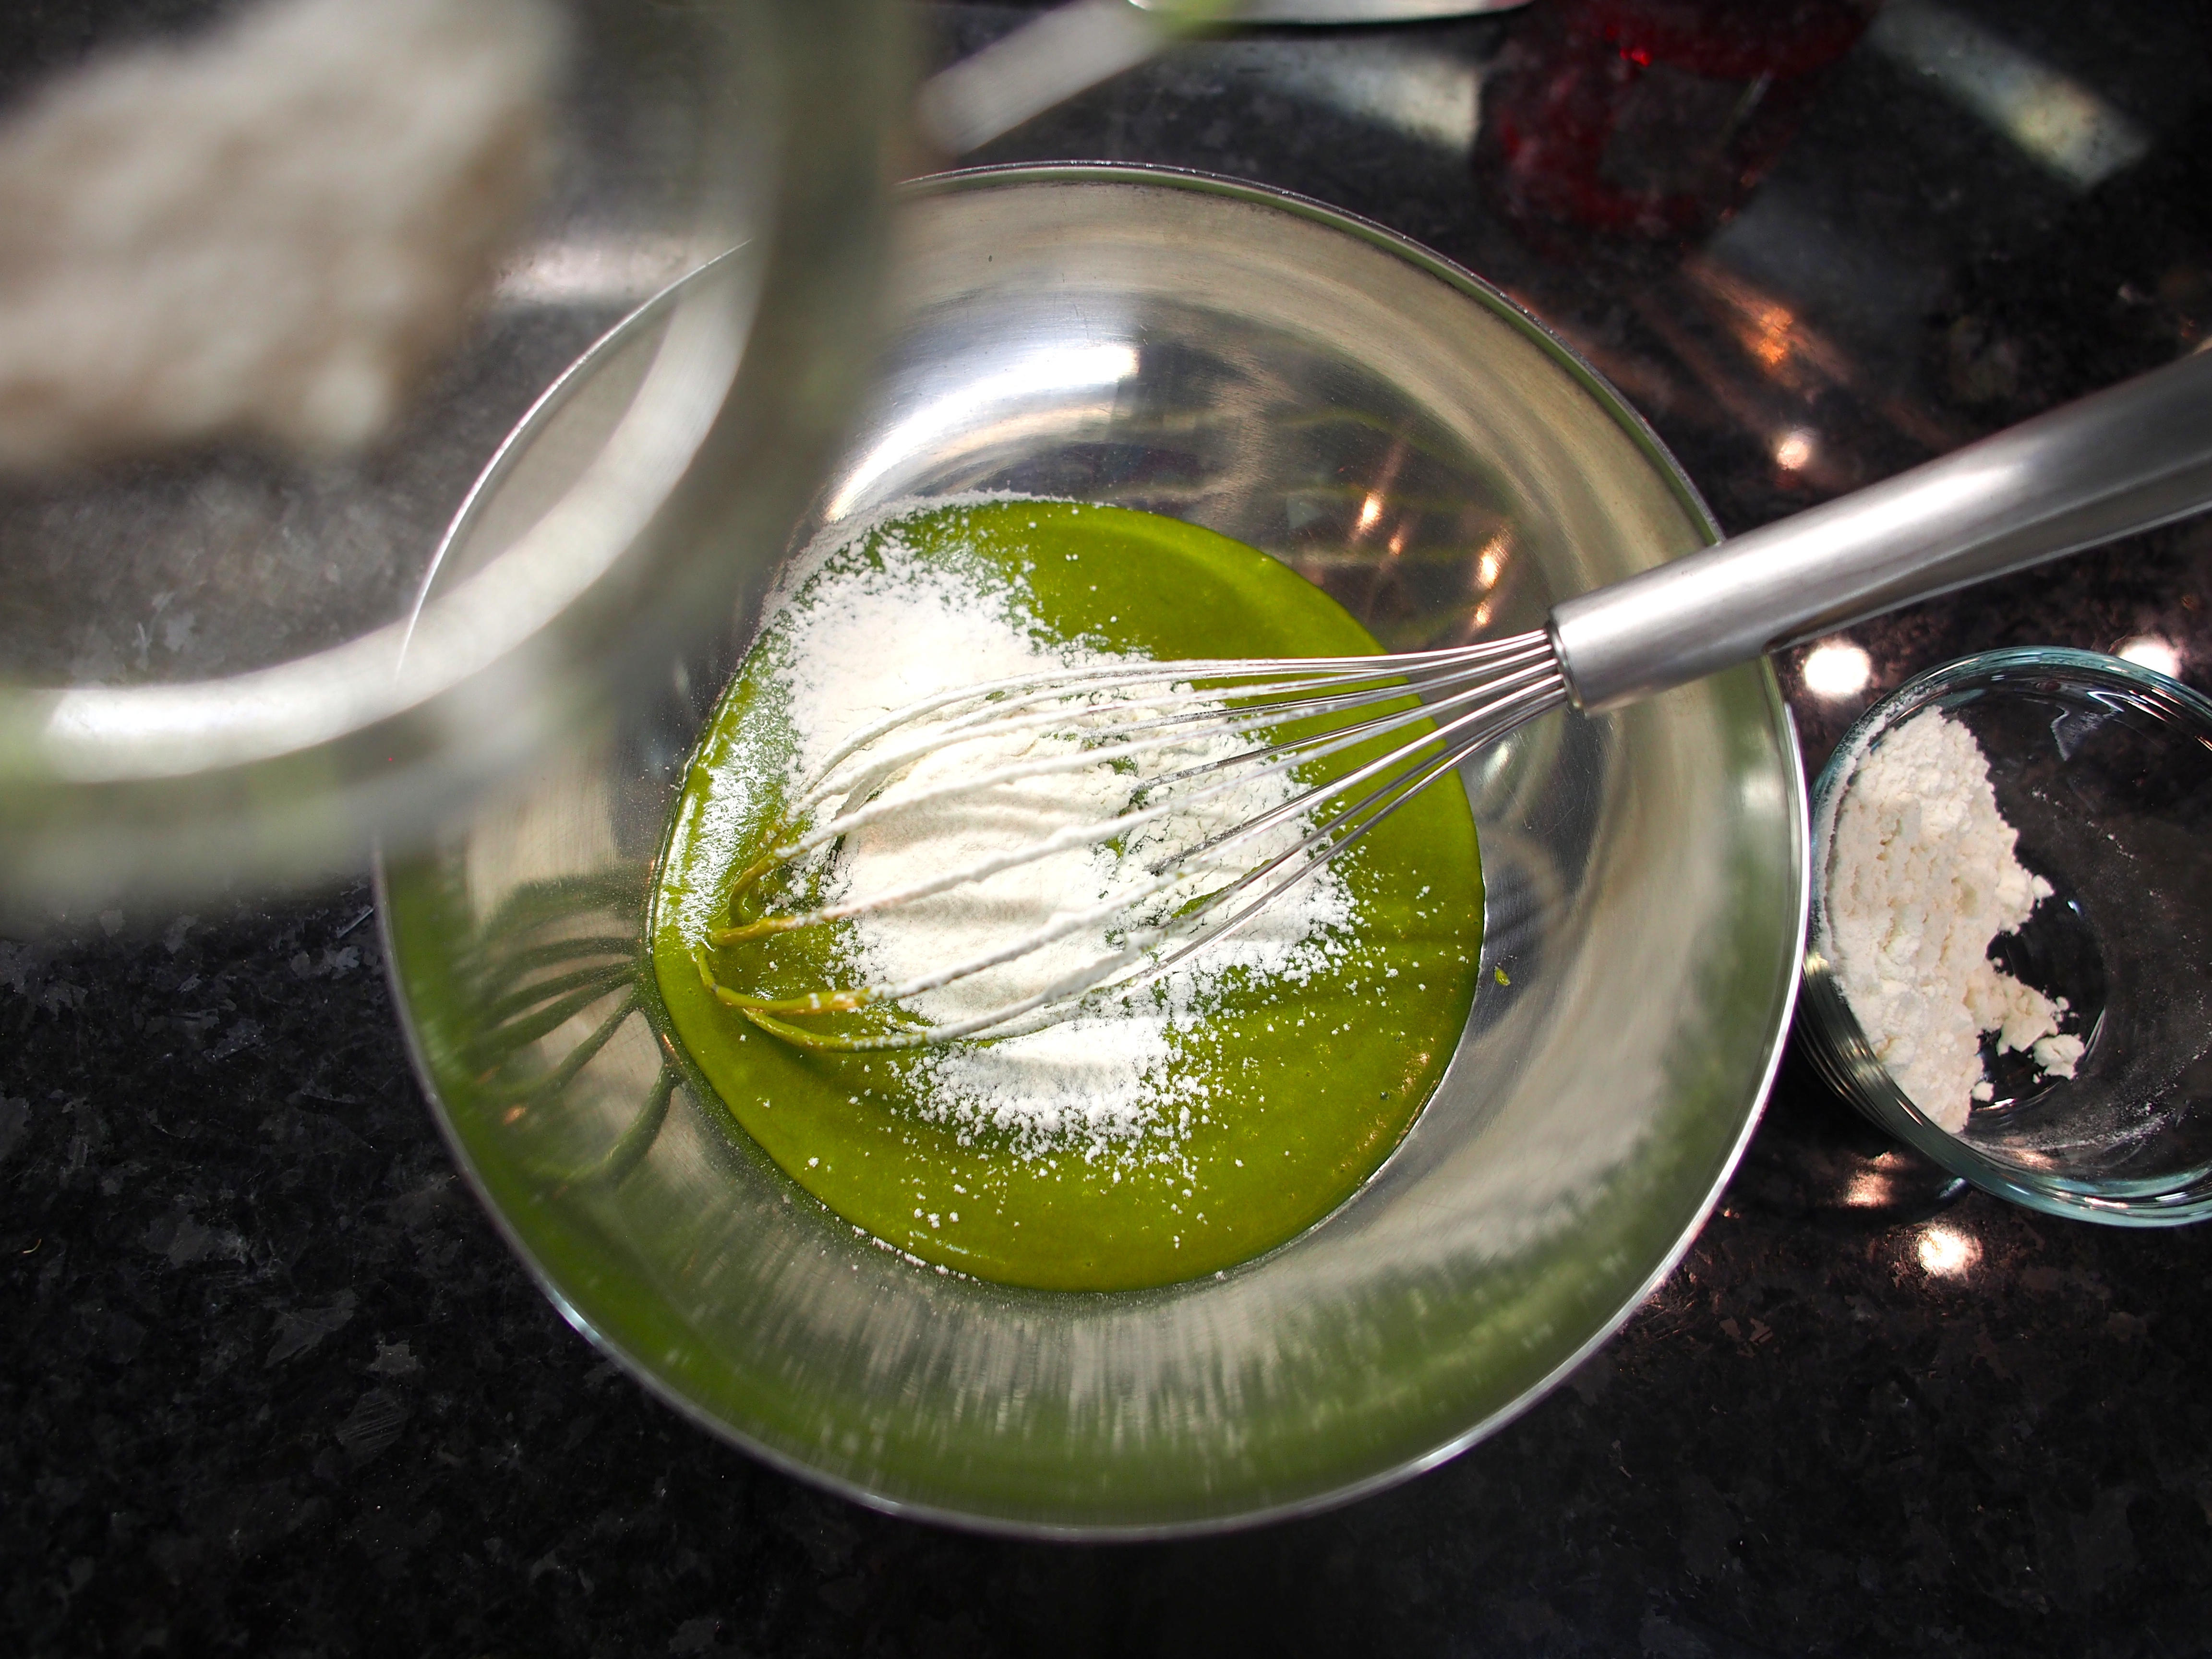
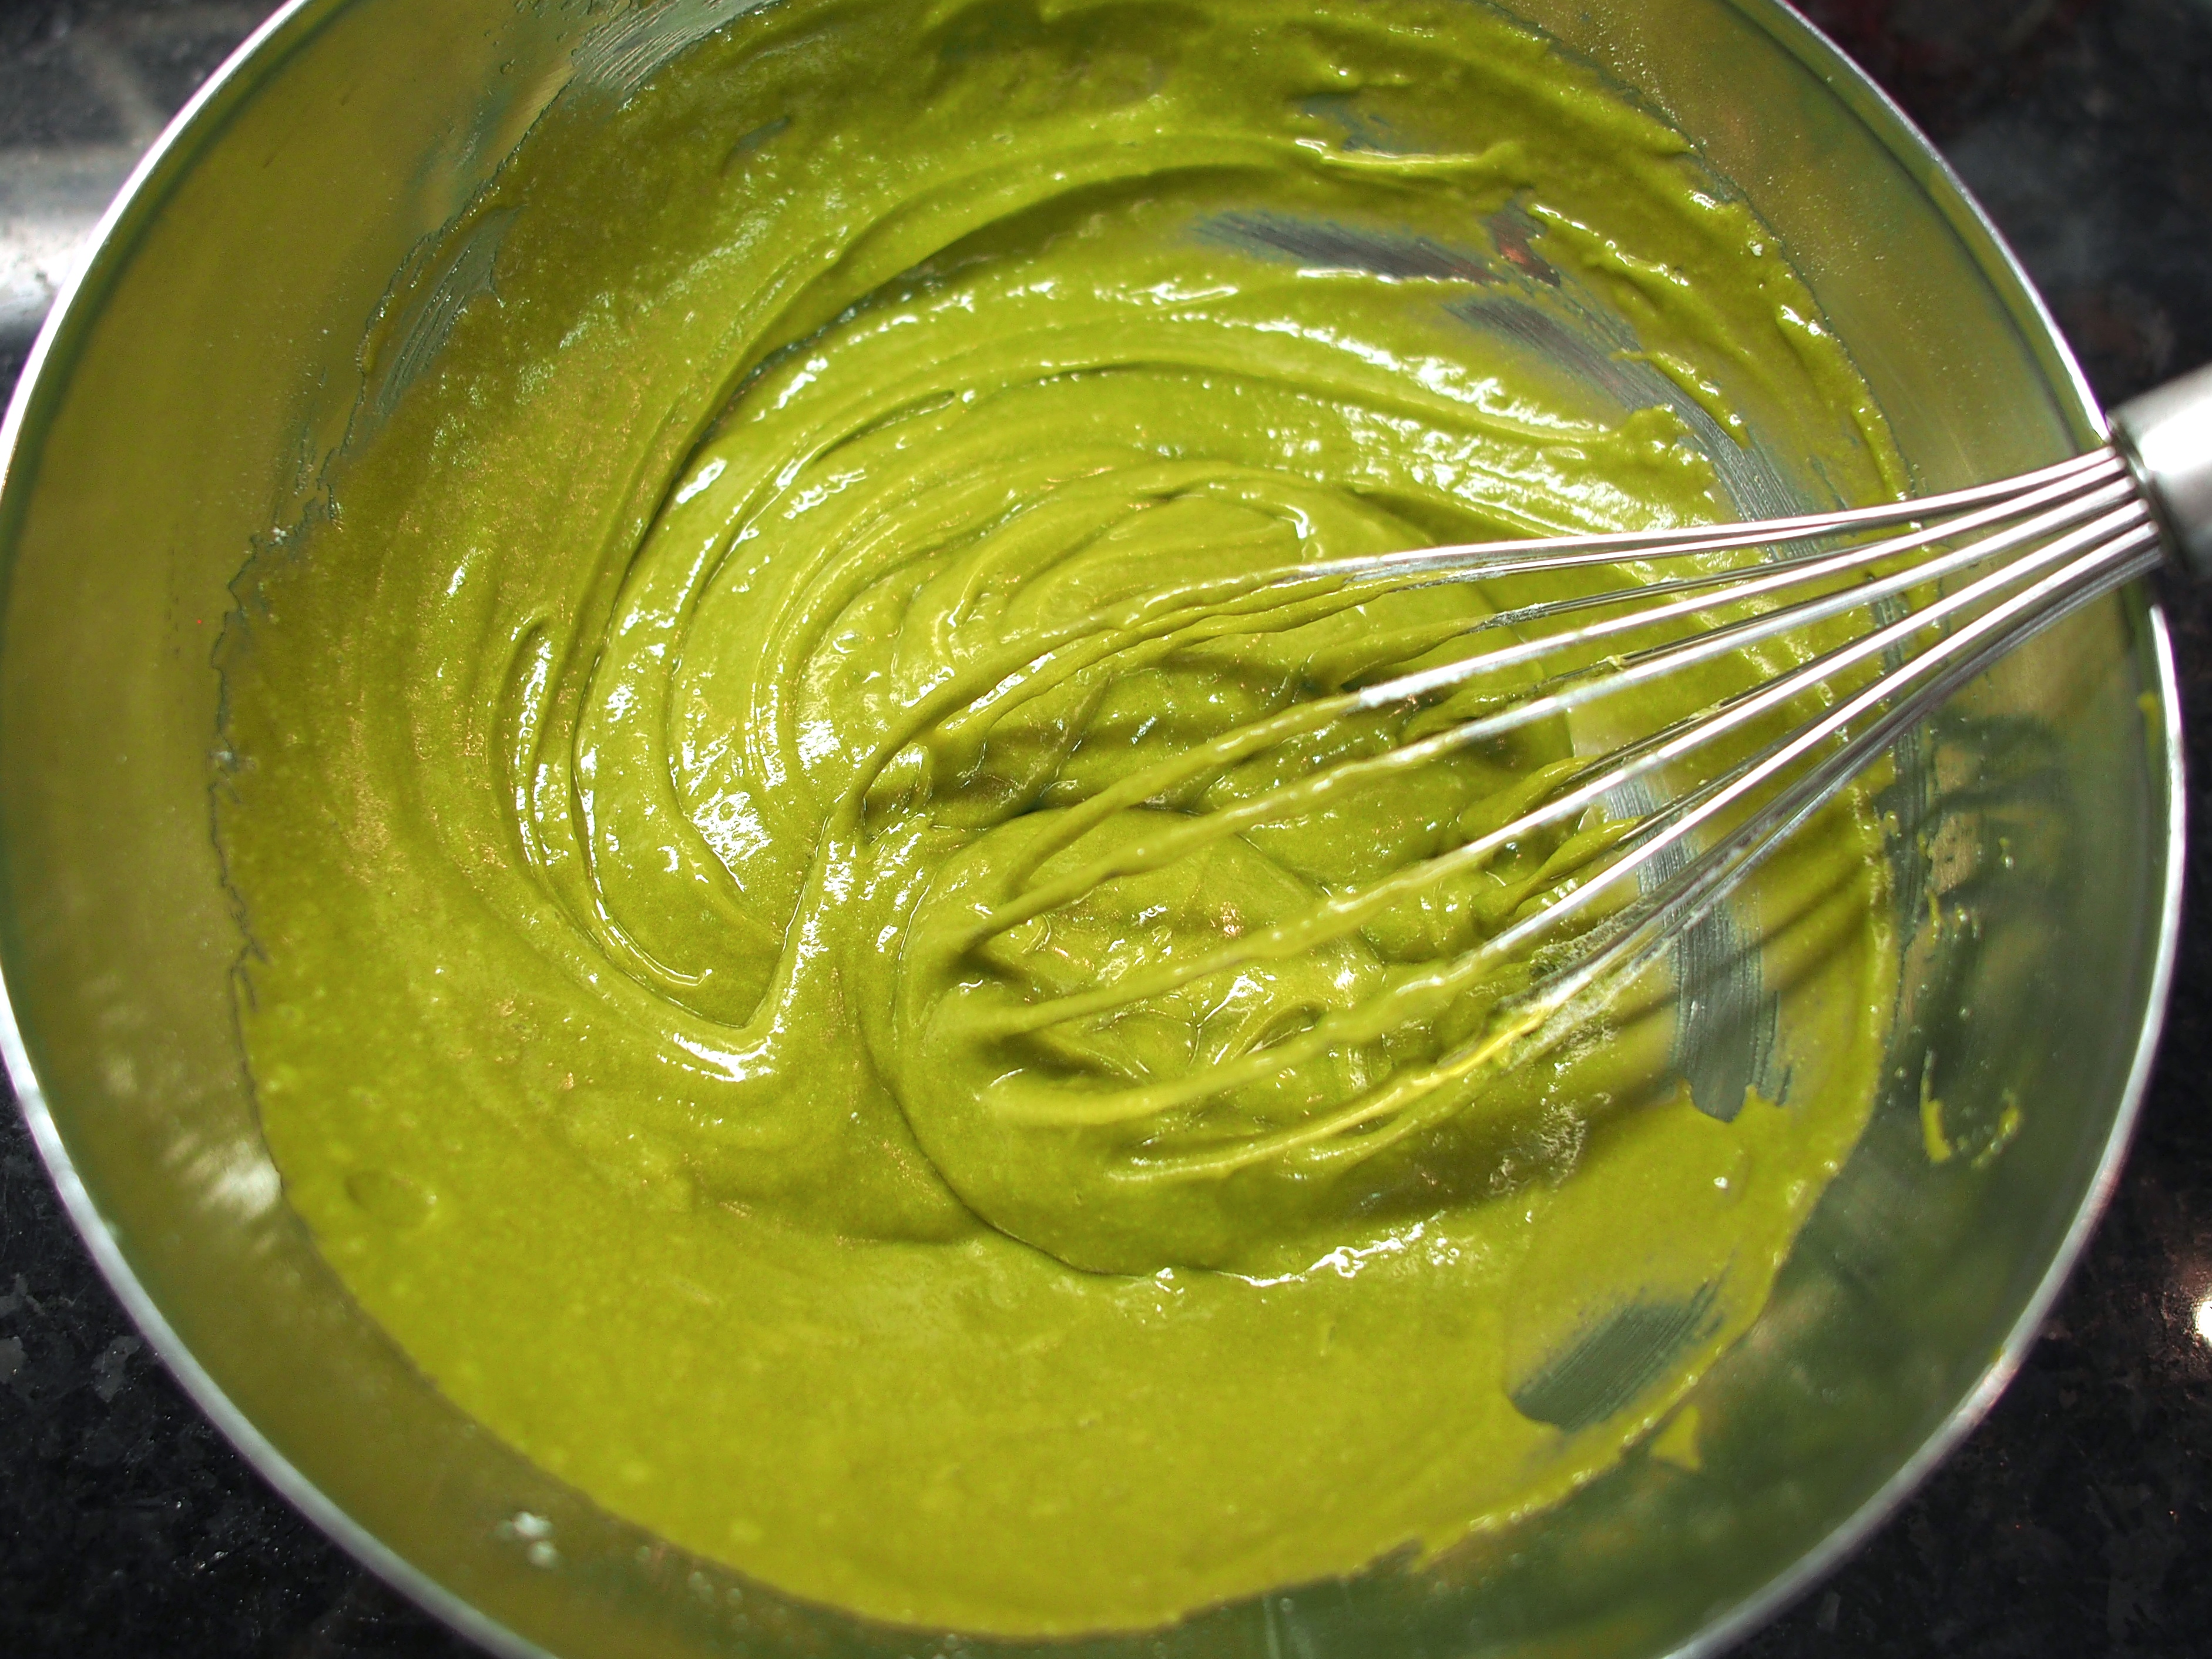
4. Finally, sift in the flour and mix just until smooth.
5. Evenly divide between the ramekins, they should fill up to just below the inner rim (3/4 full). Lightly tap/jiggle to remove large air pockets, then wrap and freeze for at least 4 hours.

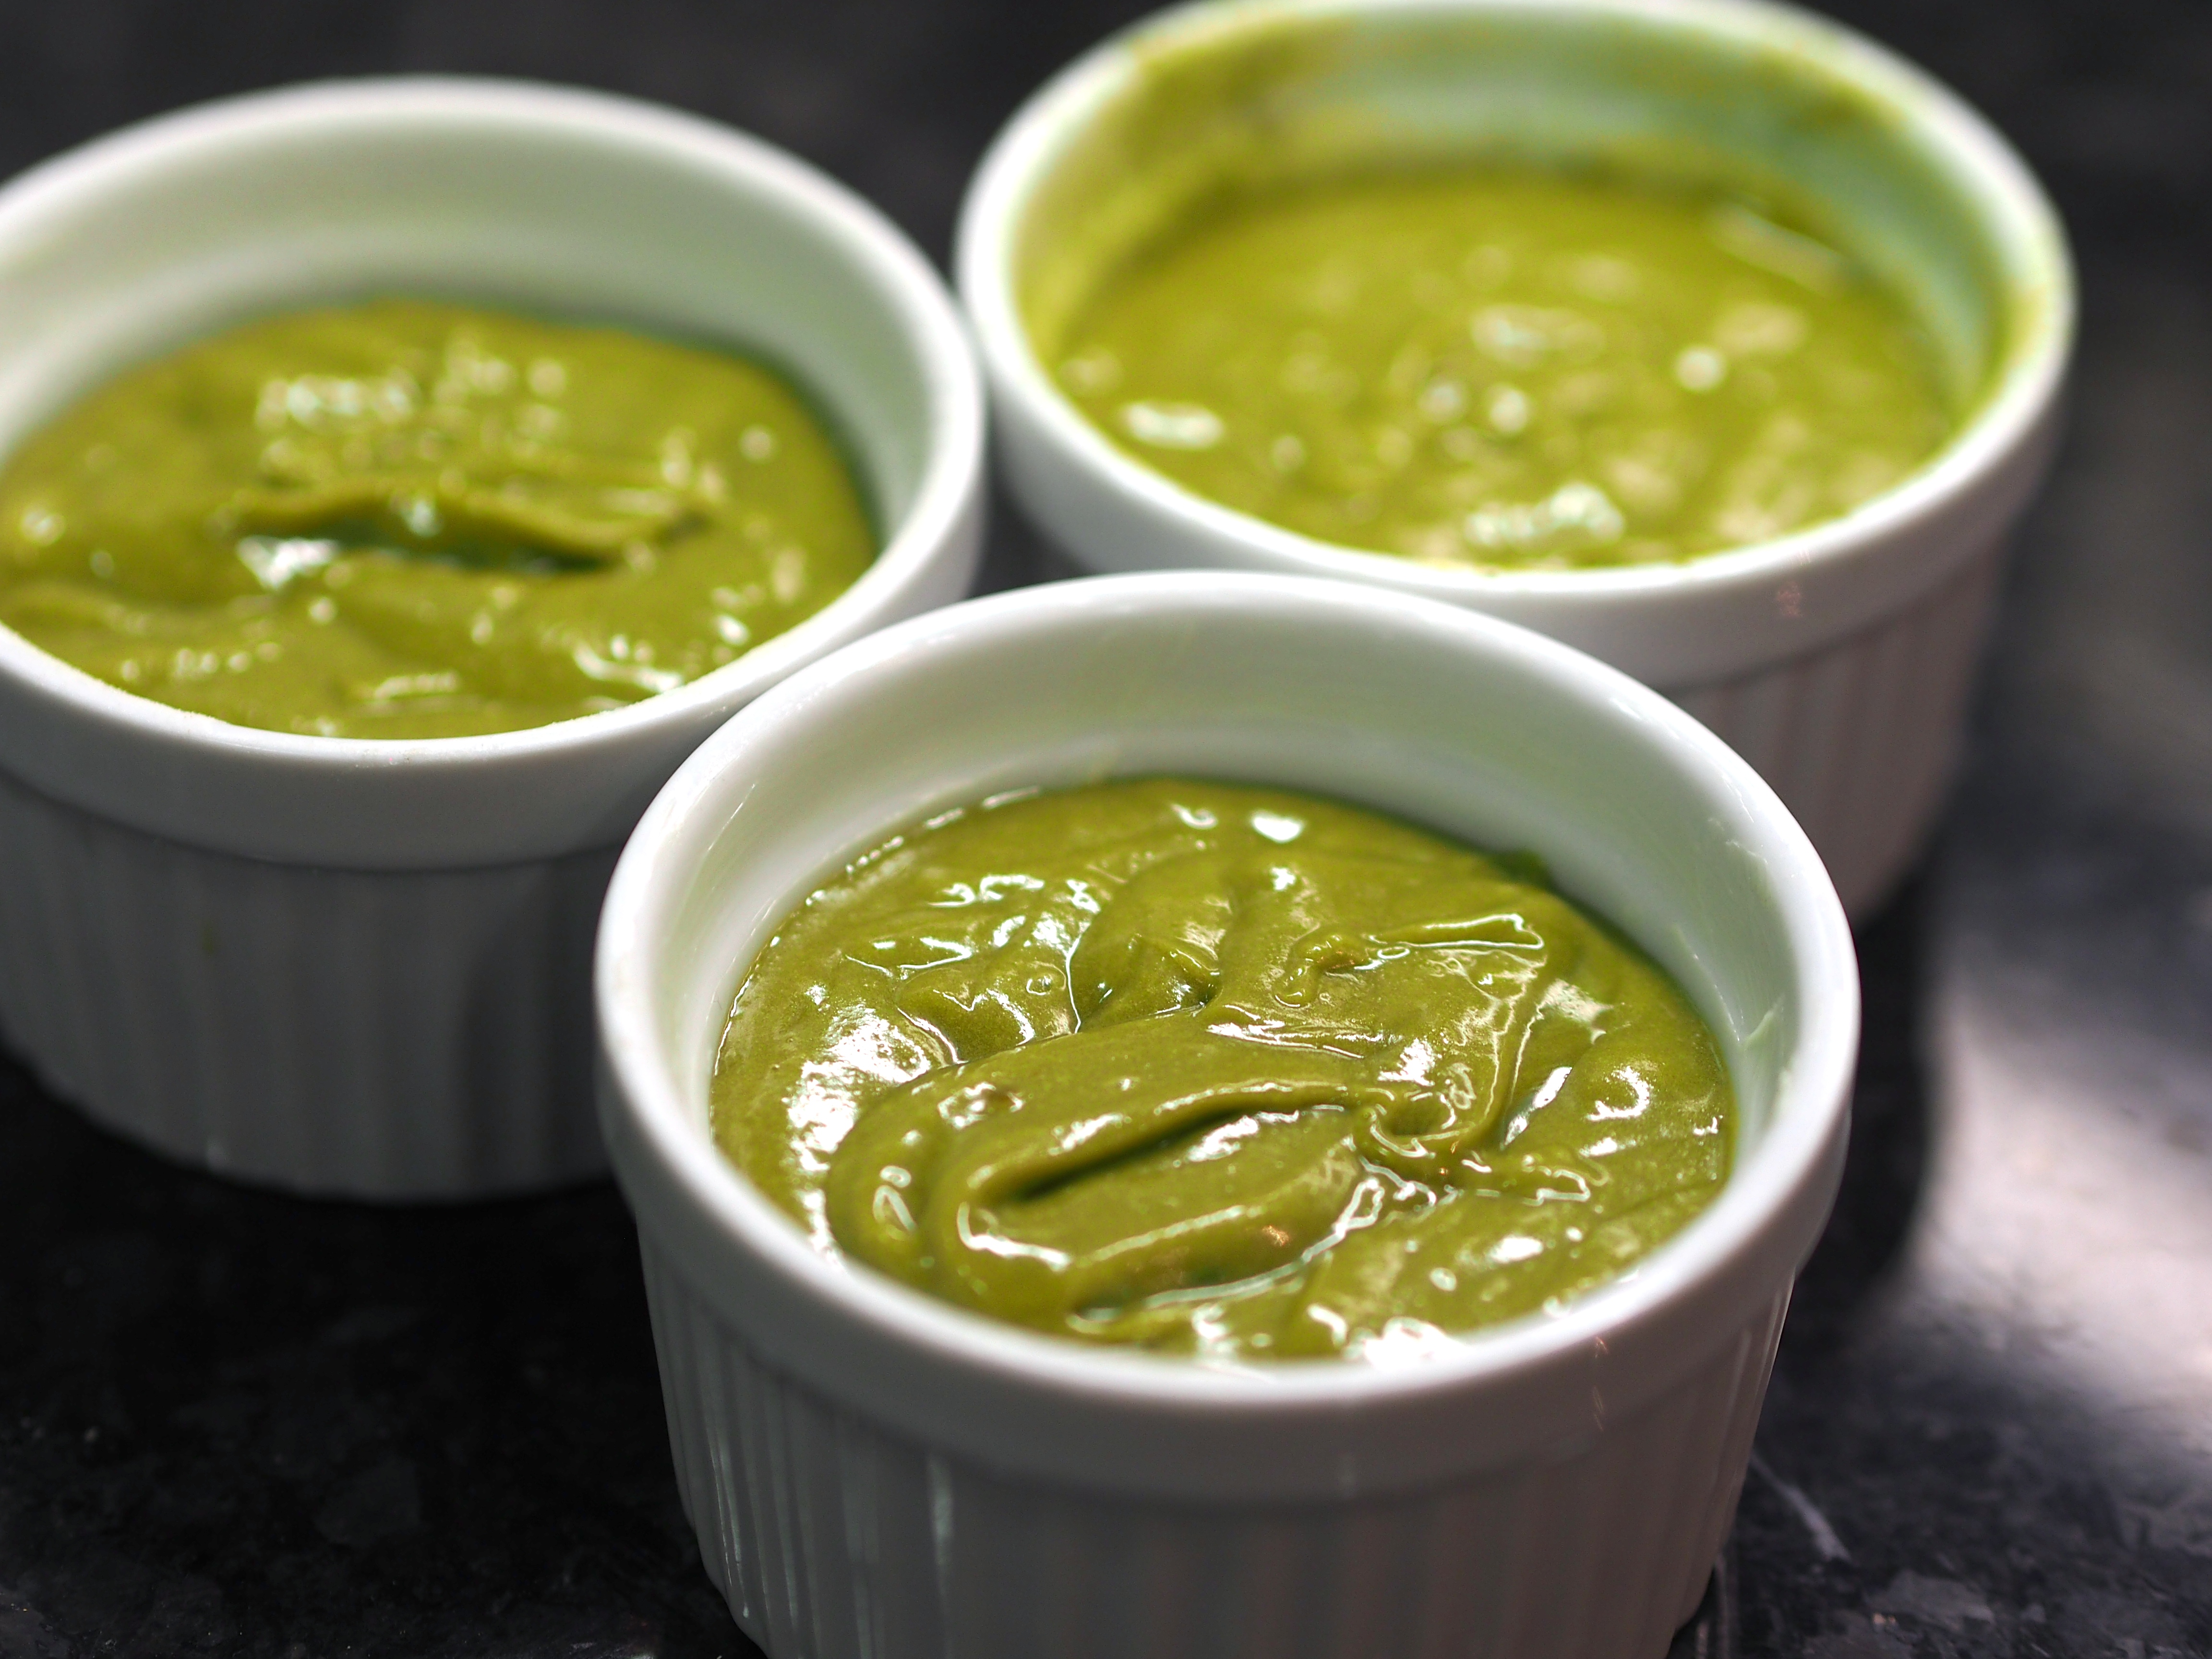
*The mixture must be frozen so that the inside cooks slower than the outside, creating that lava centre
6. When ready to eat, bake for 16-18 minutes at 180C. Then let it rest in the ramekin for 2 minutes before running a sharp clean knife around the edges to loosen from the ramekin before gently inverting it onto your serving plate.
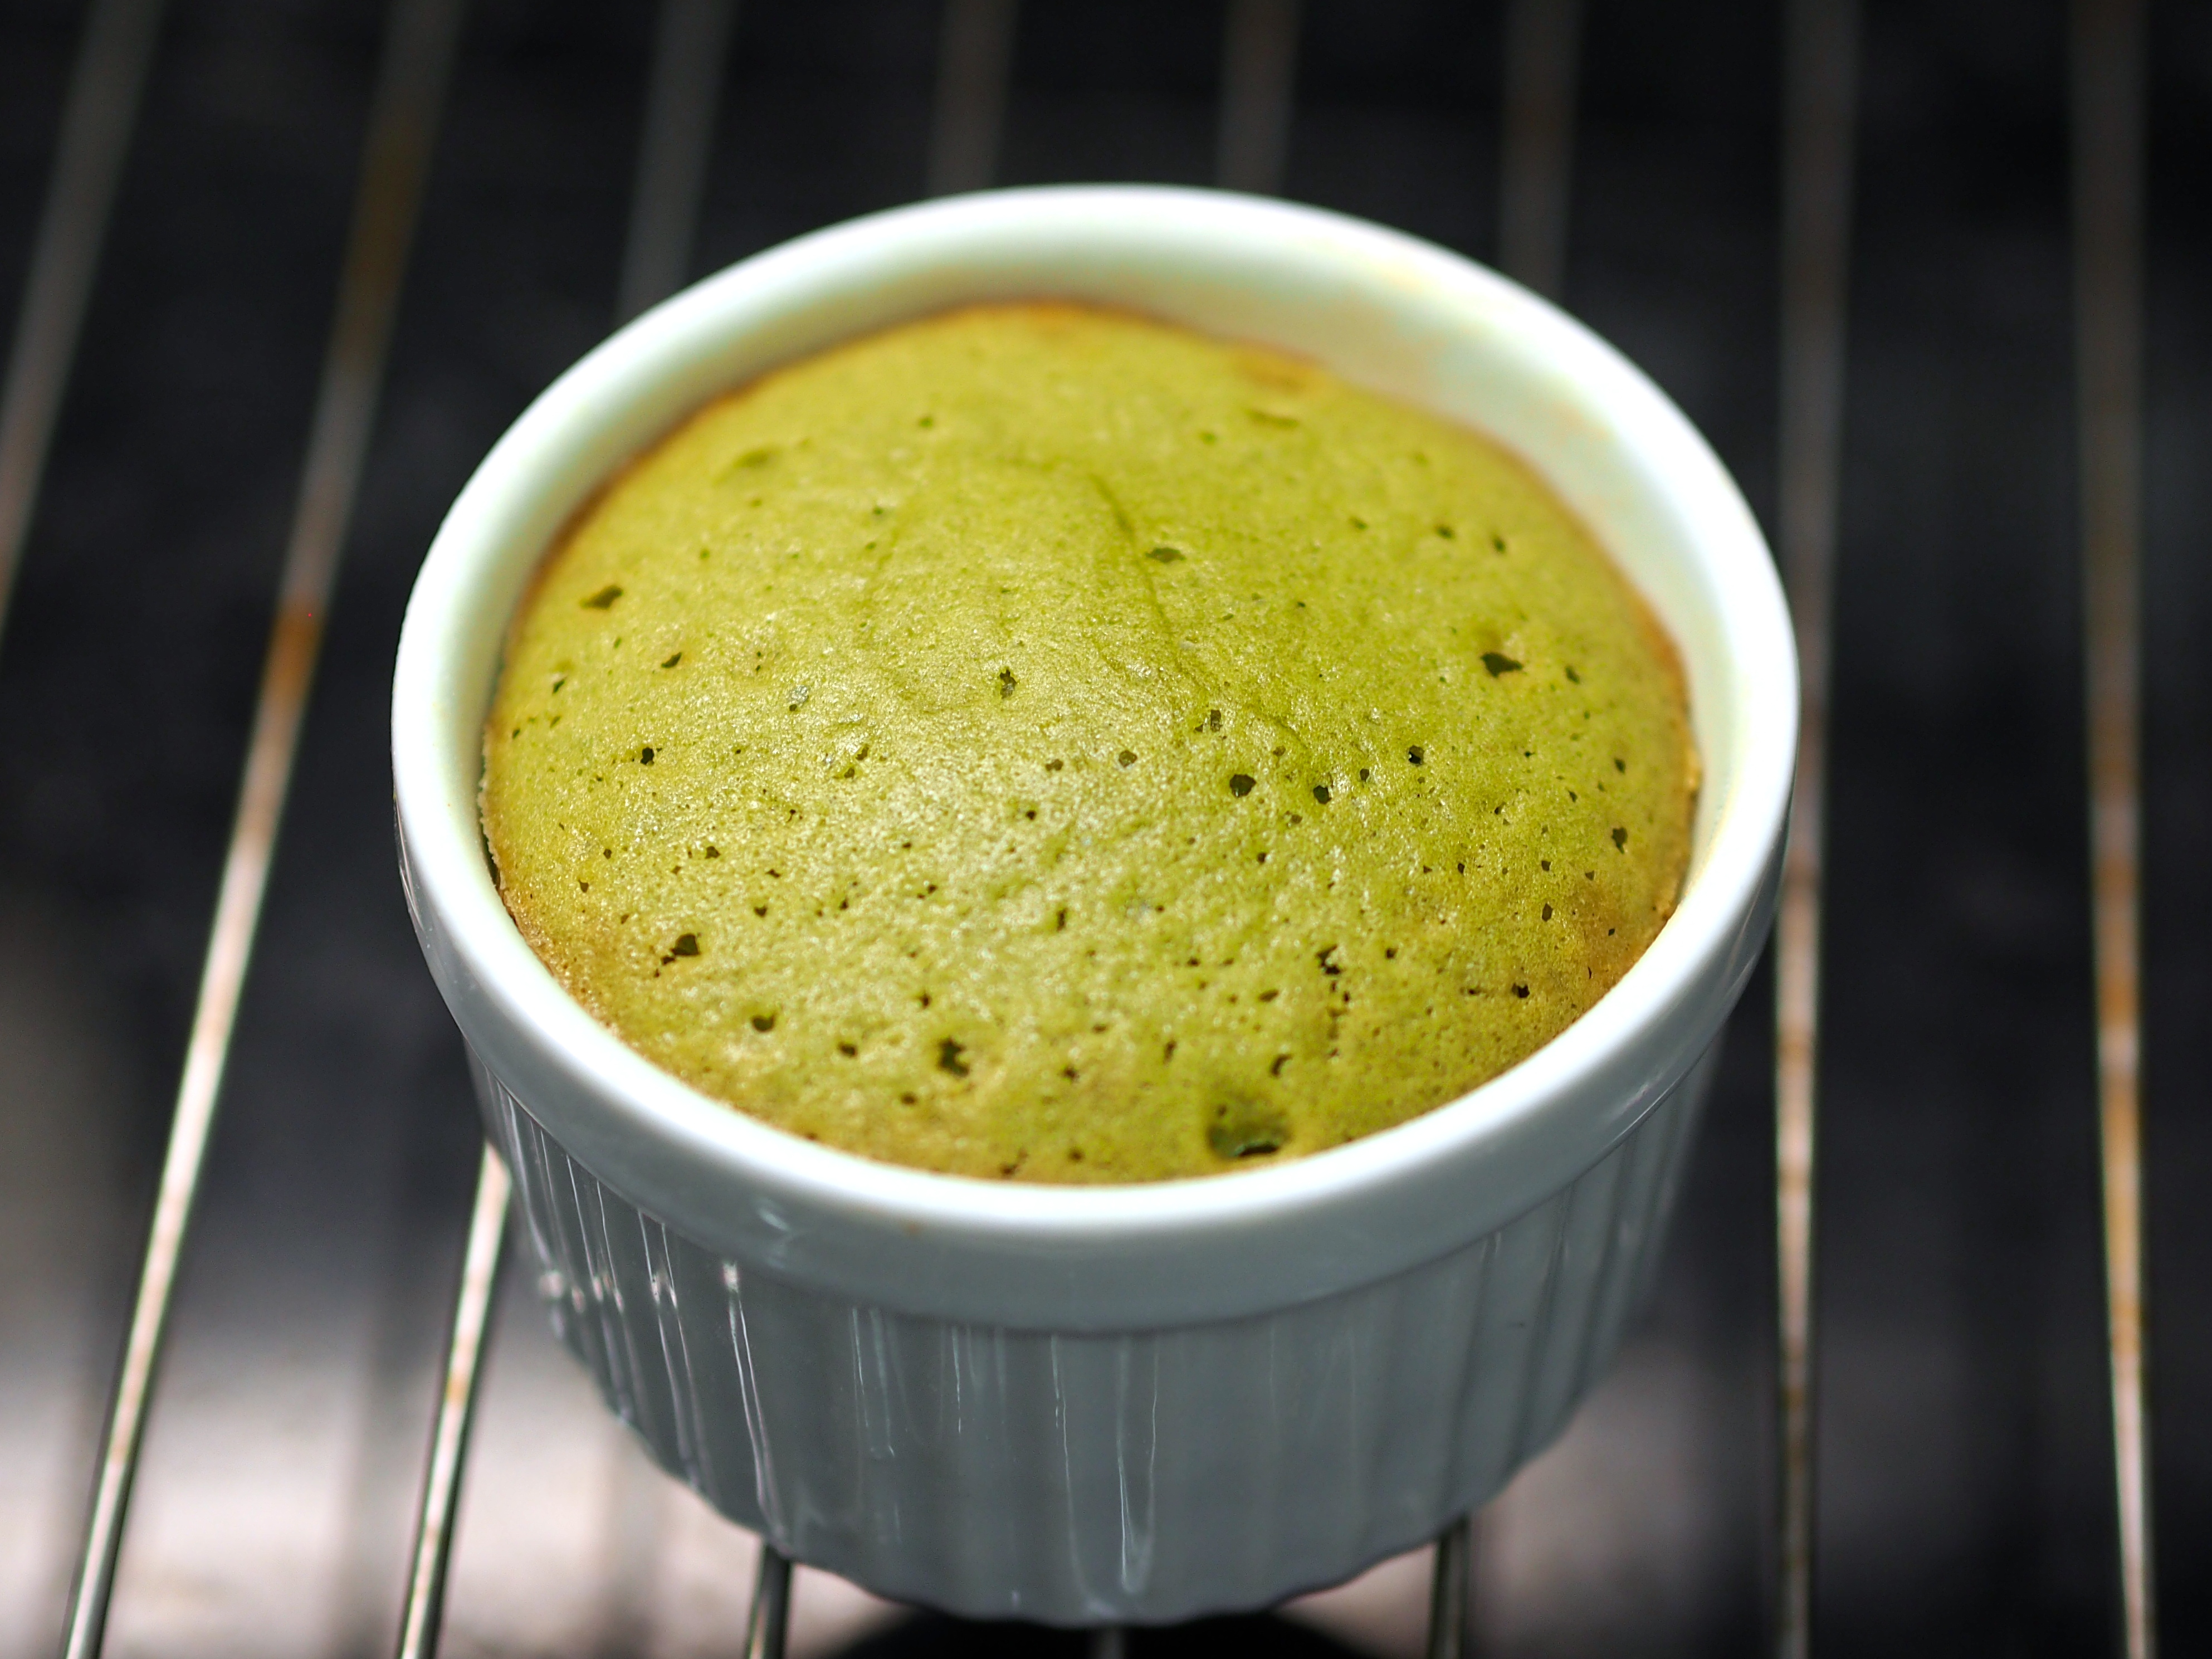
*Keep a close eye during the last few minutes in the oven, there will come a sudden moment when the surface seems to seal itself up and is ready; as little as 10 seconds more or less can change this from perfectly runny to mouse-y. Check the below tests; if it is NOT ready, put it back in the oven at 10-15 second intervals.
READY: the surface looks lightly matte, is an even colour, just springy to touch, the centre barely jiggles upon shaking, the knife you used to run around the edge should come out clean, toothpick inserted into centre comes out runny but clean on the outer third.
NOT ready: the surface still looks glossy wet, the centre is much darker than the outside, it is very jiggly and doesn’t look set, the knife you used to run around the edge comes out with batter on it, toothpick inserted into outer third of cake comes out runny
*FYR, my oven produces the best results at around 17.5 minutes but as I mentioned earlier, make sure to do a trial first and don’t give up!
7. Garnish with icing sugar/fruits/ice cream and serve immediately!

*trick of the trade: conceal any imperfections with icing sugar! Ever notice how restaurants always serve lava cake with ice cream on top of the cake? Very clever way of concealing any open holes in the cake bottom!
*Red currants paired with green tea inspired by Anne from Jouer Patisserie
I hope you enjoy this recipe and as always, please share photos with me if you try this!! Please like my Facebook page to stay updated with future recipes! 😀 Happy Valentine’s Day in advance to all you lovely people!
Stay in love with life,
Crys
Amazing recipe. We made this 3 times at home now with great success each time – it’s becoming our household favourite recipe! Ours don’t look as pretty as yours, but tastes fantastic. Thank you so much for sharing the recipe with us 🙂
Hi Captain Coriander, thank you so much for your kind words, I am delighted to hear you are having great success with this recipe!! 😀 Keep up the great work 🙂
Pingback: Green Tea Lava Cake | Operation: Good Food
Hi there! thinking of giving this is a go, would using dark chocolate work too, to make a chocolate lava cake? 🙂 thank you so much!
Hi Jen! Yes dark chocolate would work too! But I would skip the match powder and maybe replace it with coco powder cause I’ve tried making this with dark chocolate and matcha and the color did not look good, if you know what I mean! 🙂 good luck!
Crystal
I have checked many times, but you did not mention when is the best time to mix in the all purpose flour.
Hi Miki,
It’s in step 4 after the eggs 🙂 have a good day!