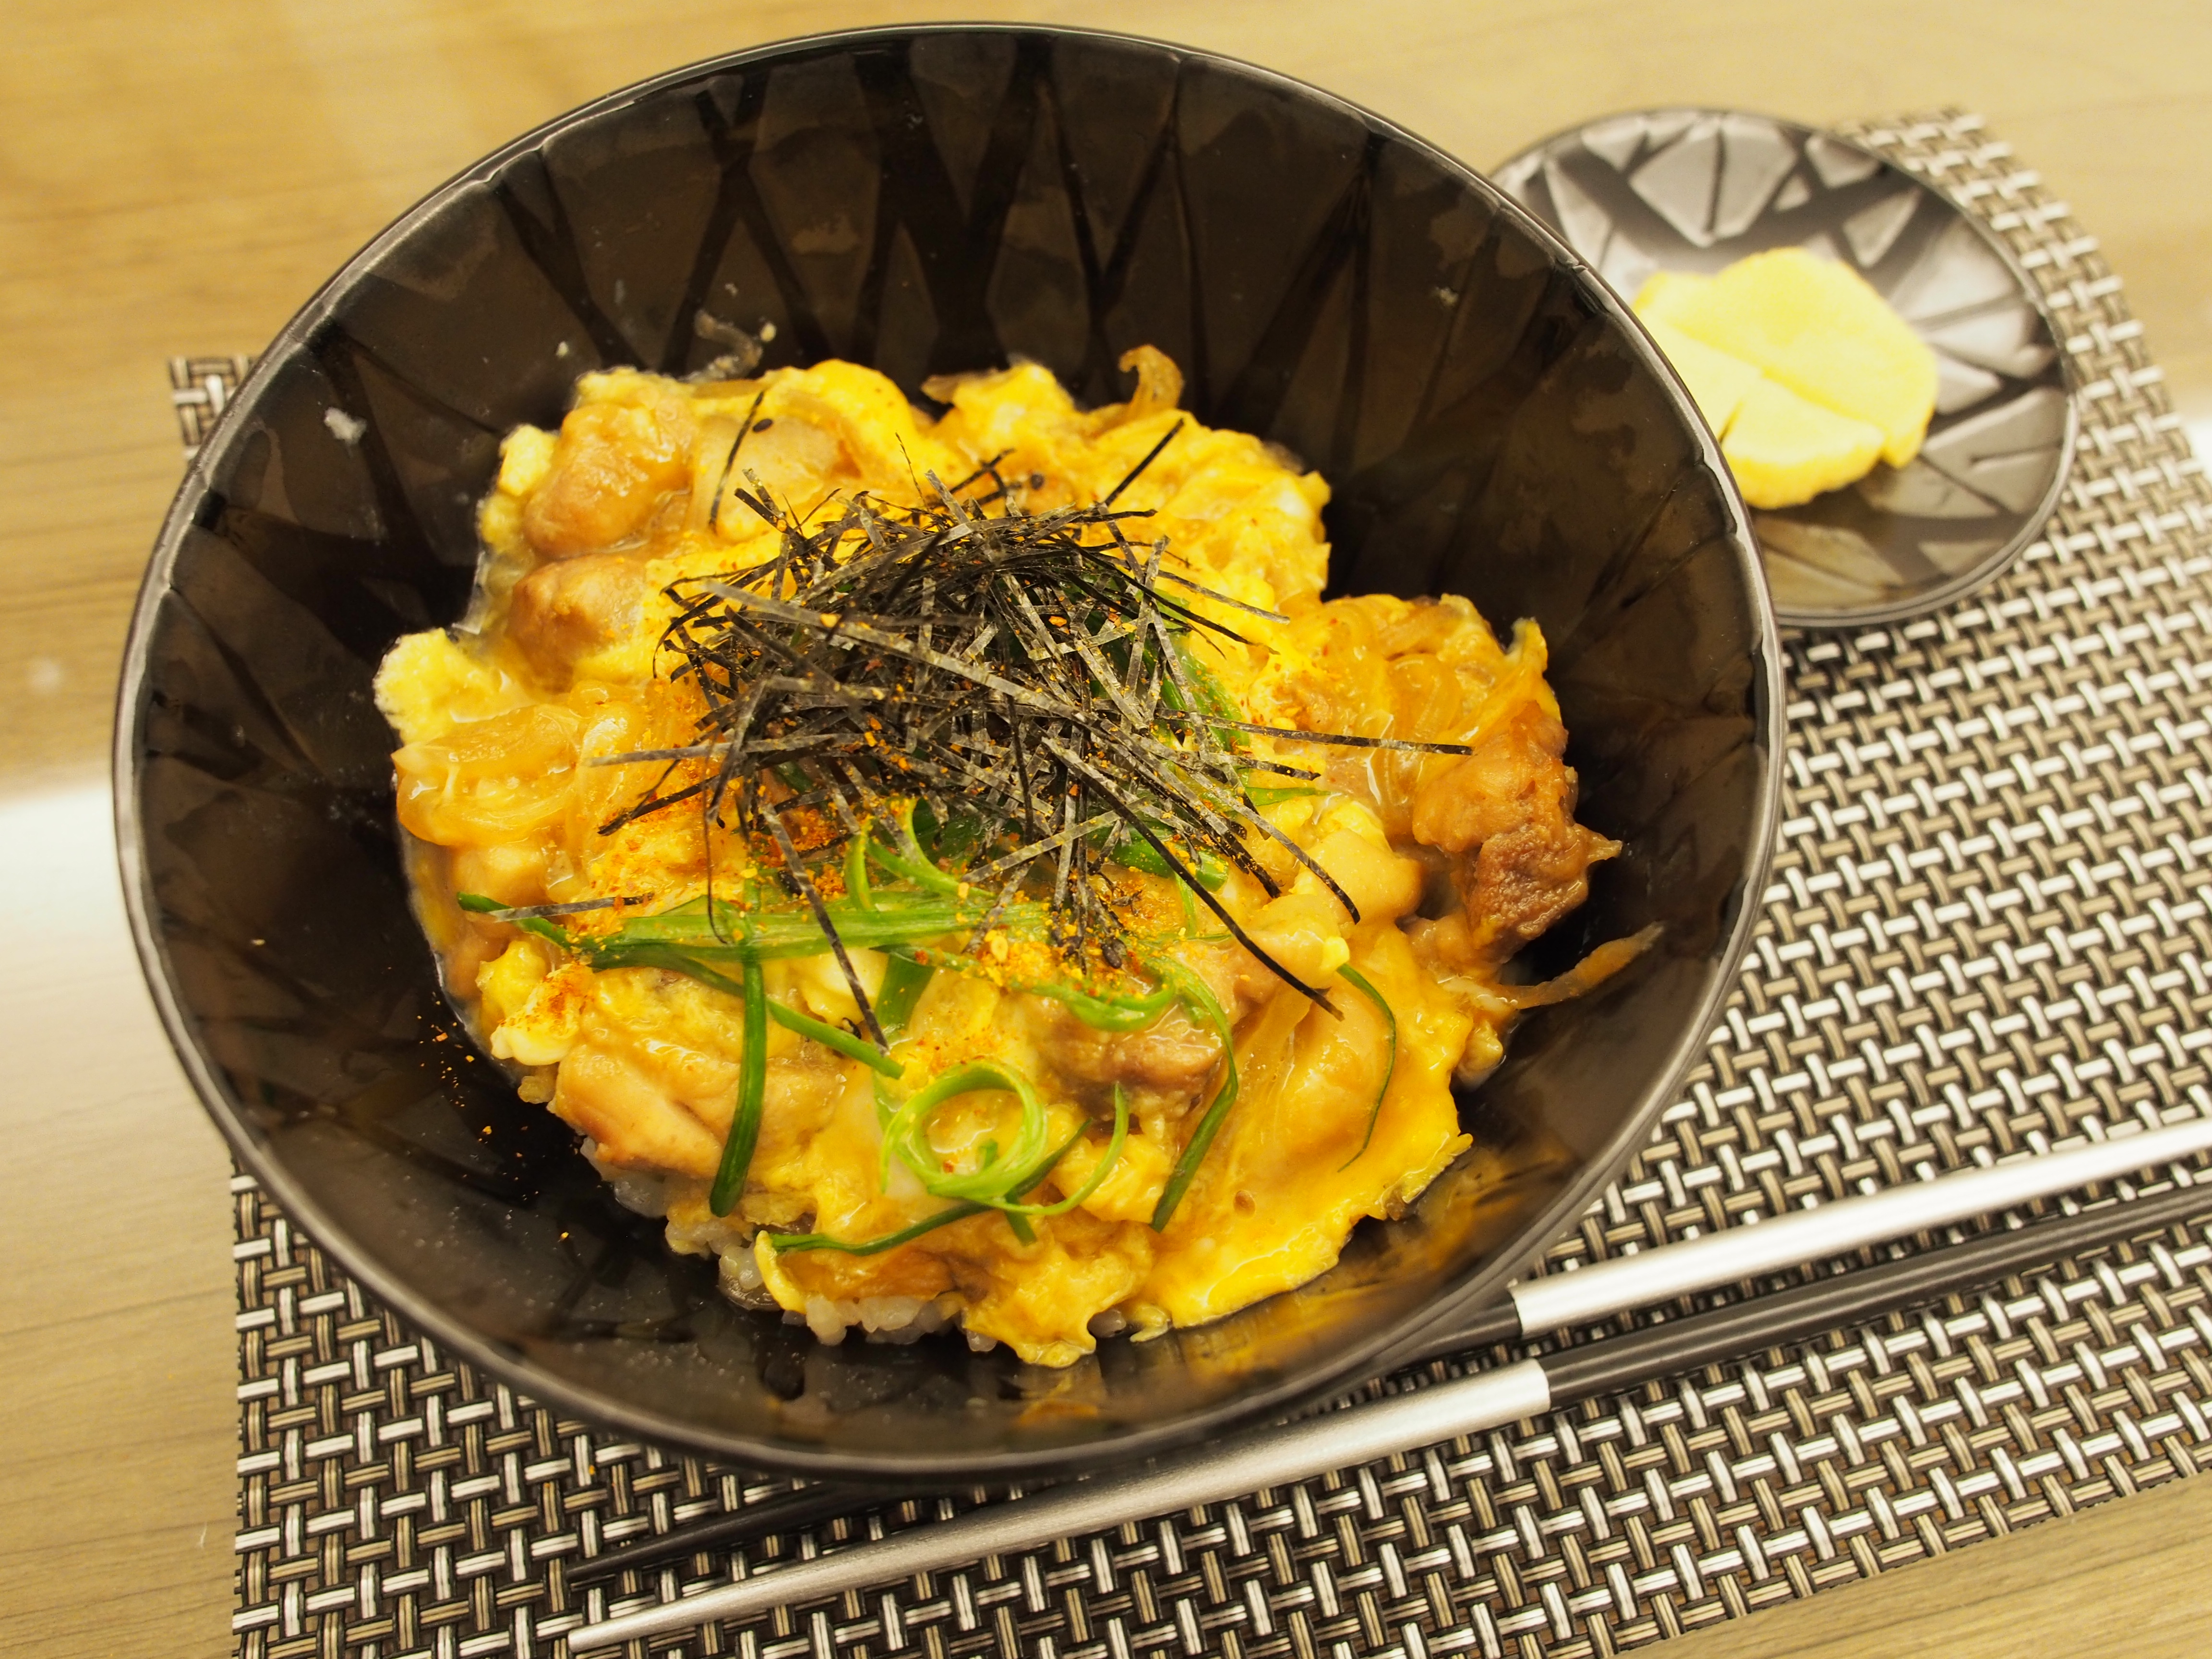
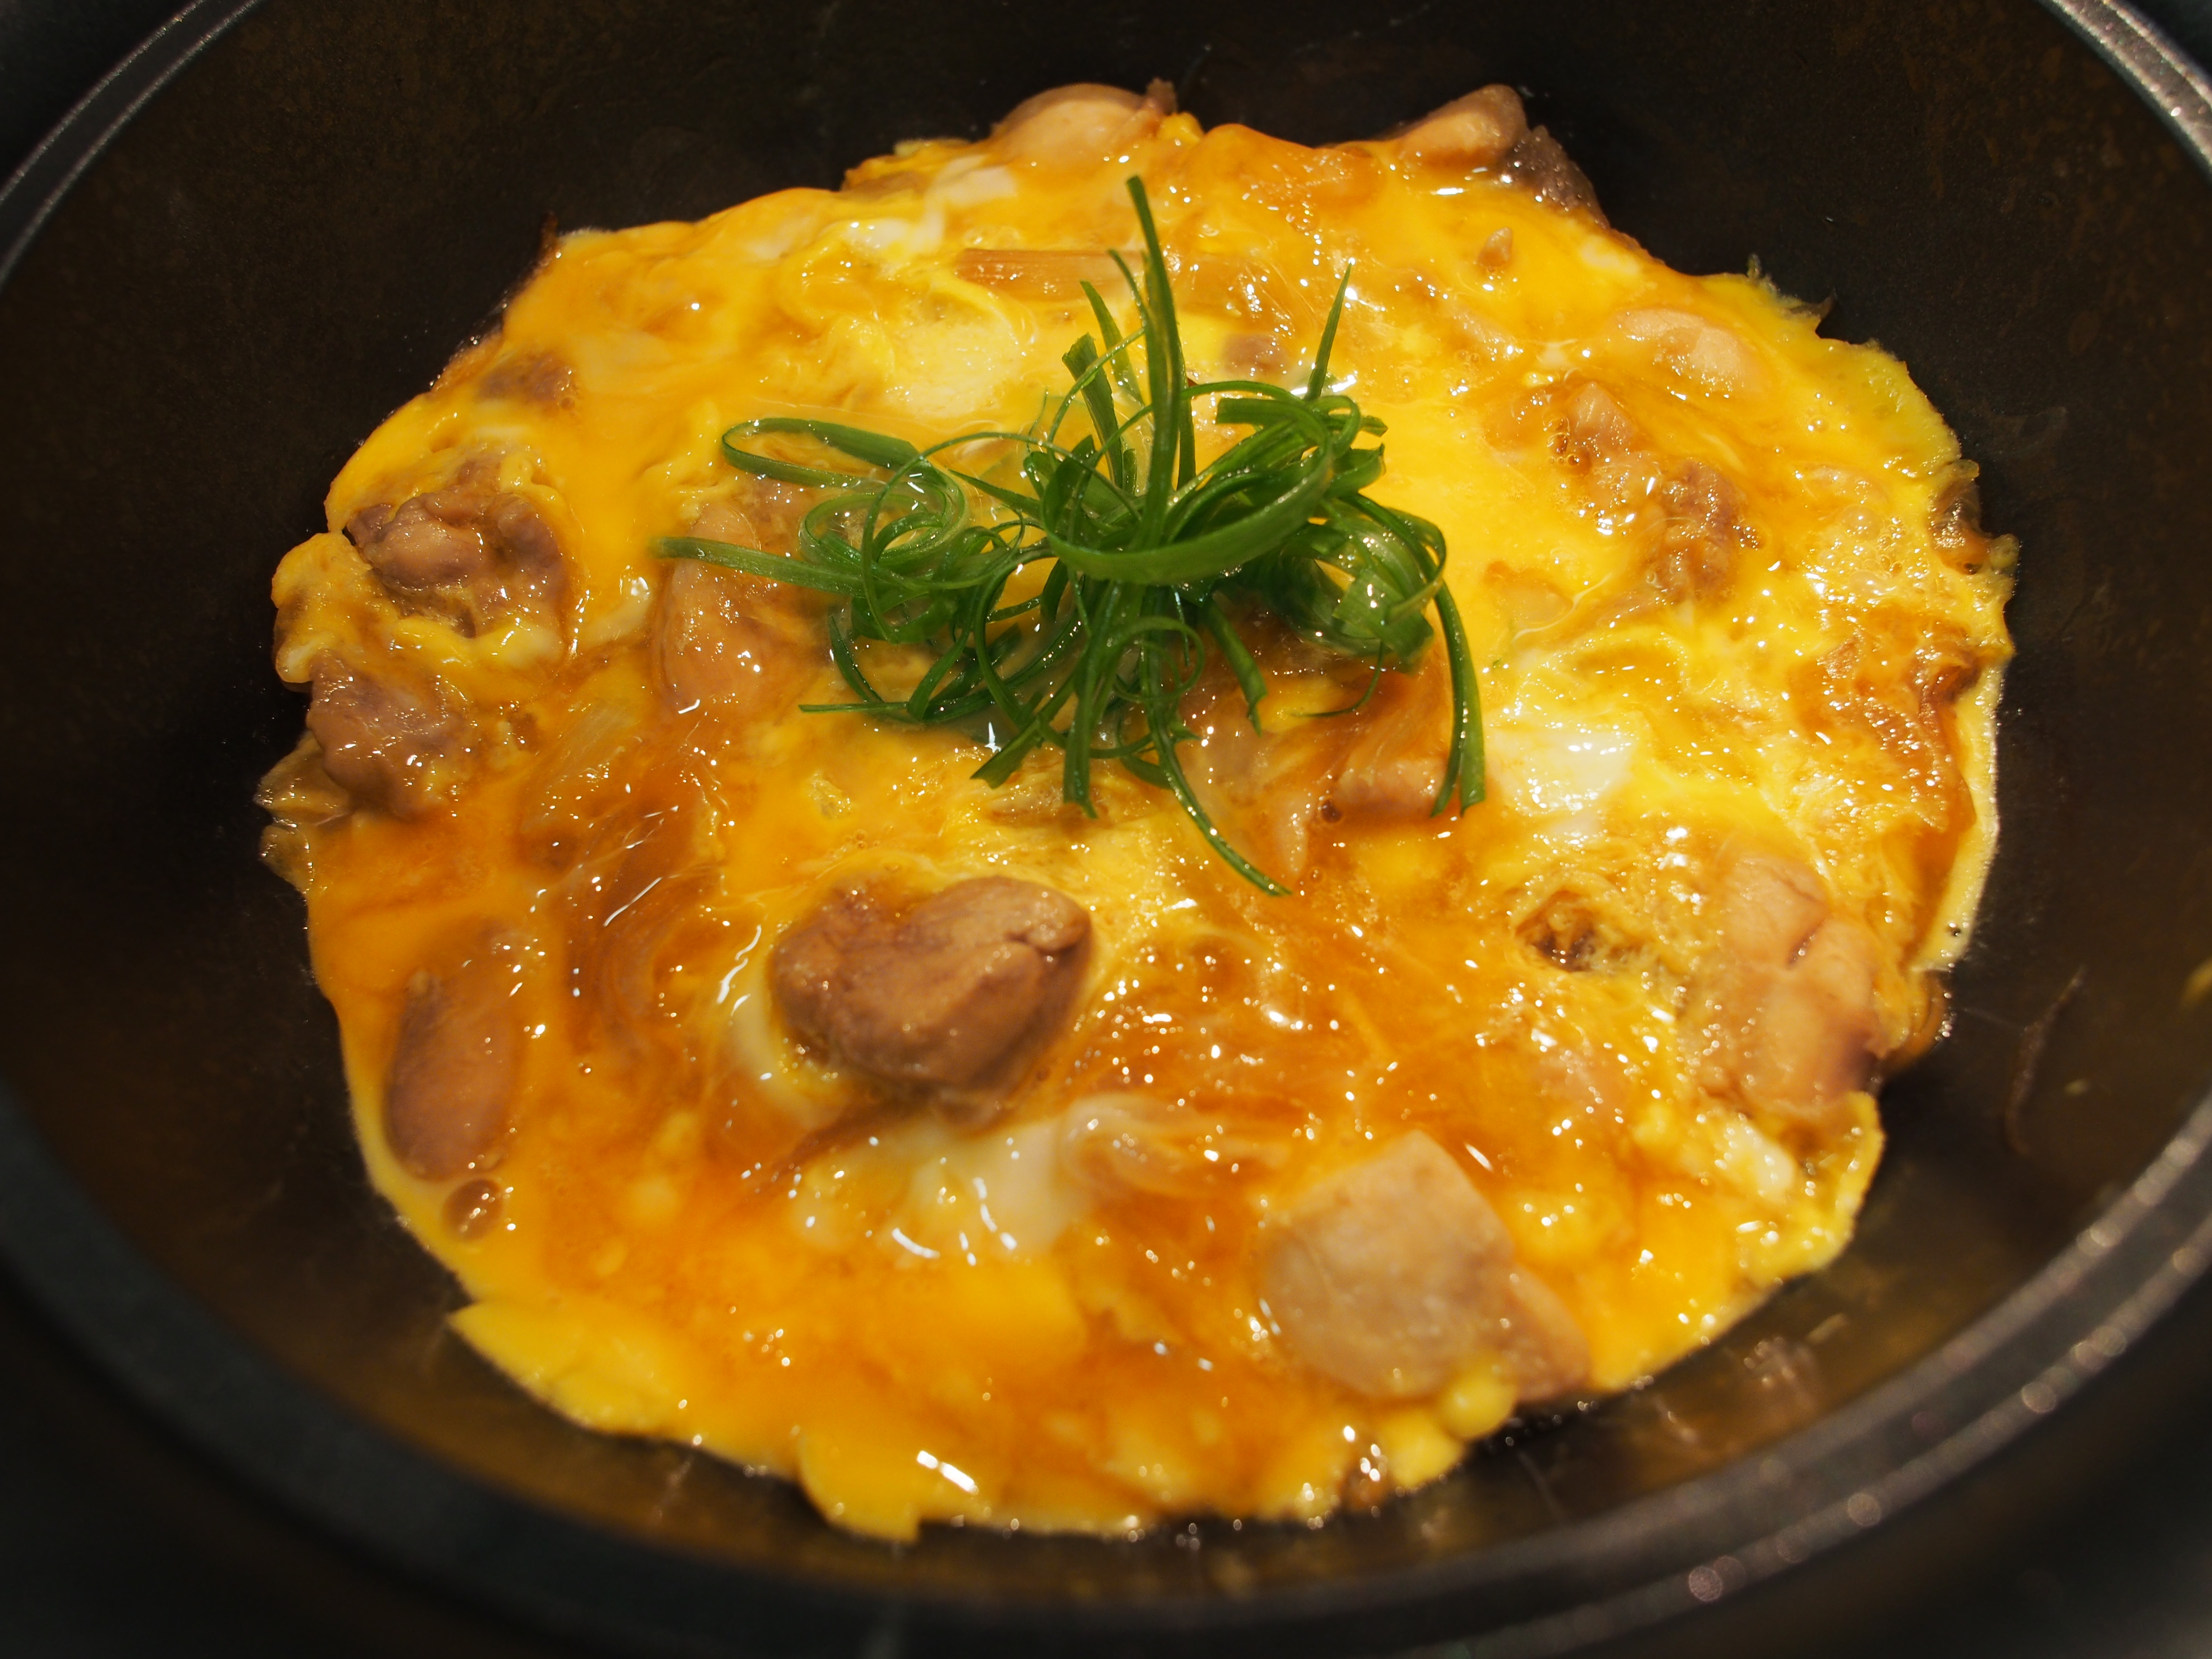
Home Made Oyako don
Last Christmas Bosco and I went to Kyoto and met up with my Japanese friend Yui. She brought us to the restaurant where shabu shabu was invented, introduced us to the traditions of prayer-making at Kiyomizu-dera, and we even saw a real Maiko (geisha in training- yeah I thought they didn’t exist anymore too!)

Bosco and I are super fond of Japanese food and get really inspired every time we travel, so of course we had to ask Yui how to cook Japanese food at home. Yui taught us the secret to many Japanese dishes is soba sauce (つゆ tsu-yu sauce)! In particular this oyako don, which may look really complicated but is surprisingly easy! Who can resist half cooked egg, sweet onions, and juicy chicken on a bed of saucy Japanese rice?! I’ve been trying different methods/proportions nonstop and this has become my favourite. Please give it a try and let me know how it goes ^^
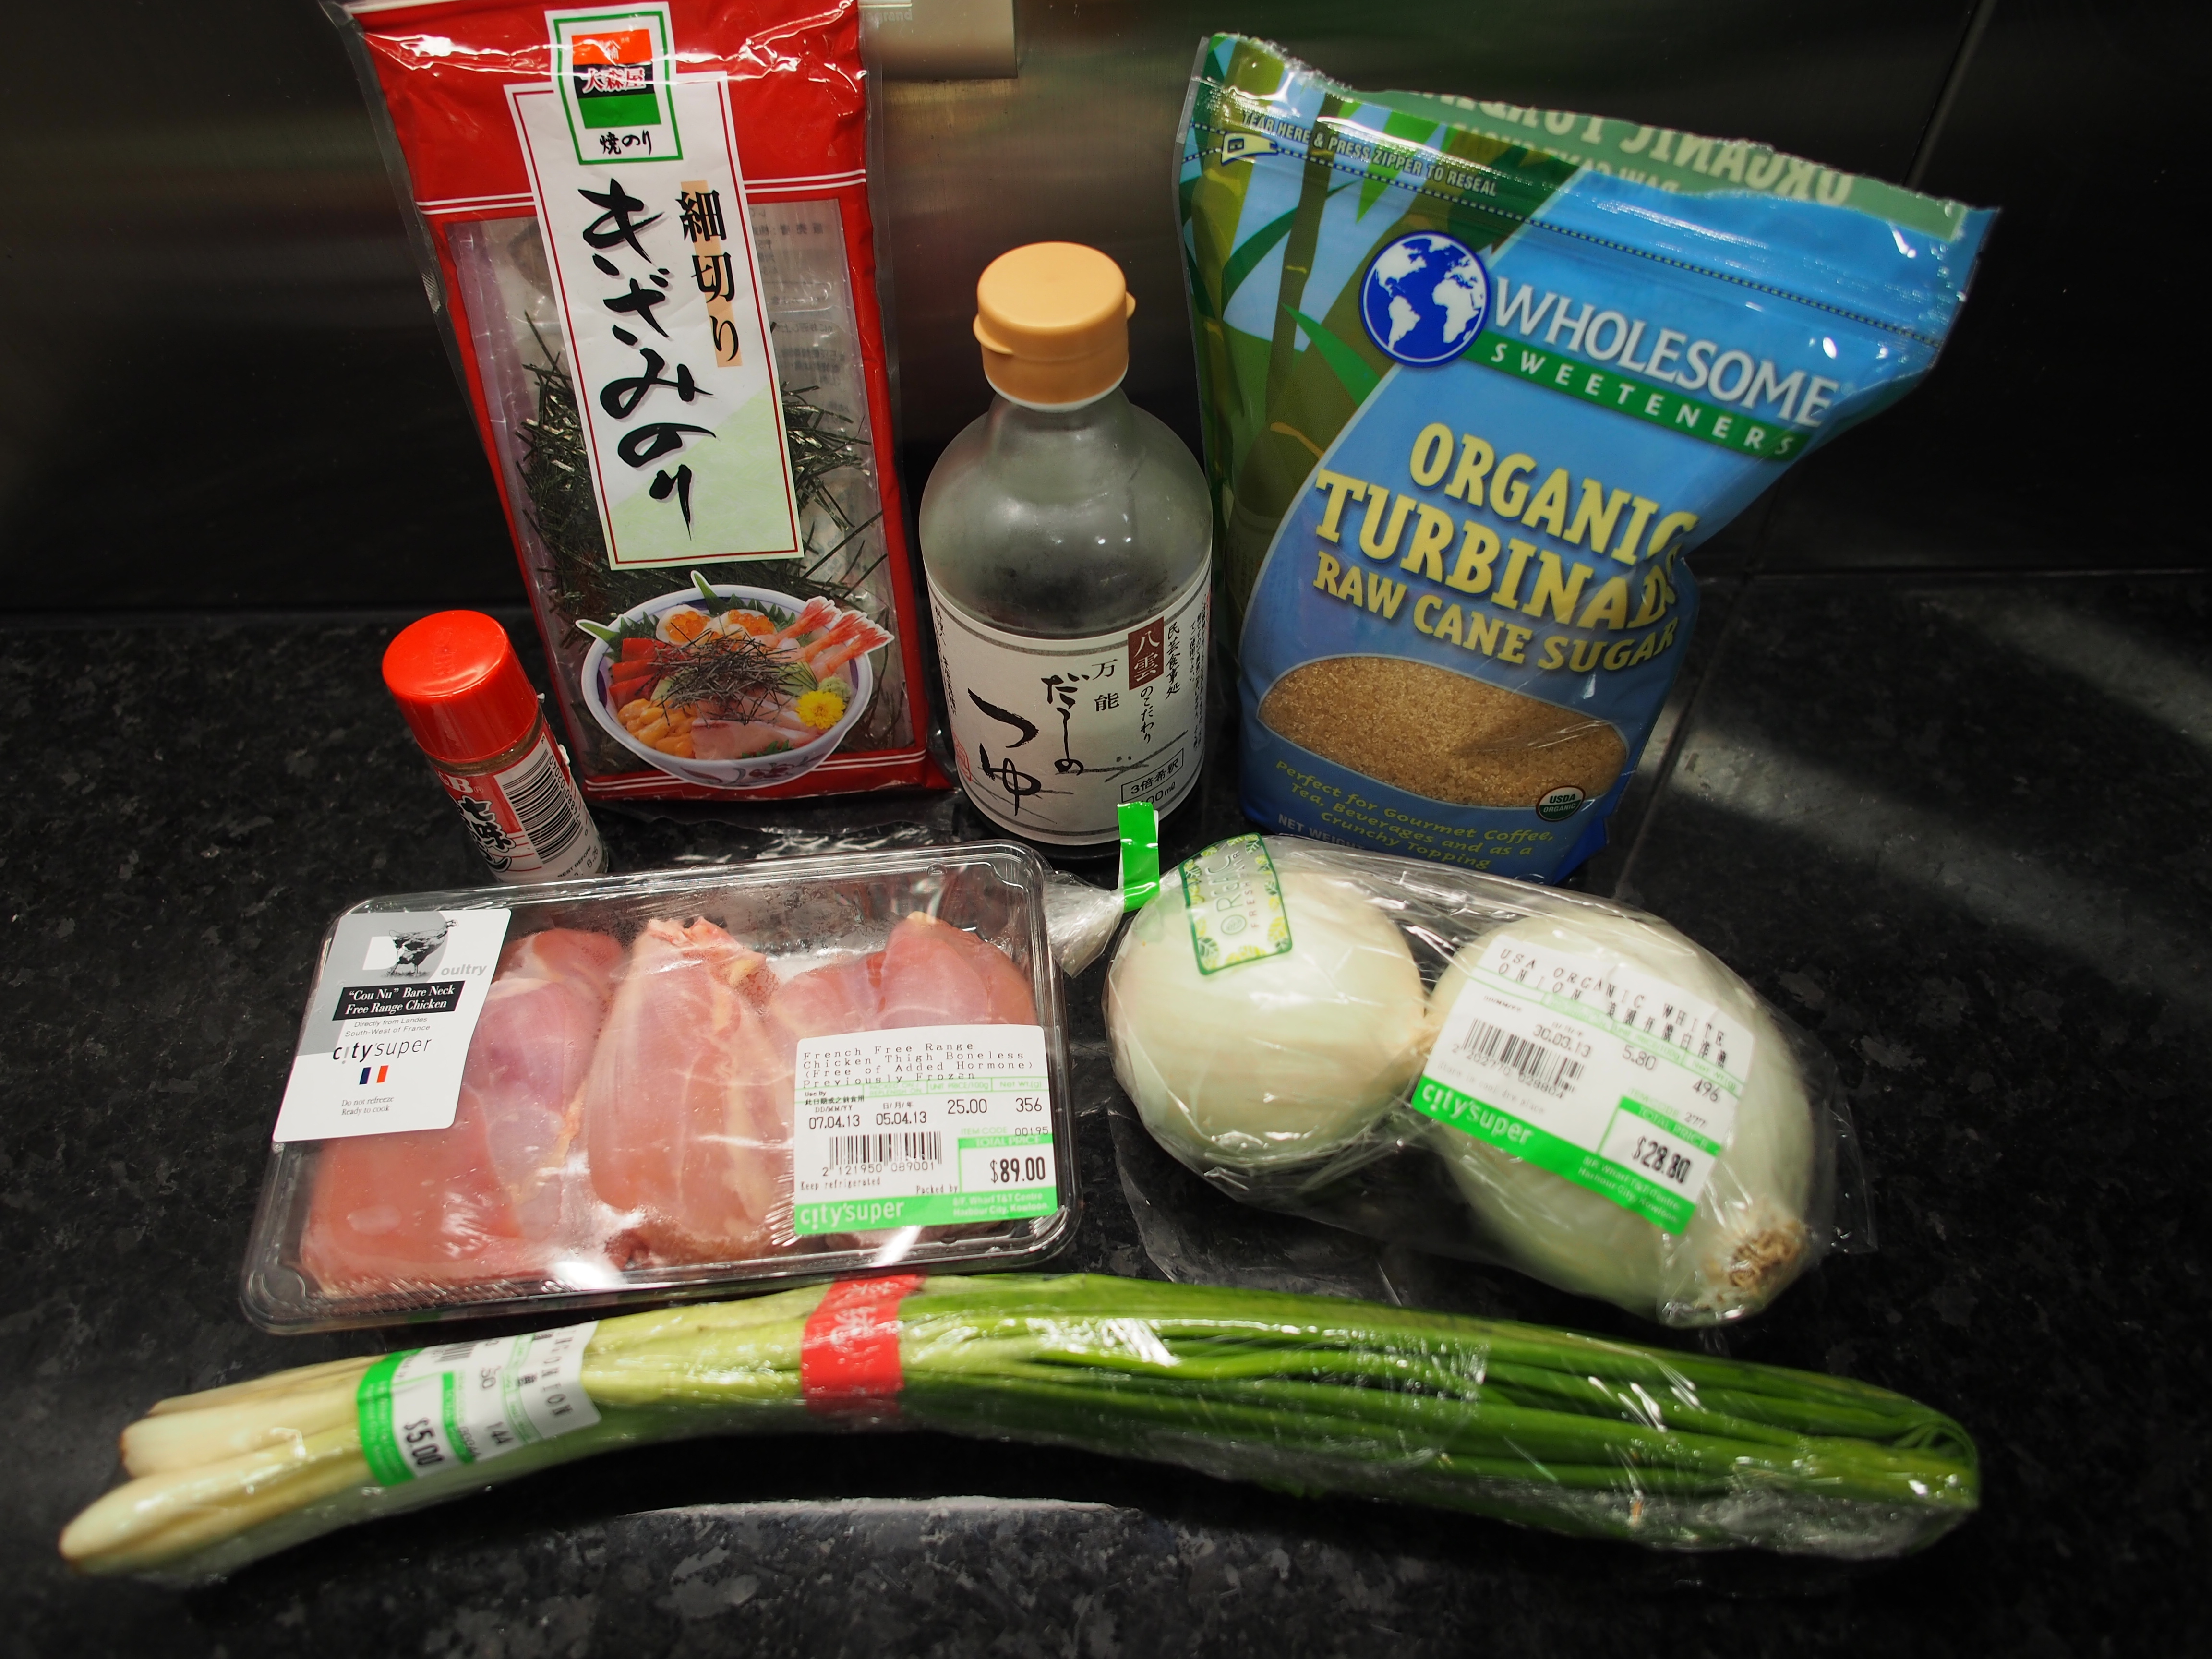
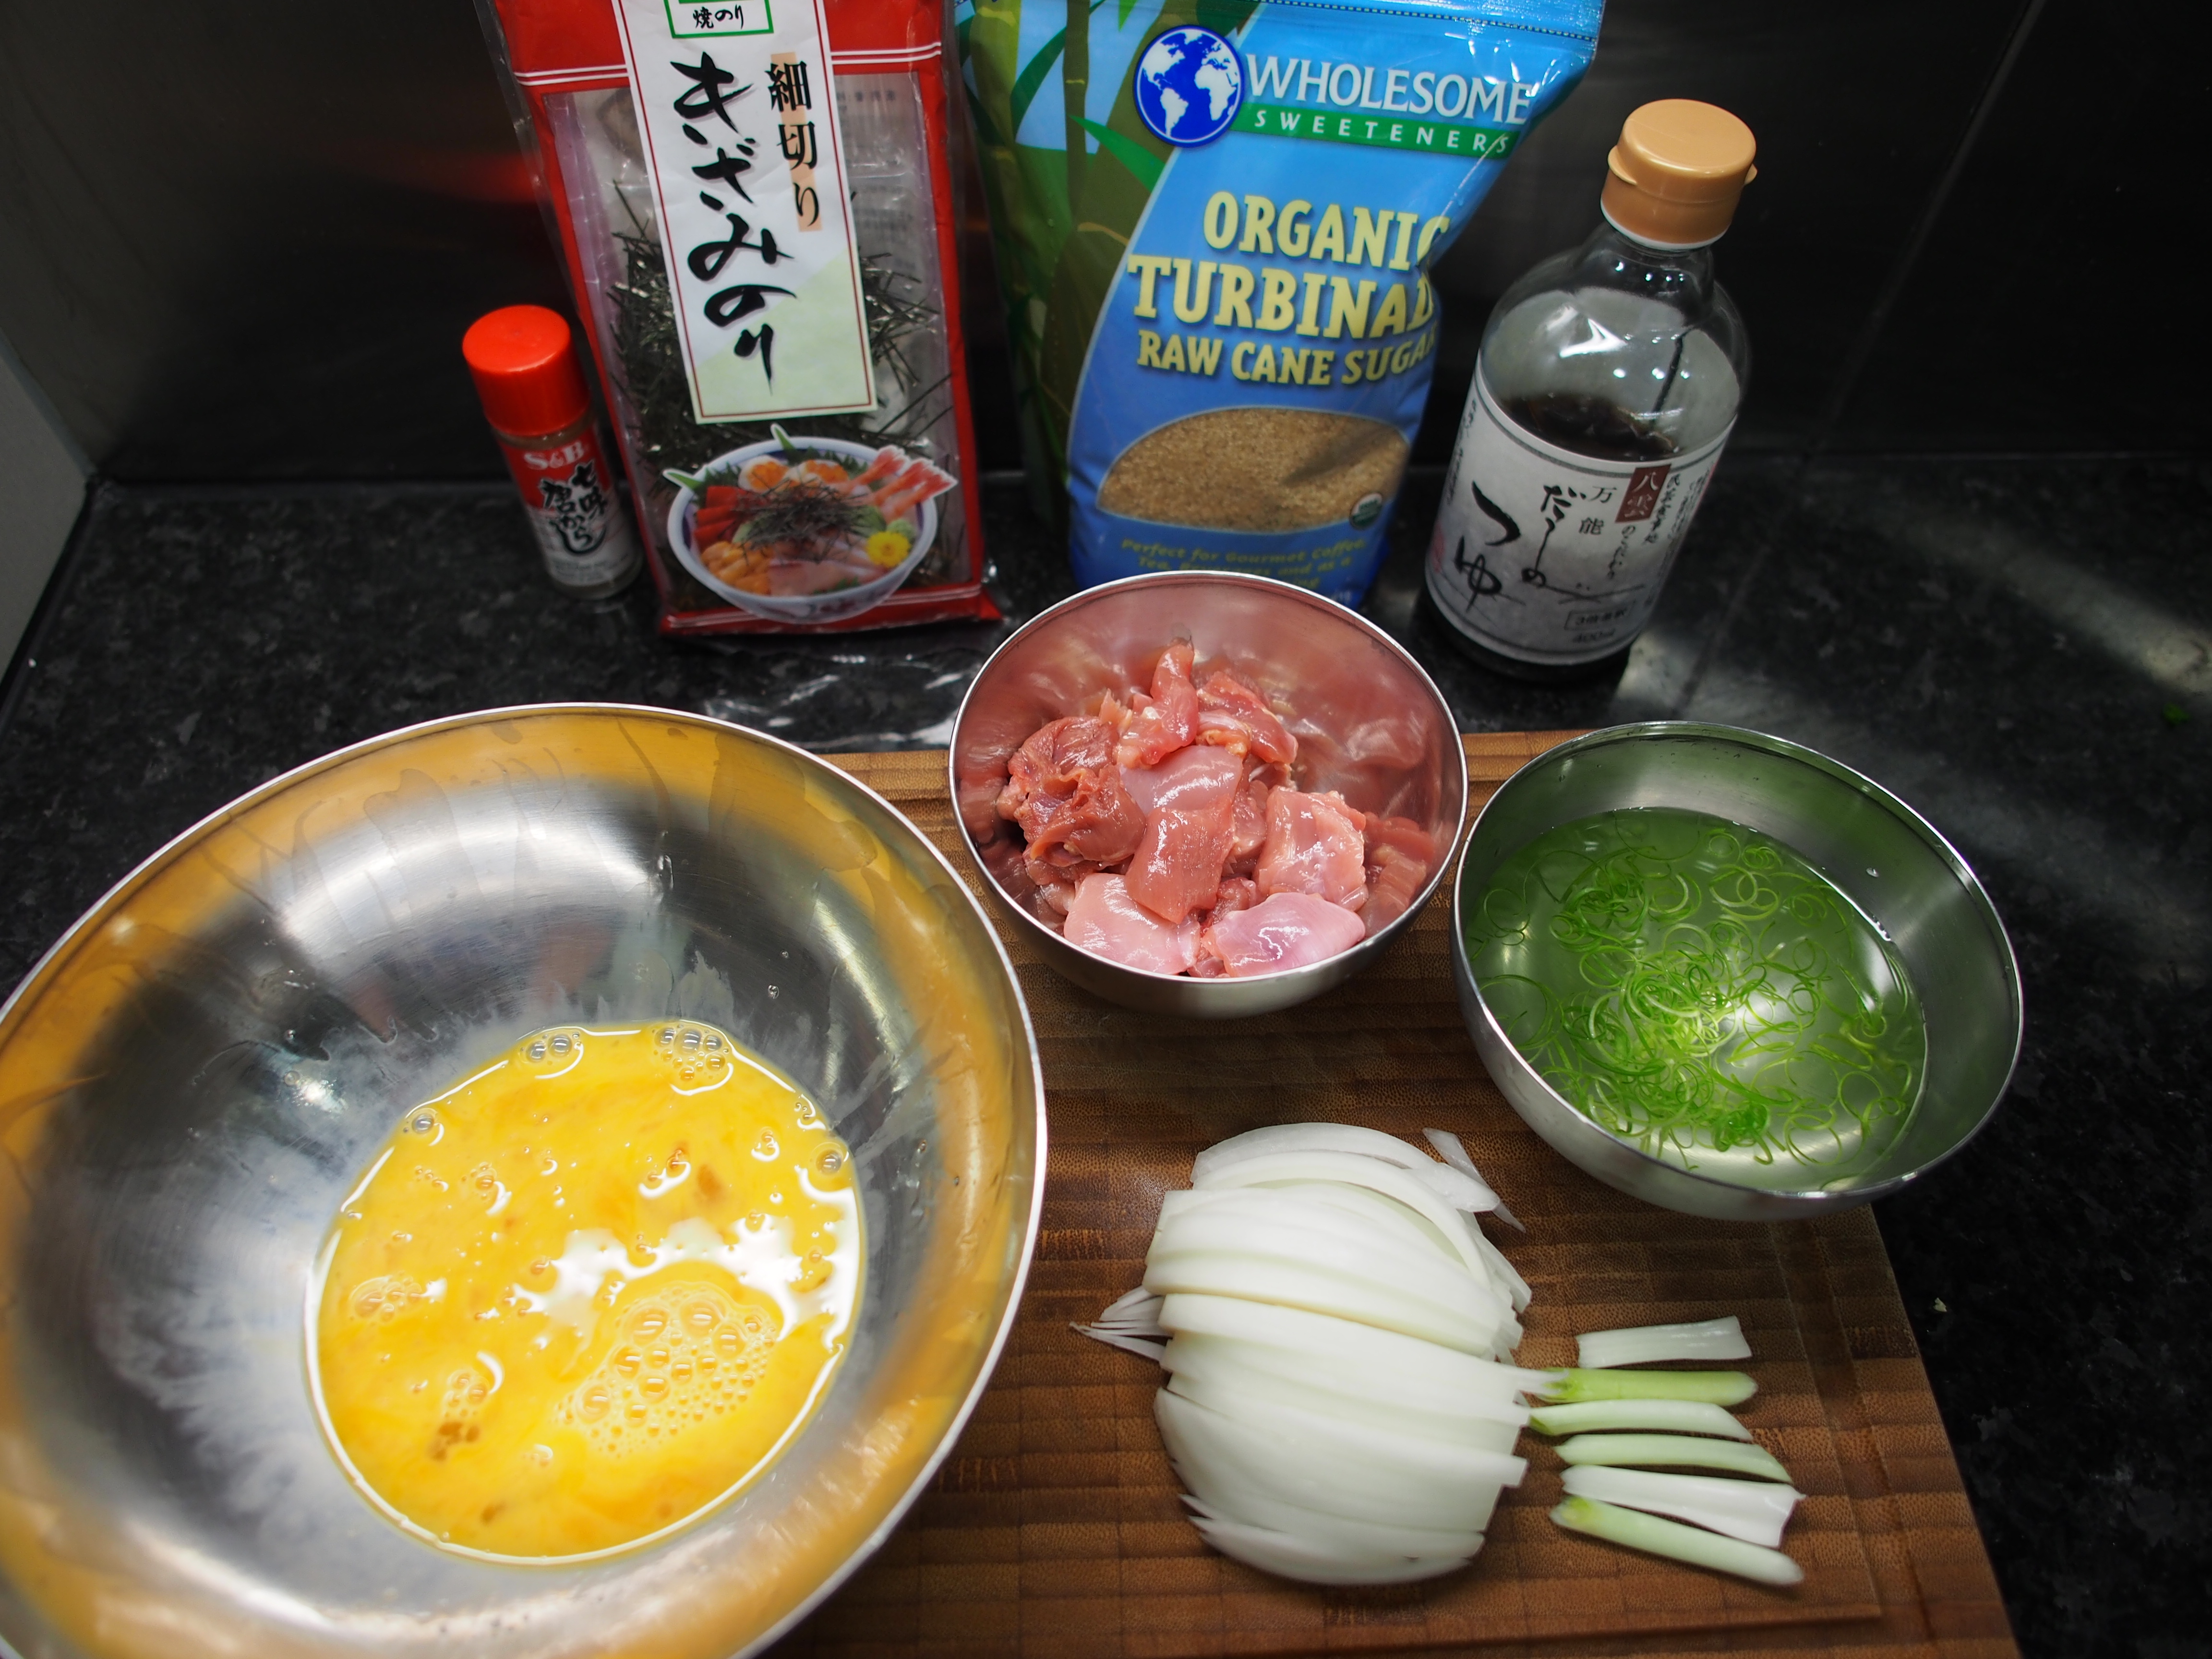
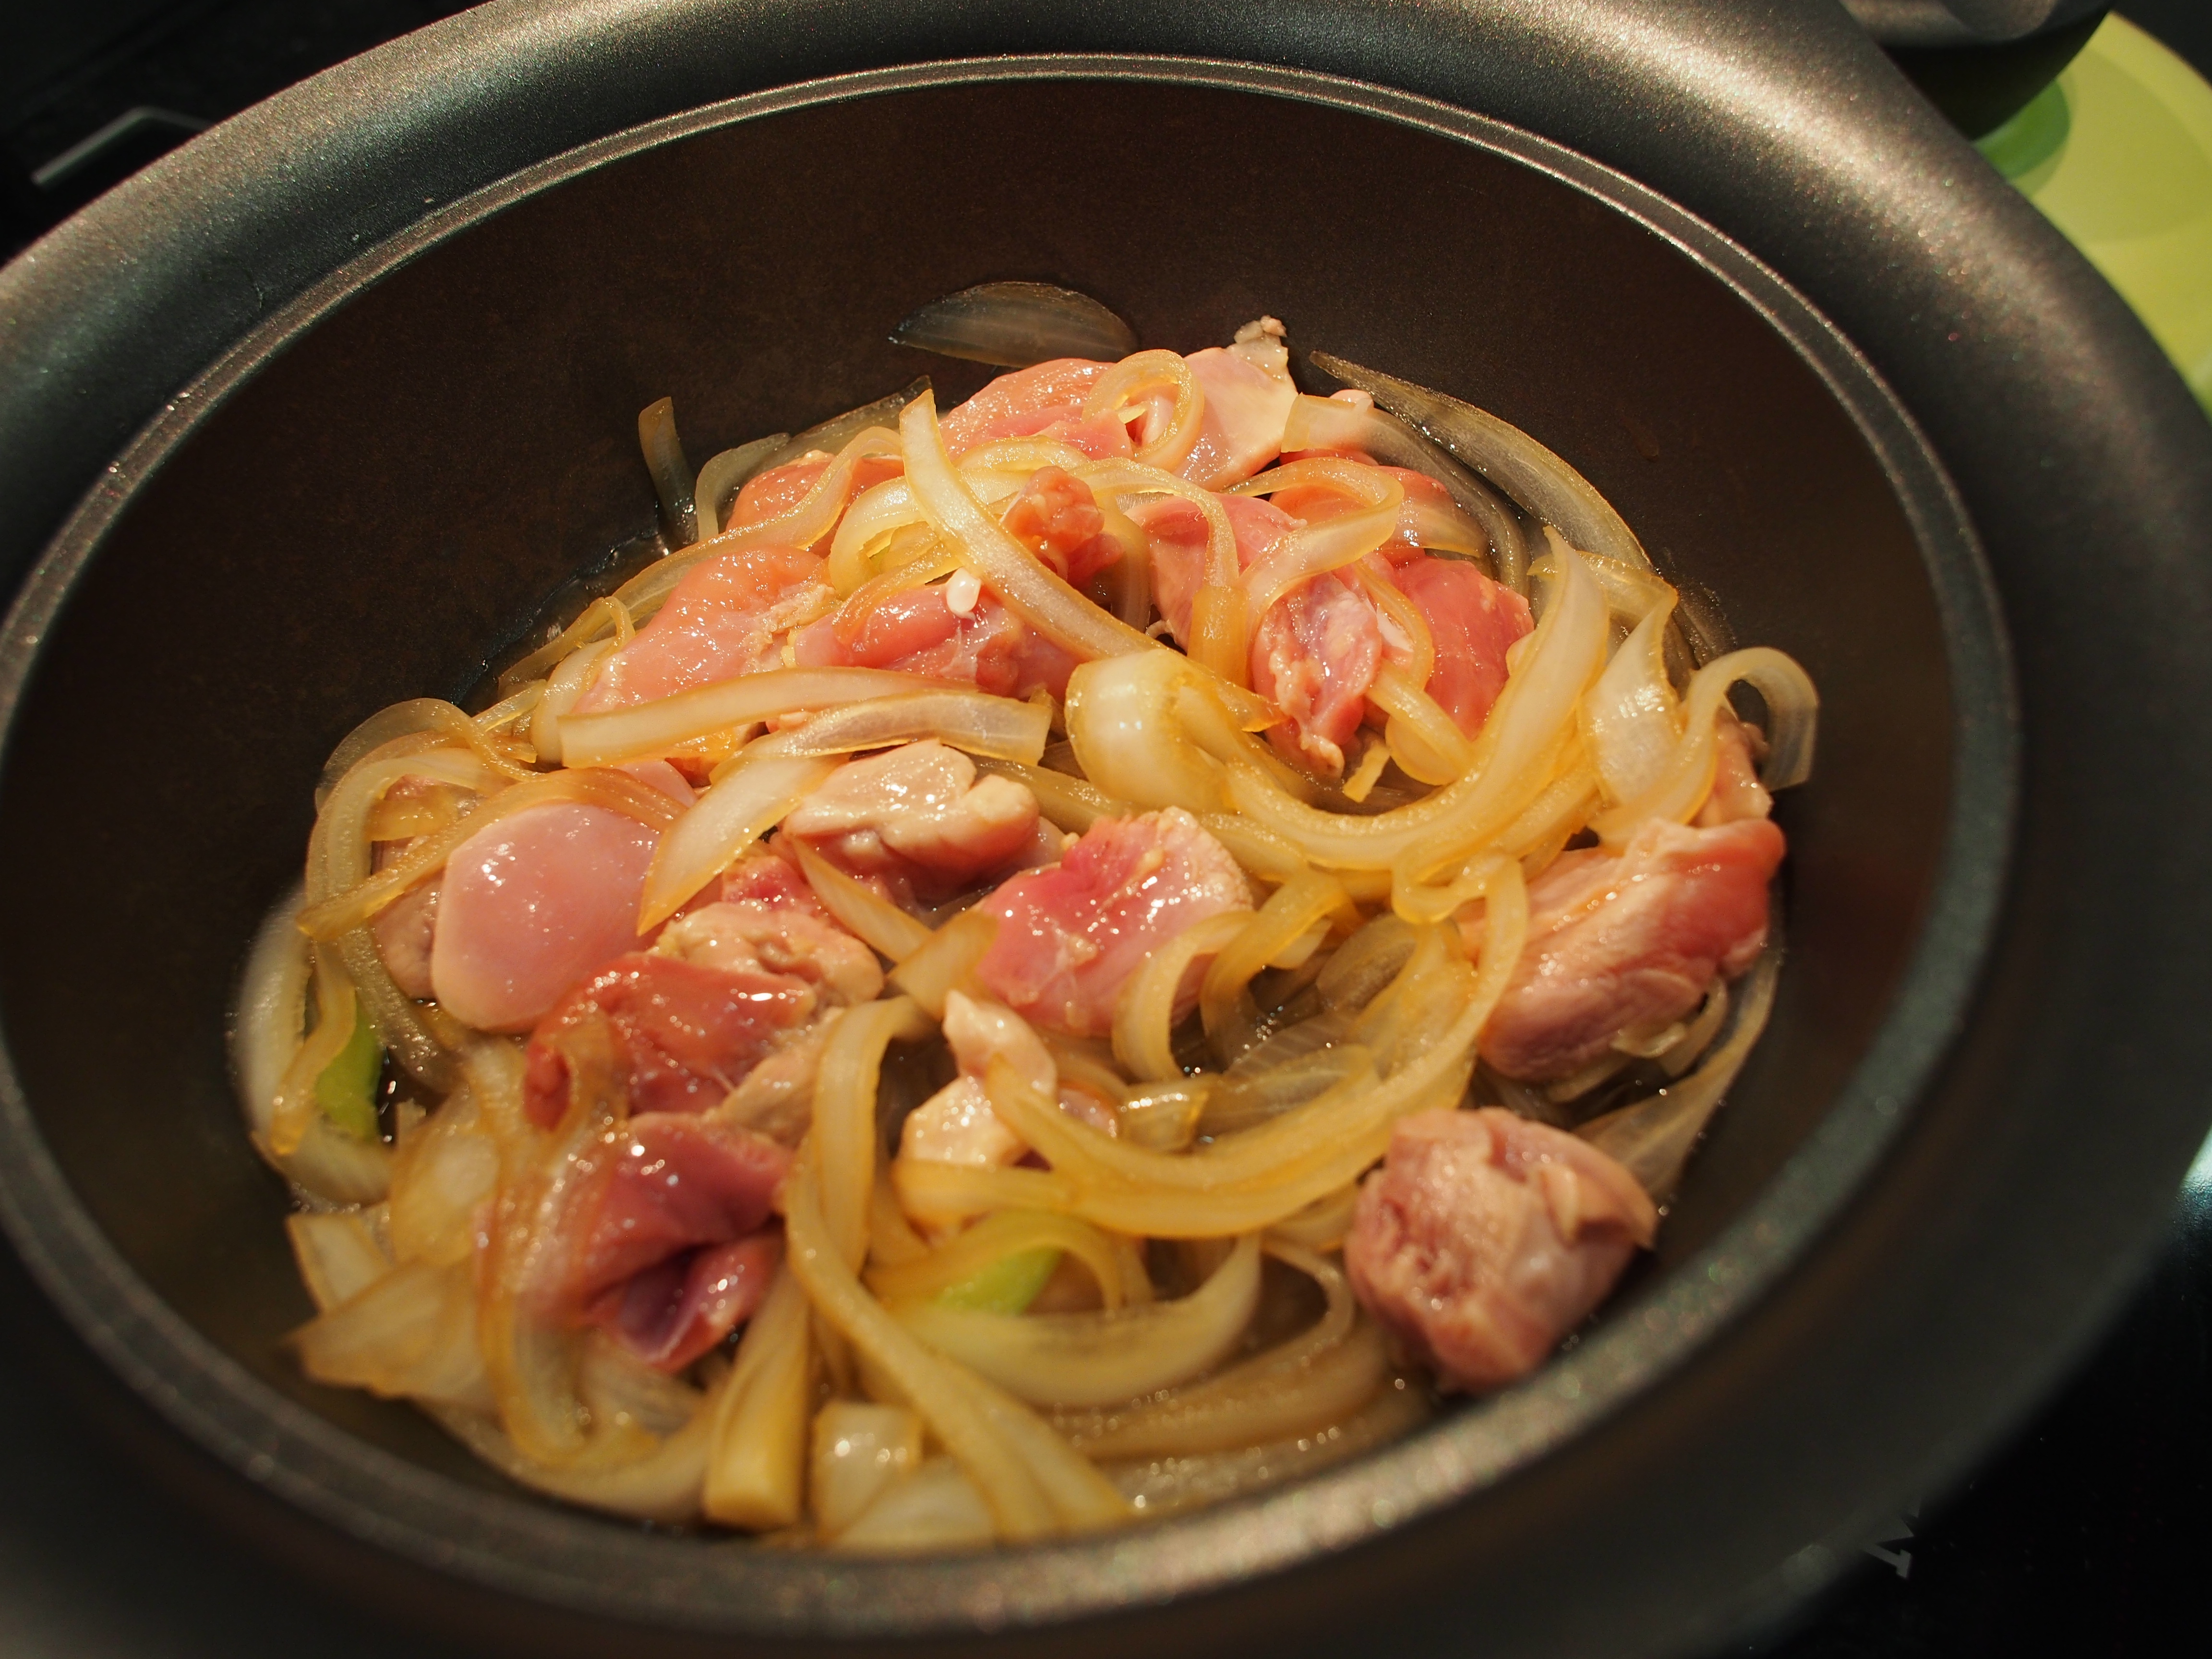
- 1 free range chicken thigh (skin- and bone-less)
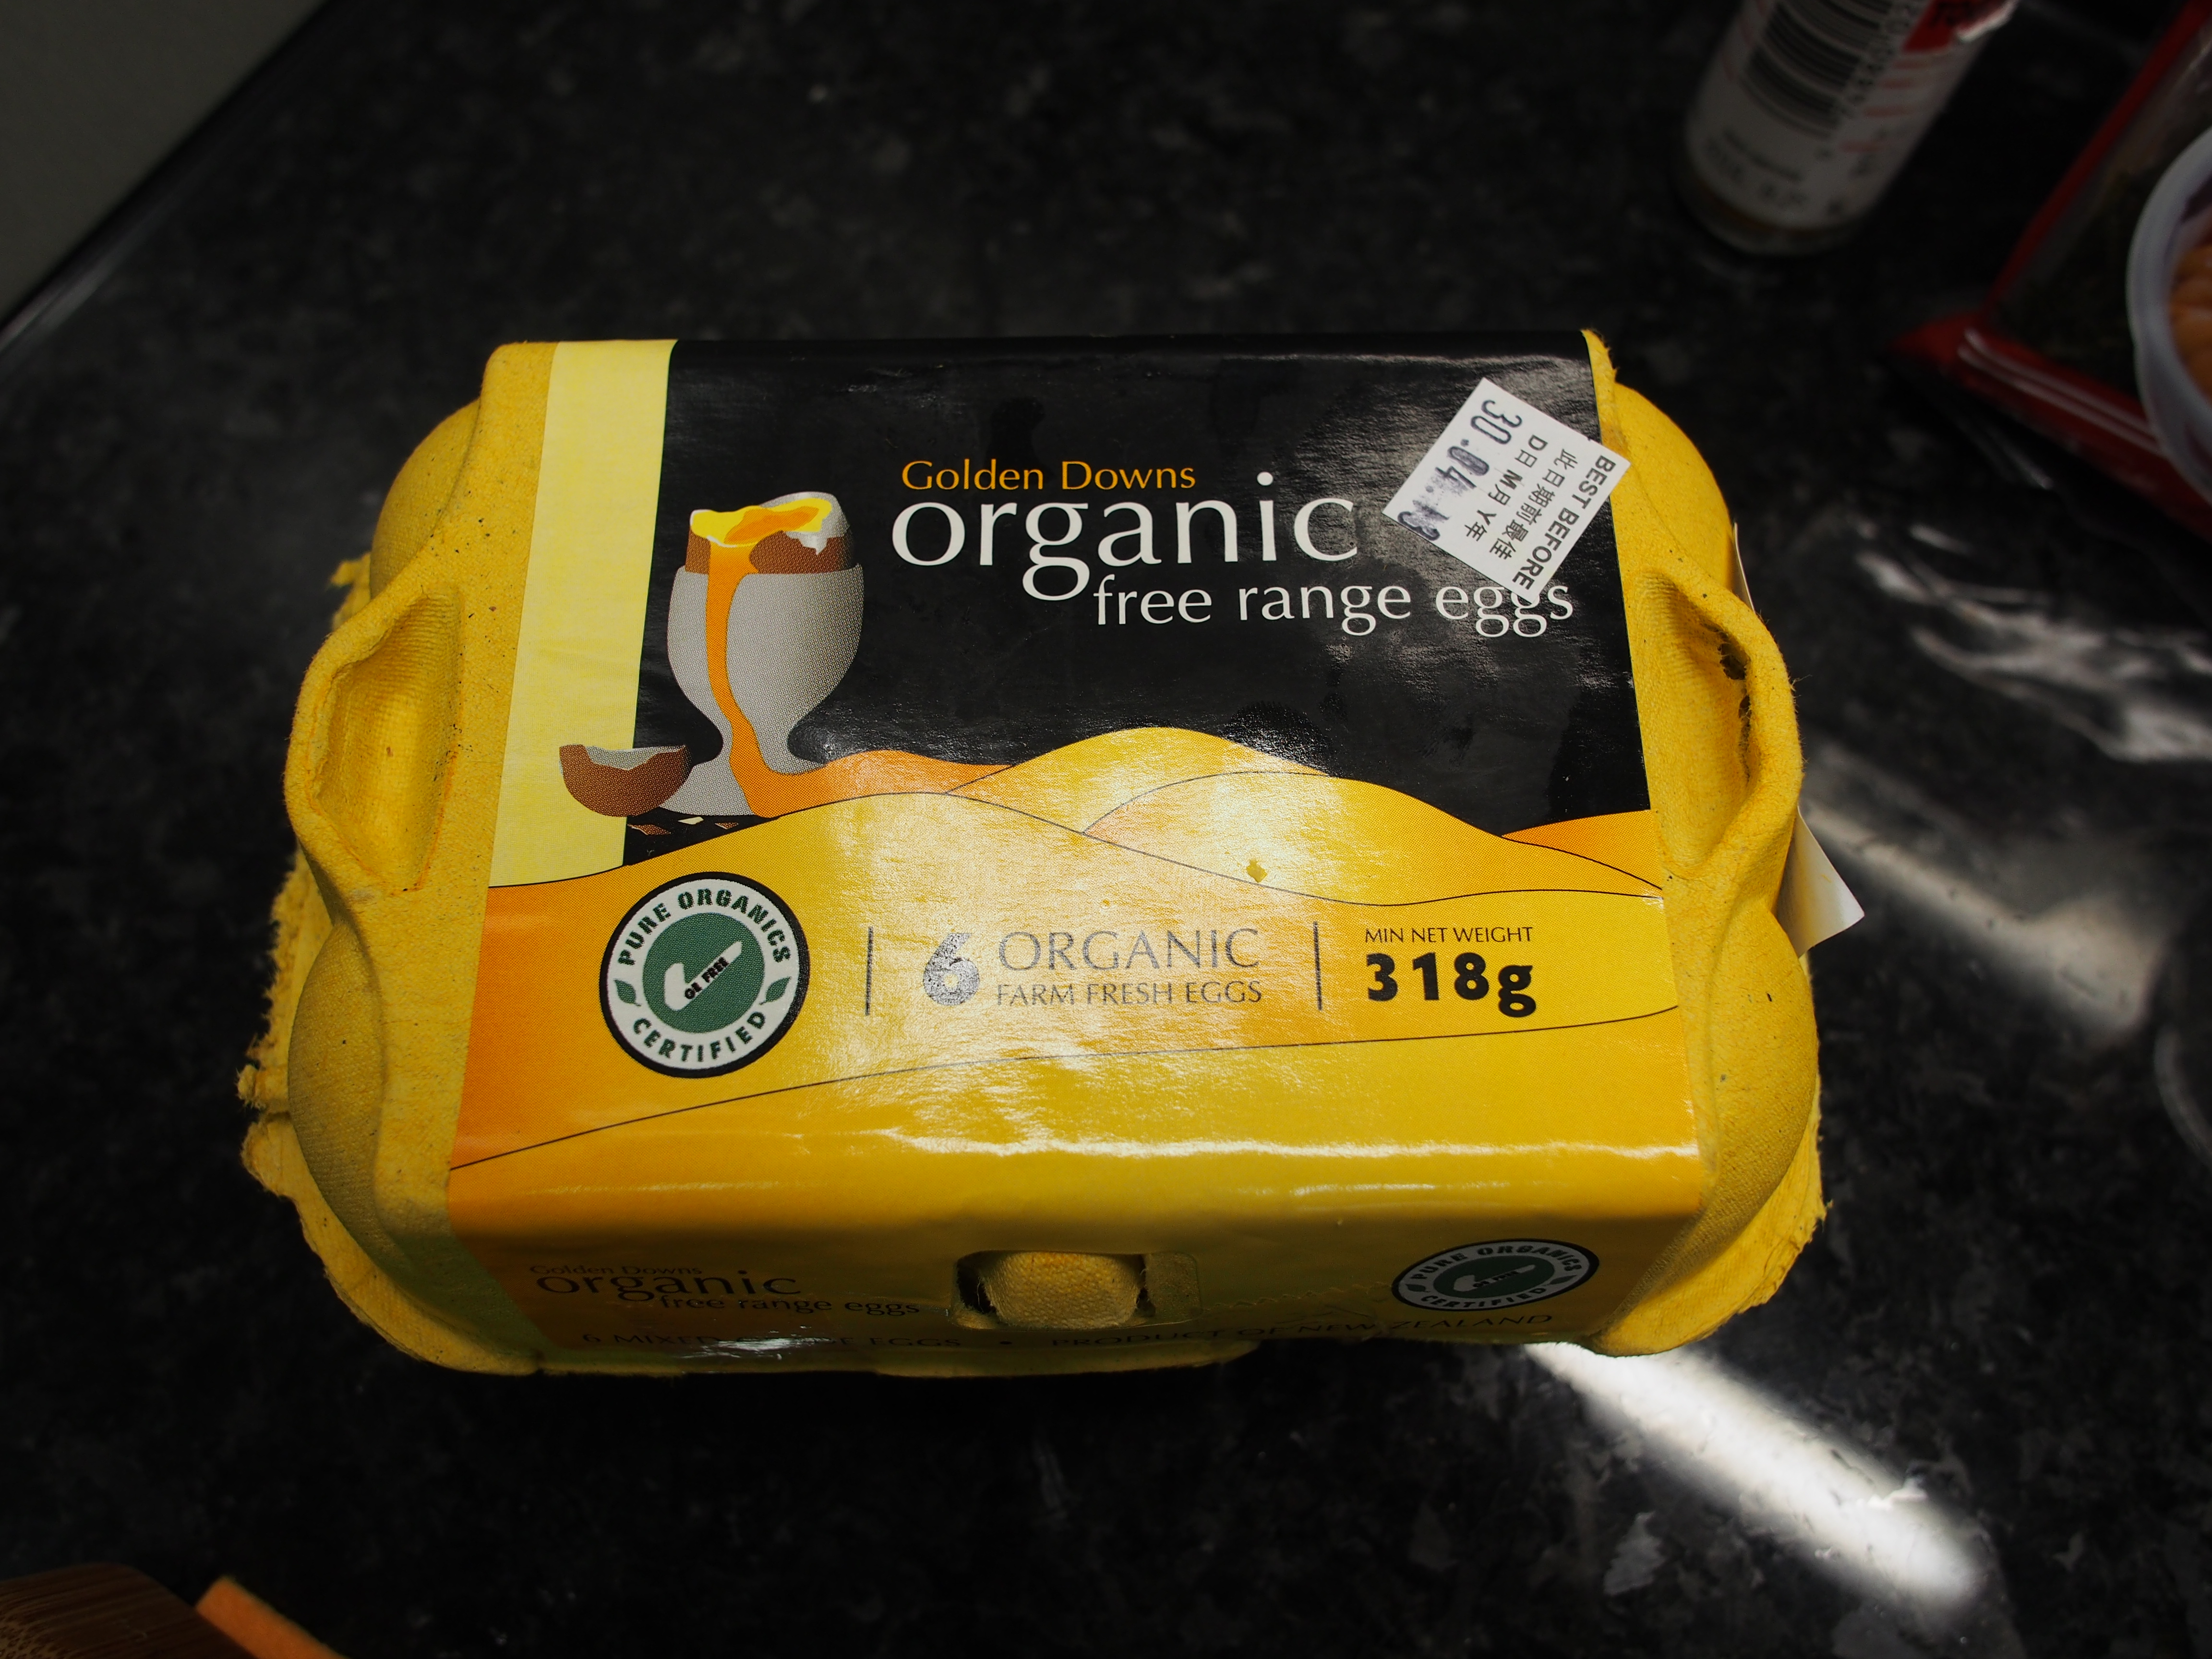
- 2 eggs
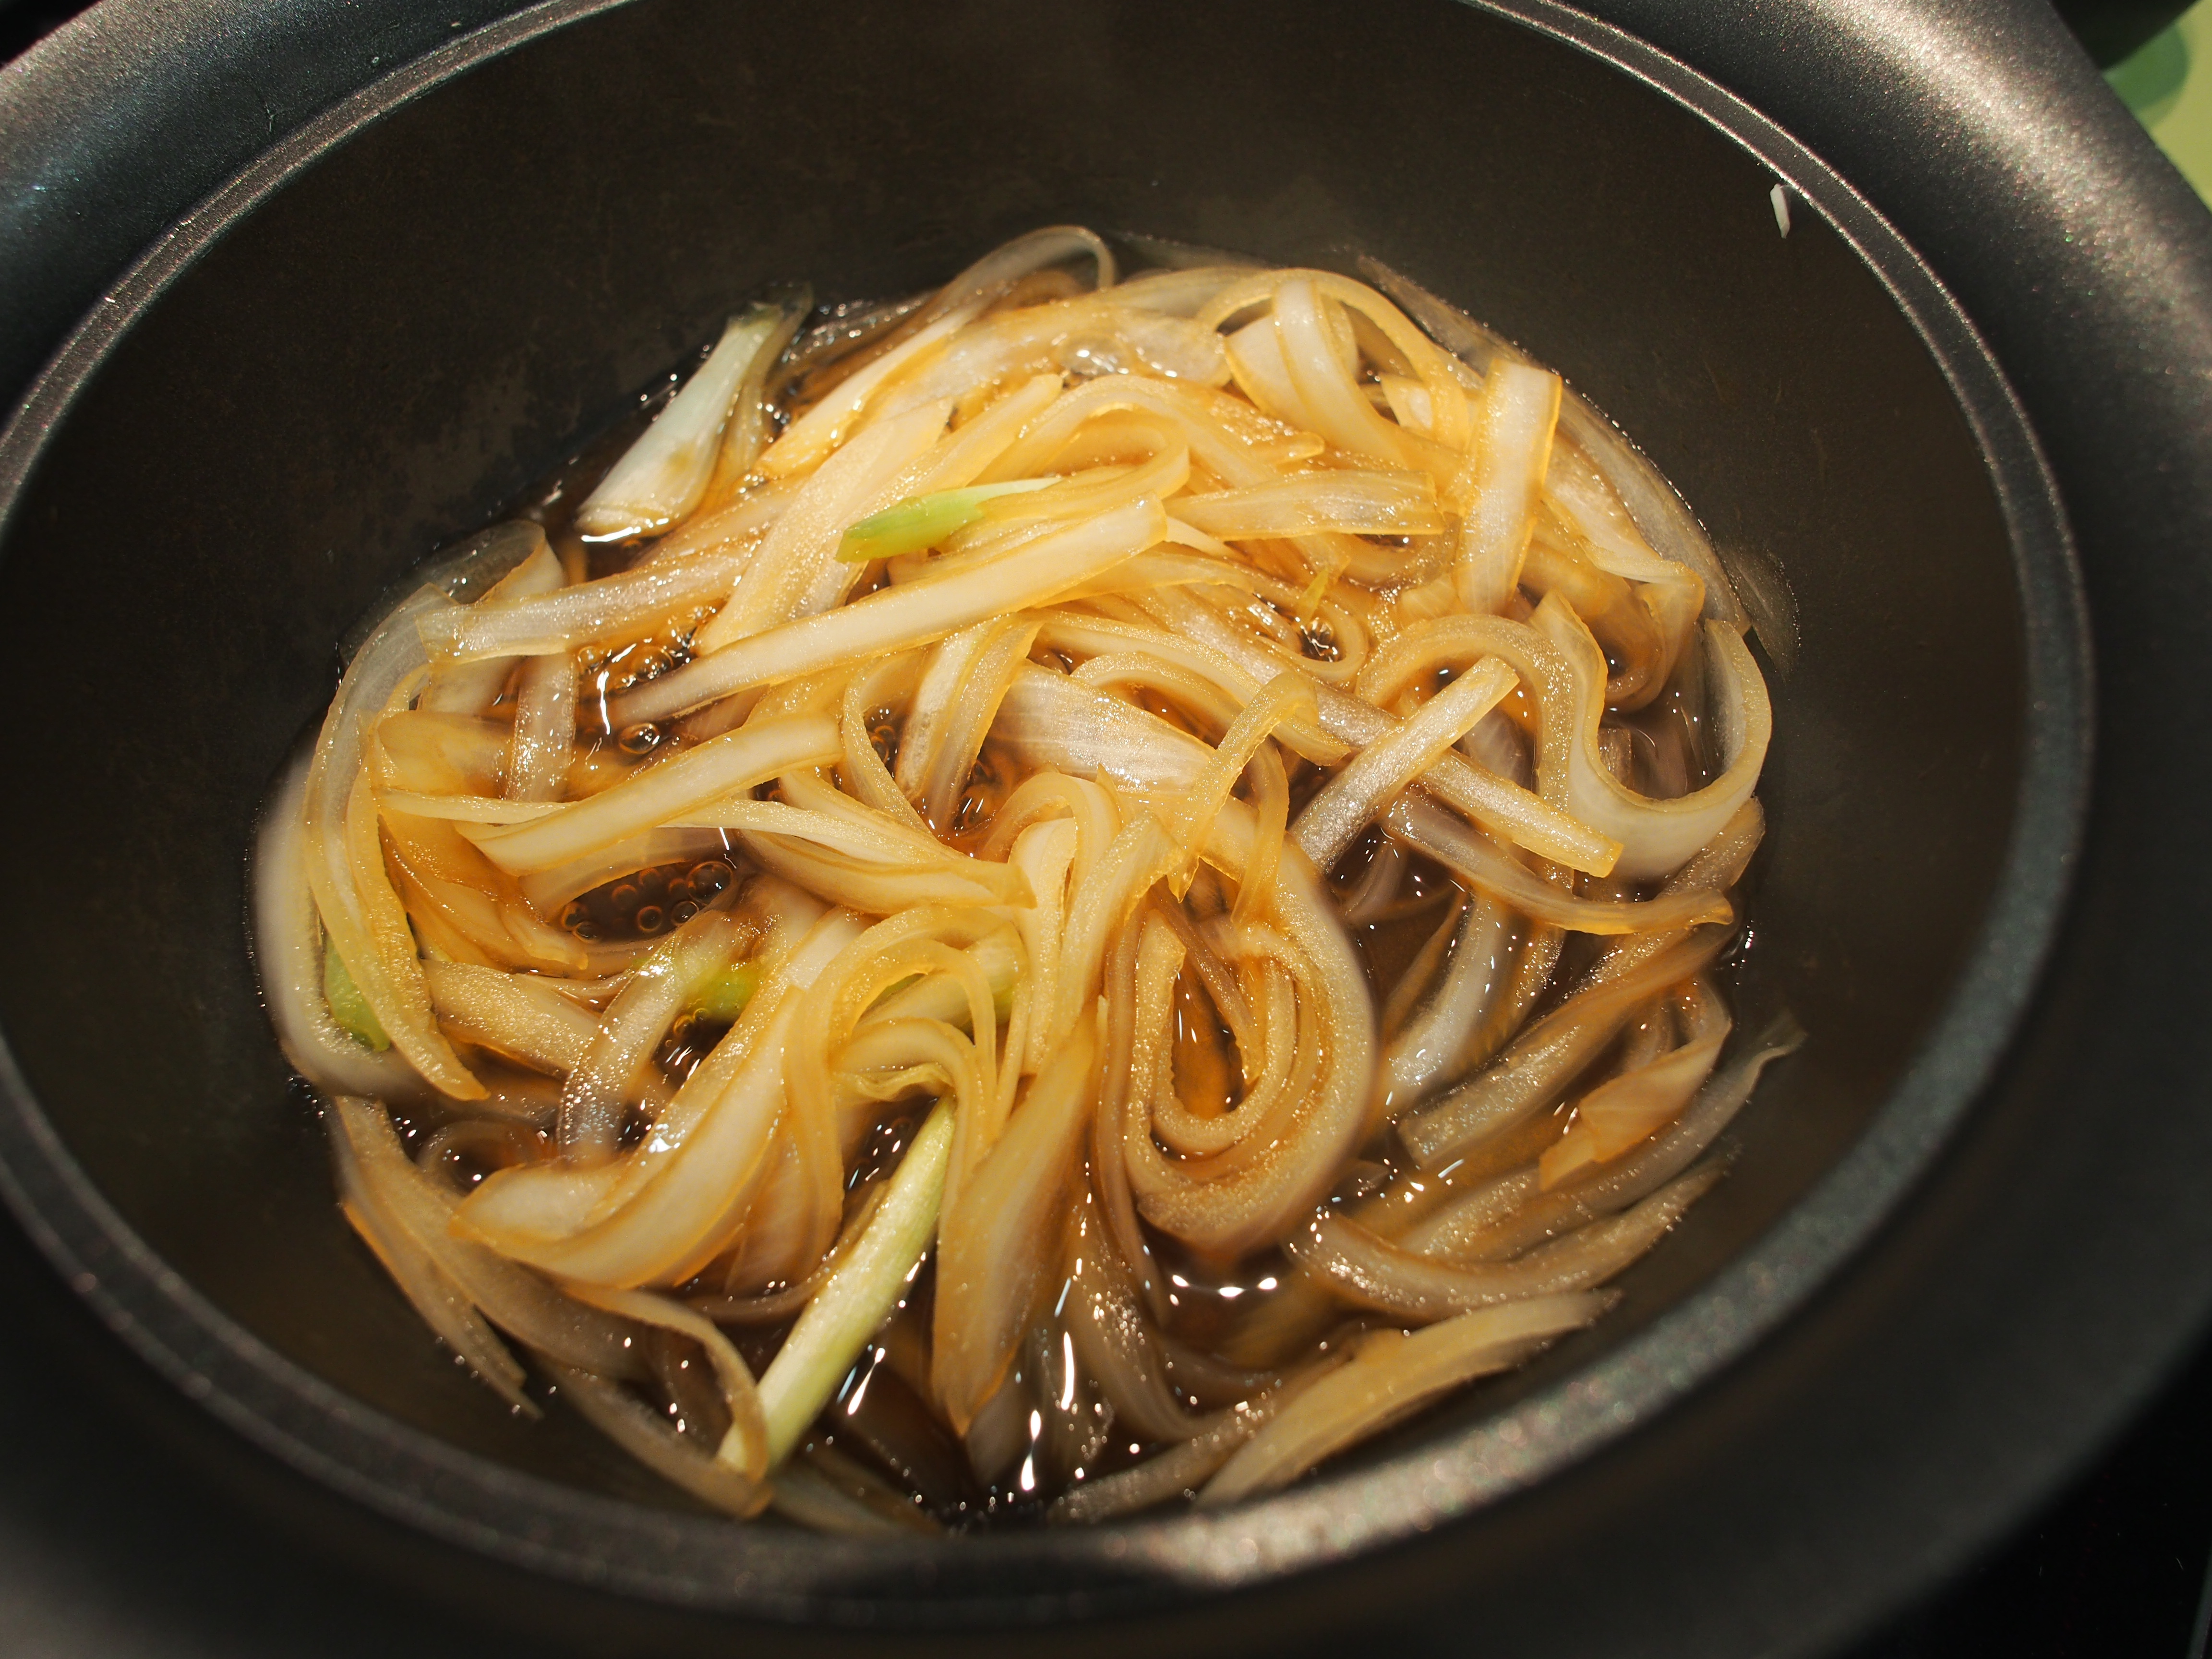
- half a white onion
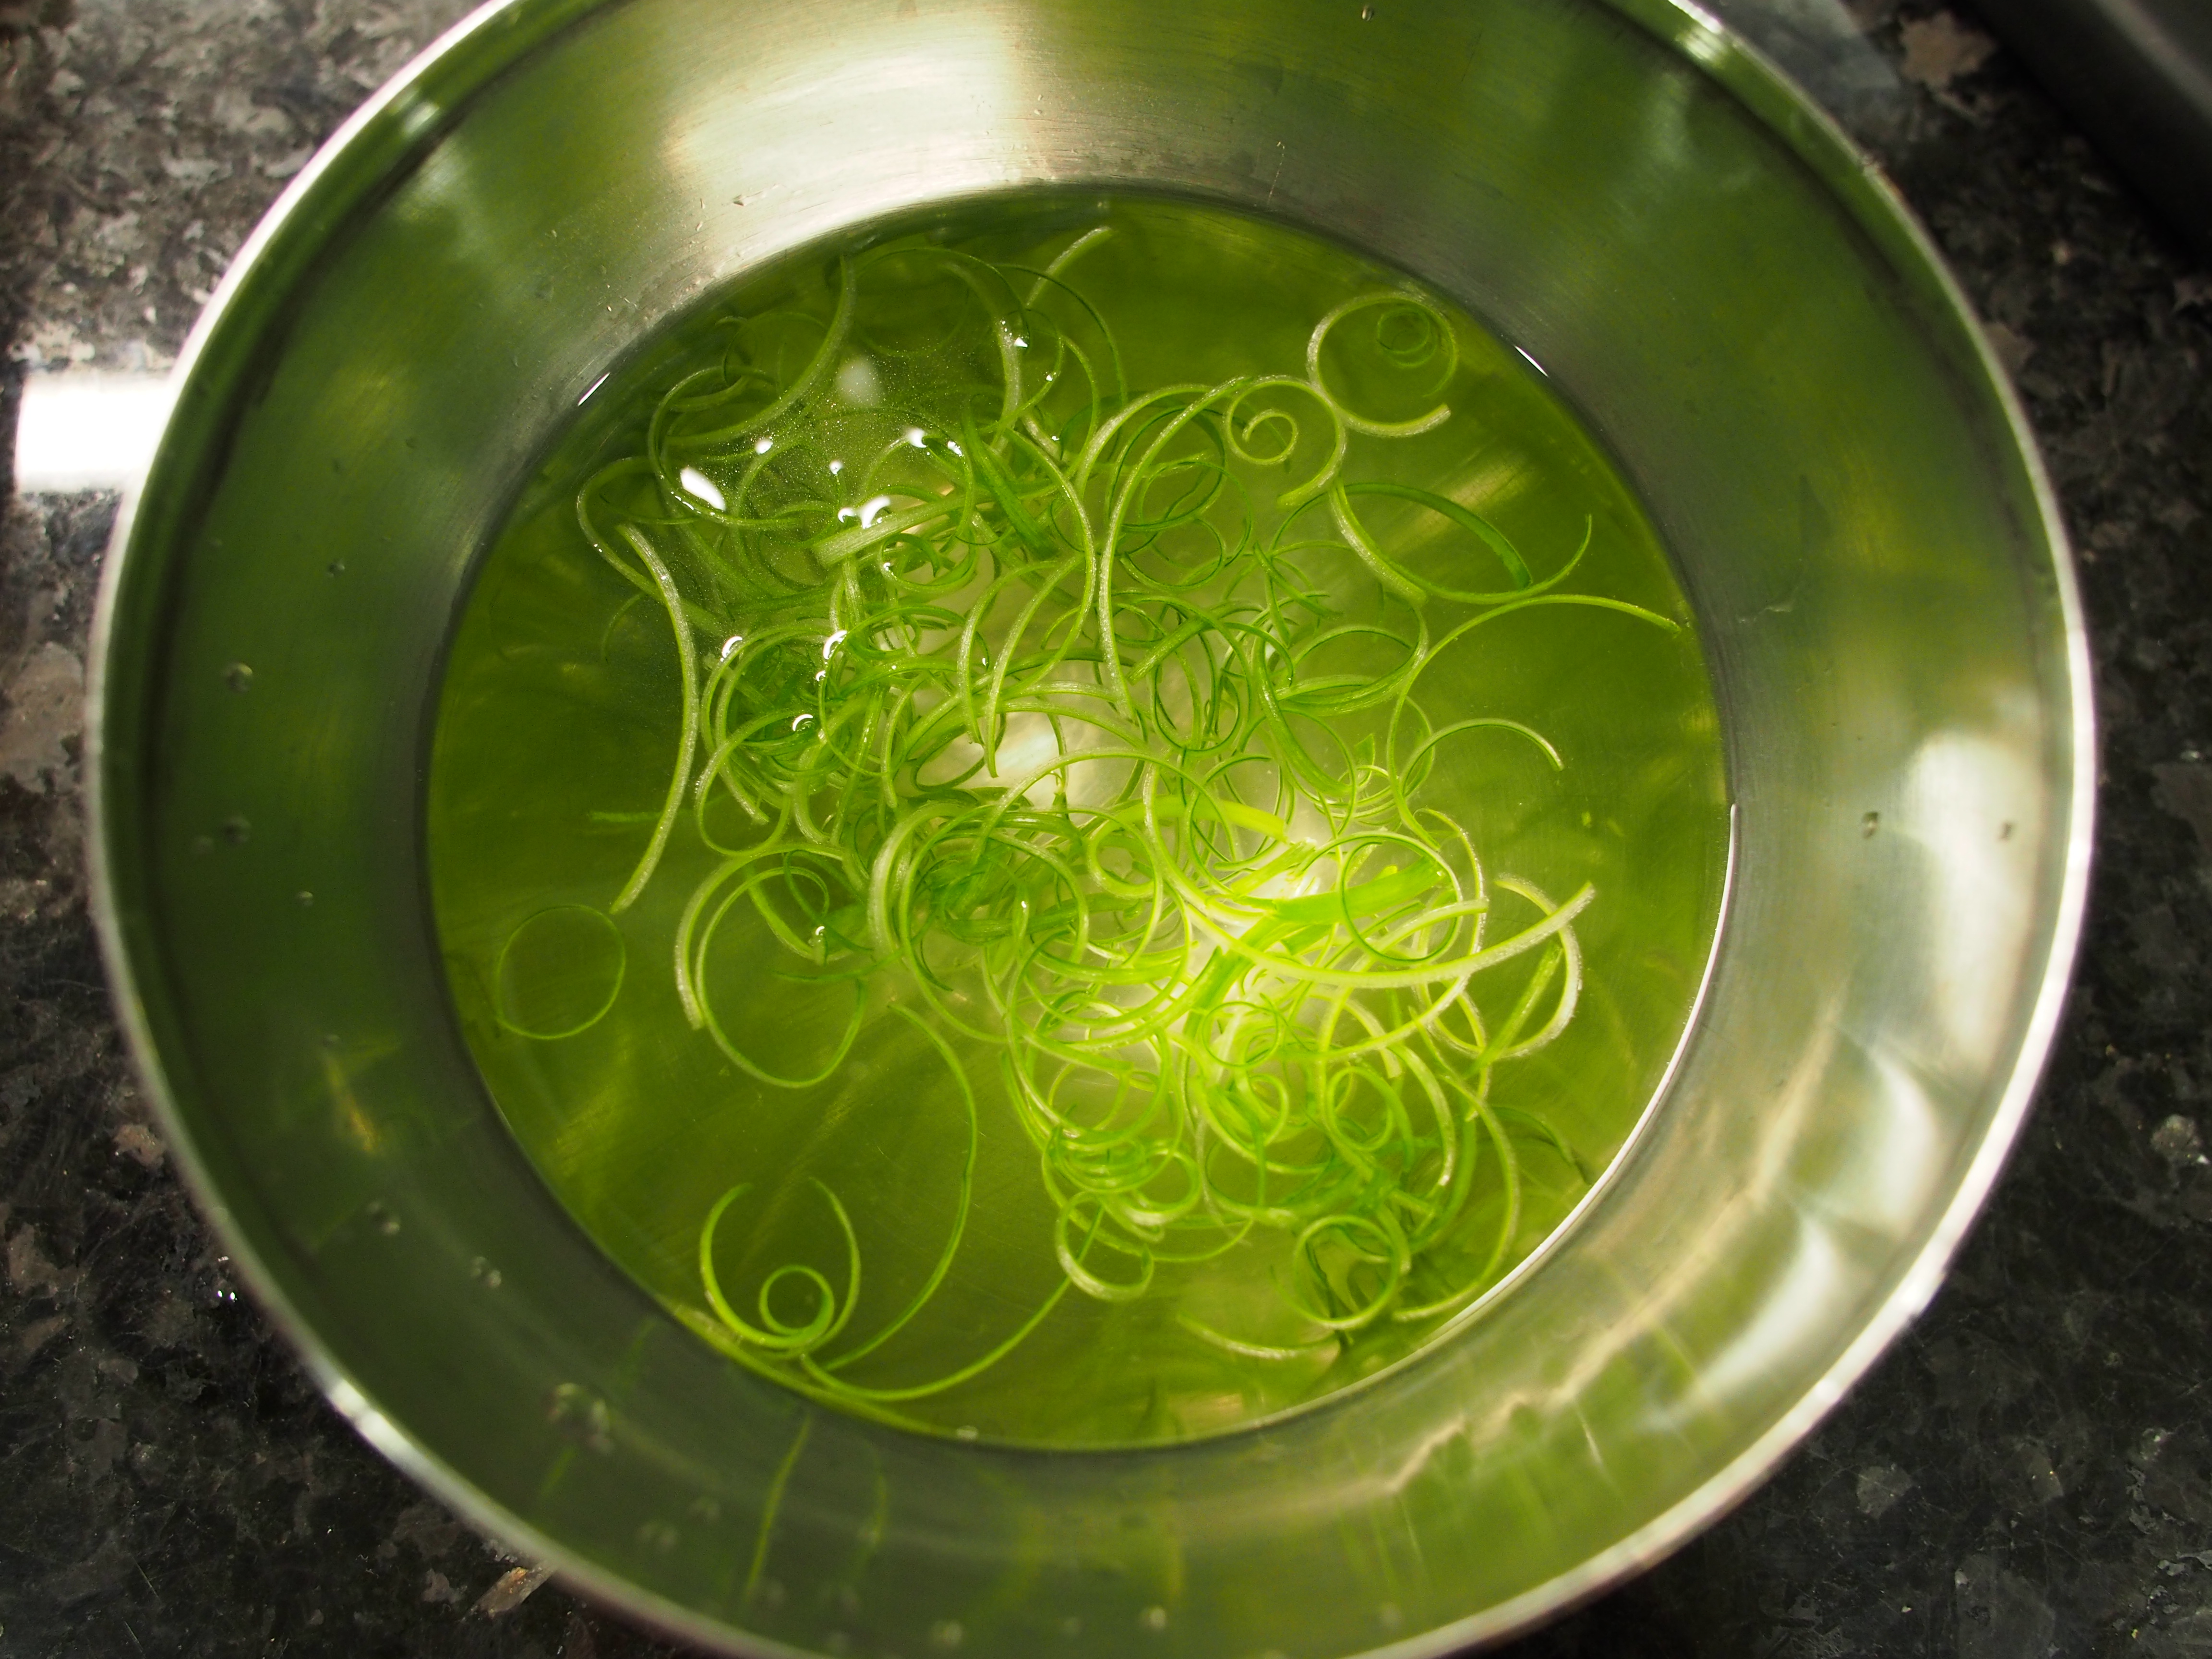
- 2 pieces spring onion
- shredded seaweed
- Japanese “seven flavour” seasoning (Nanami Togarashi)
- Japanese rice
Sauce :
- 40-50 ml soba (つゆ tsu-yu) sauce
- 40-50 ml water
- 1/2 to 3/4 teaspoon sugar
Timer: 0 minutes
1. Preparation

- Remove the fat from the chicken and slice into even 1 inch pieces

2. Gently beat your eggs but do not beat until smooth. Why? Because egg white cooks faster than yolk and you want some parts more cooked than the other to get that perfect fluffy texture.

Have you noticed how egg white tends to clump together when you’re beating it? To prevent large chunks of egg white in your dish later on, use your chopsticks to pull apart the egg white up the side of the bowl.

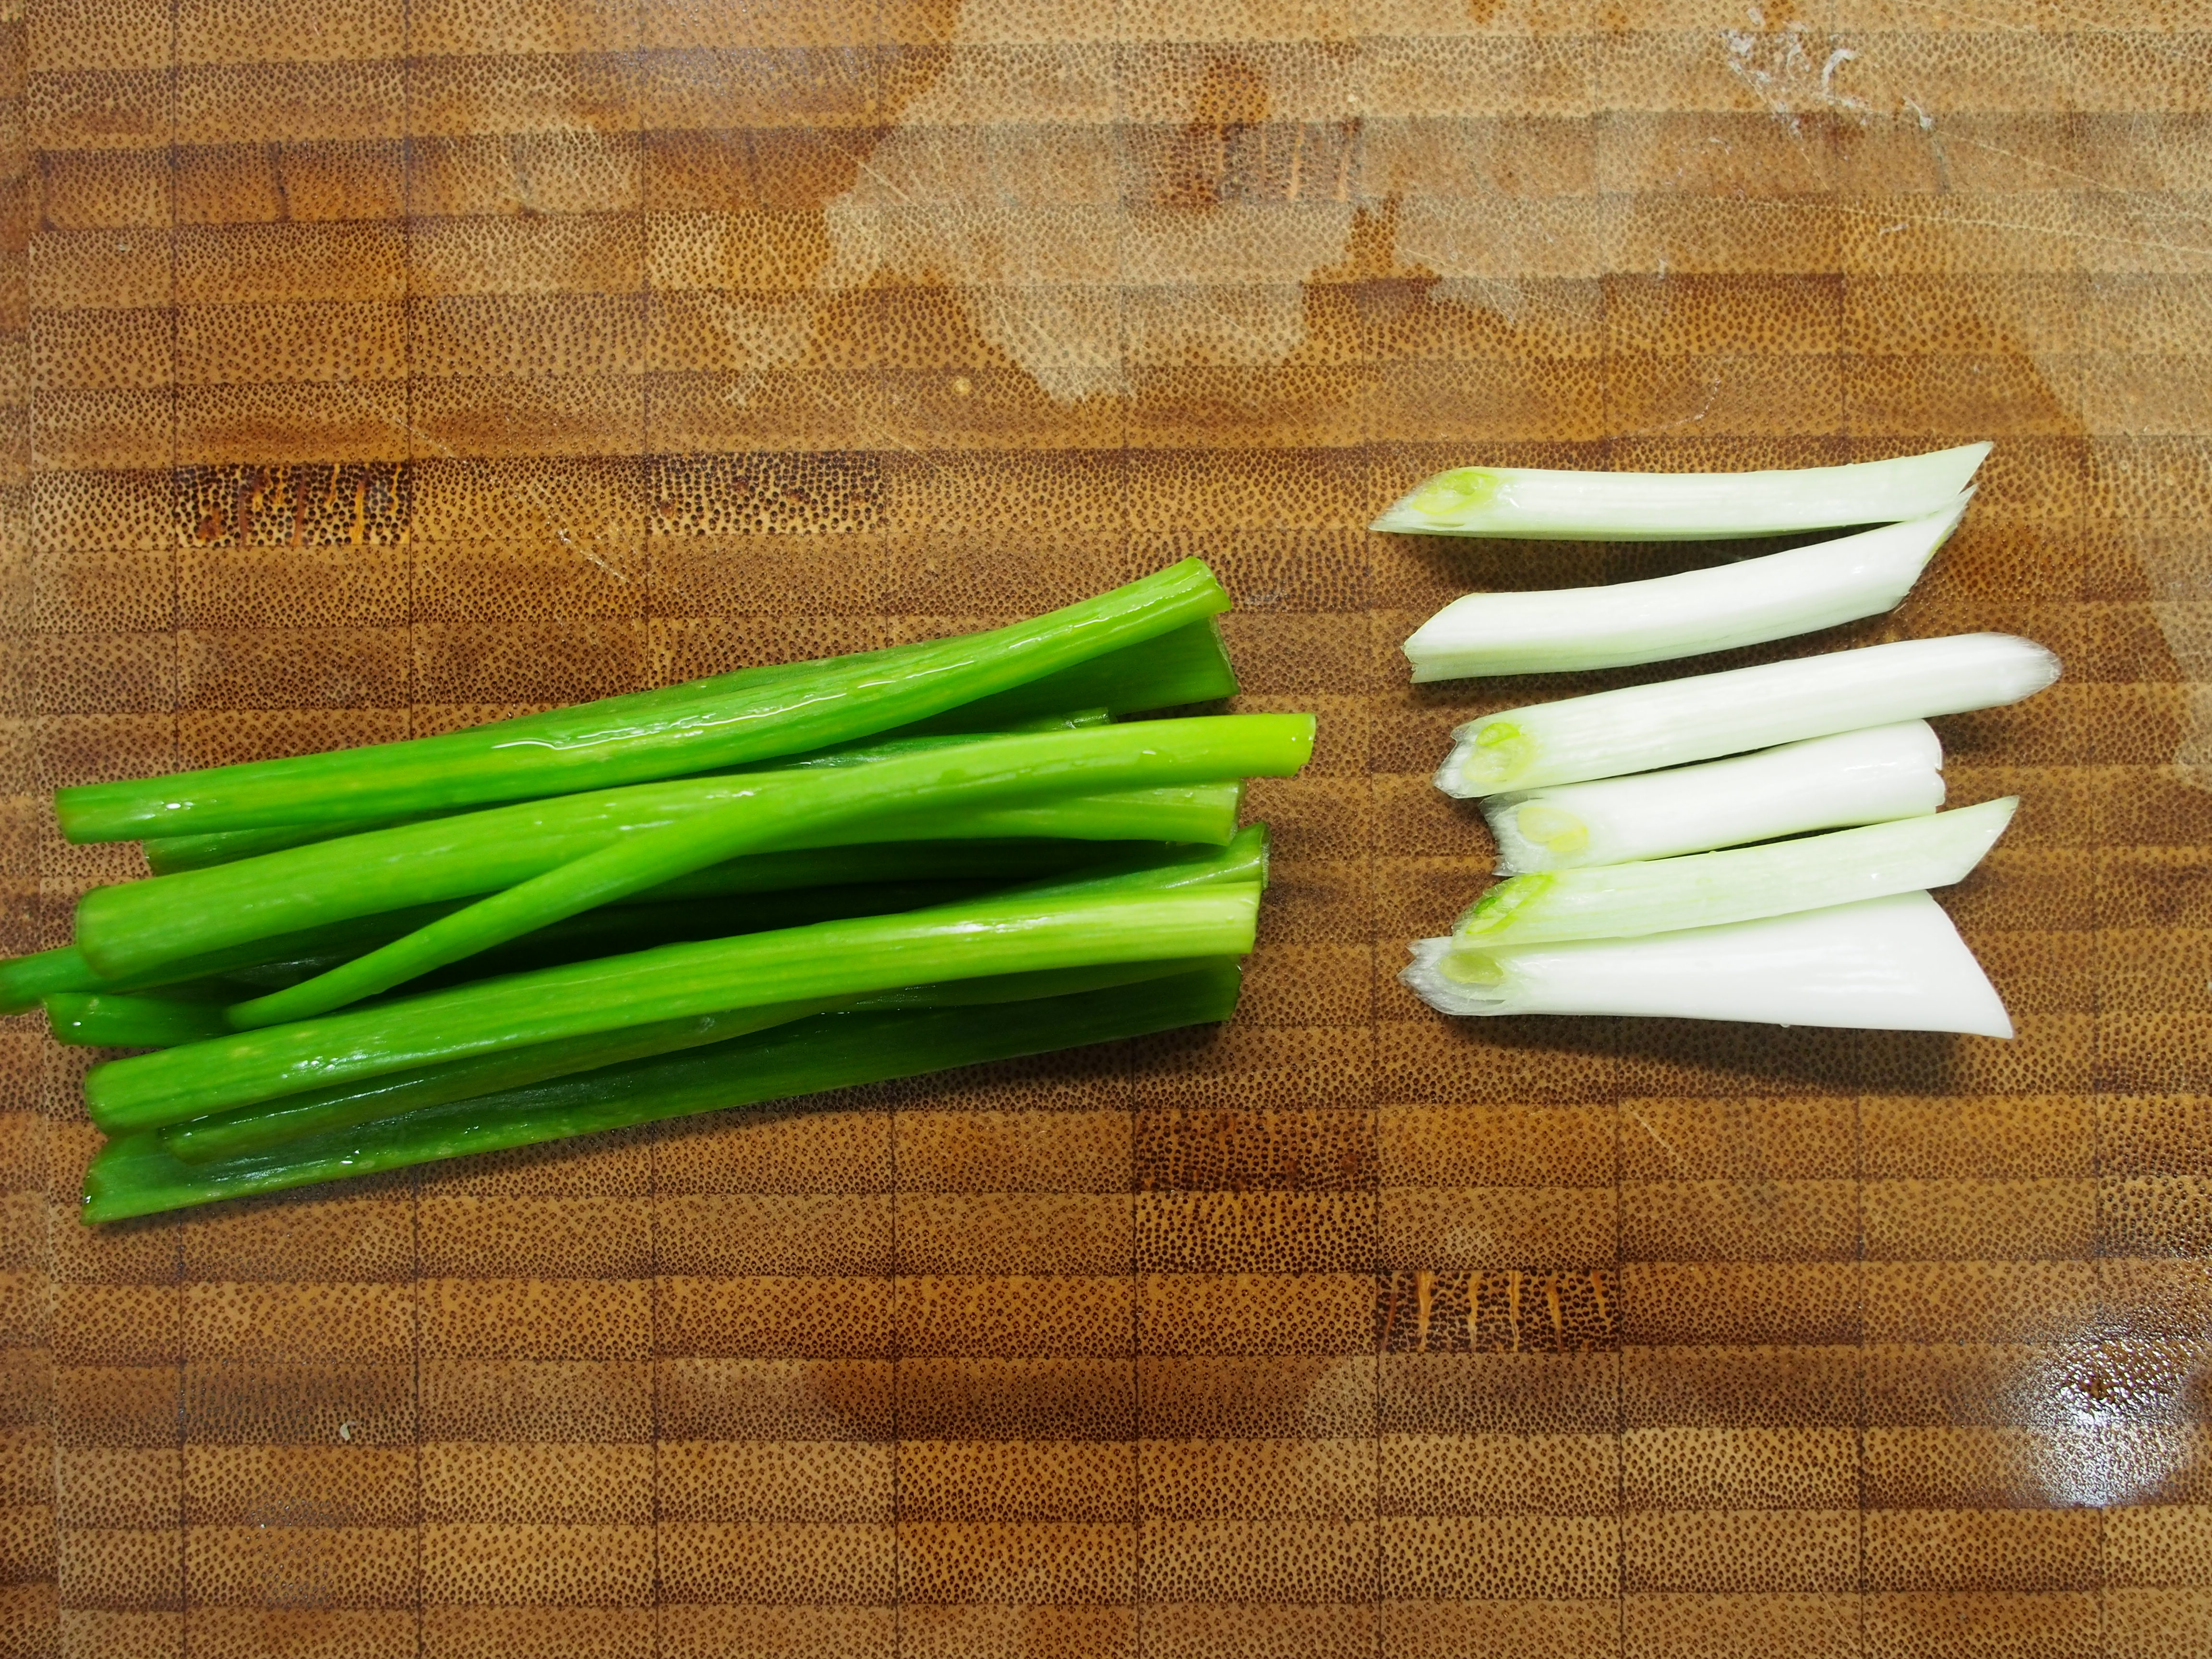
4. Slice off the white stalk of the spring onion
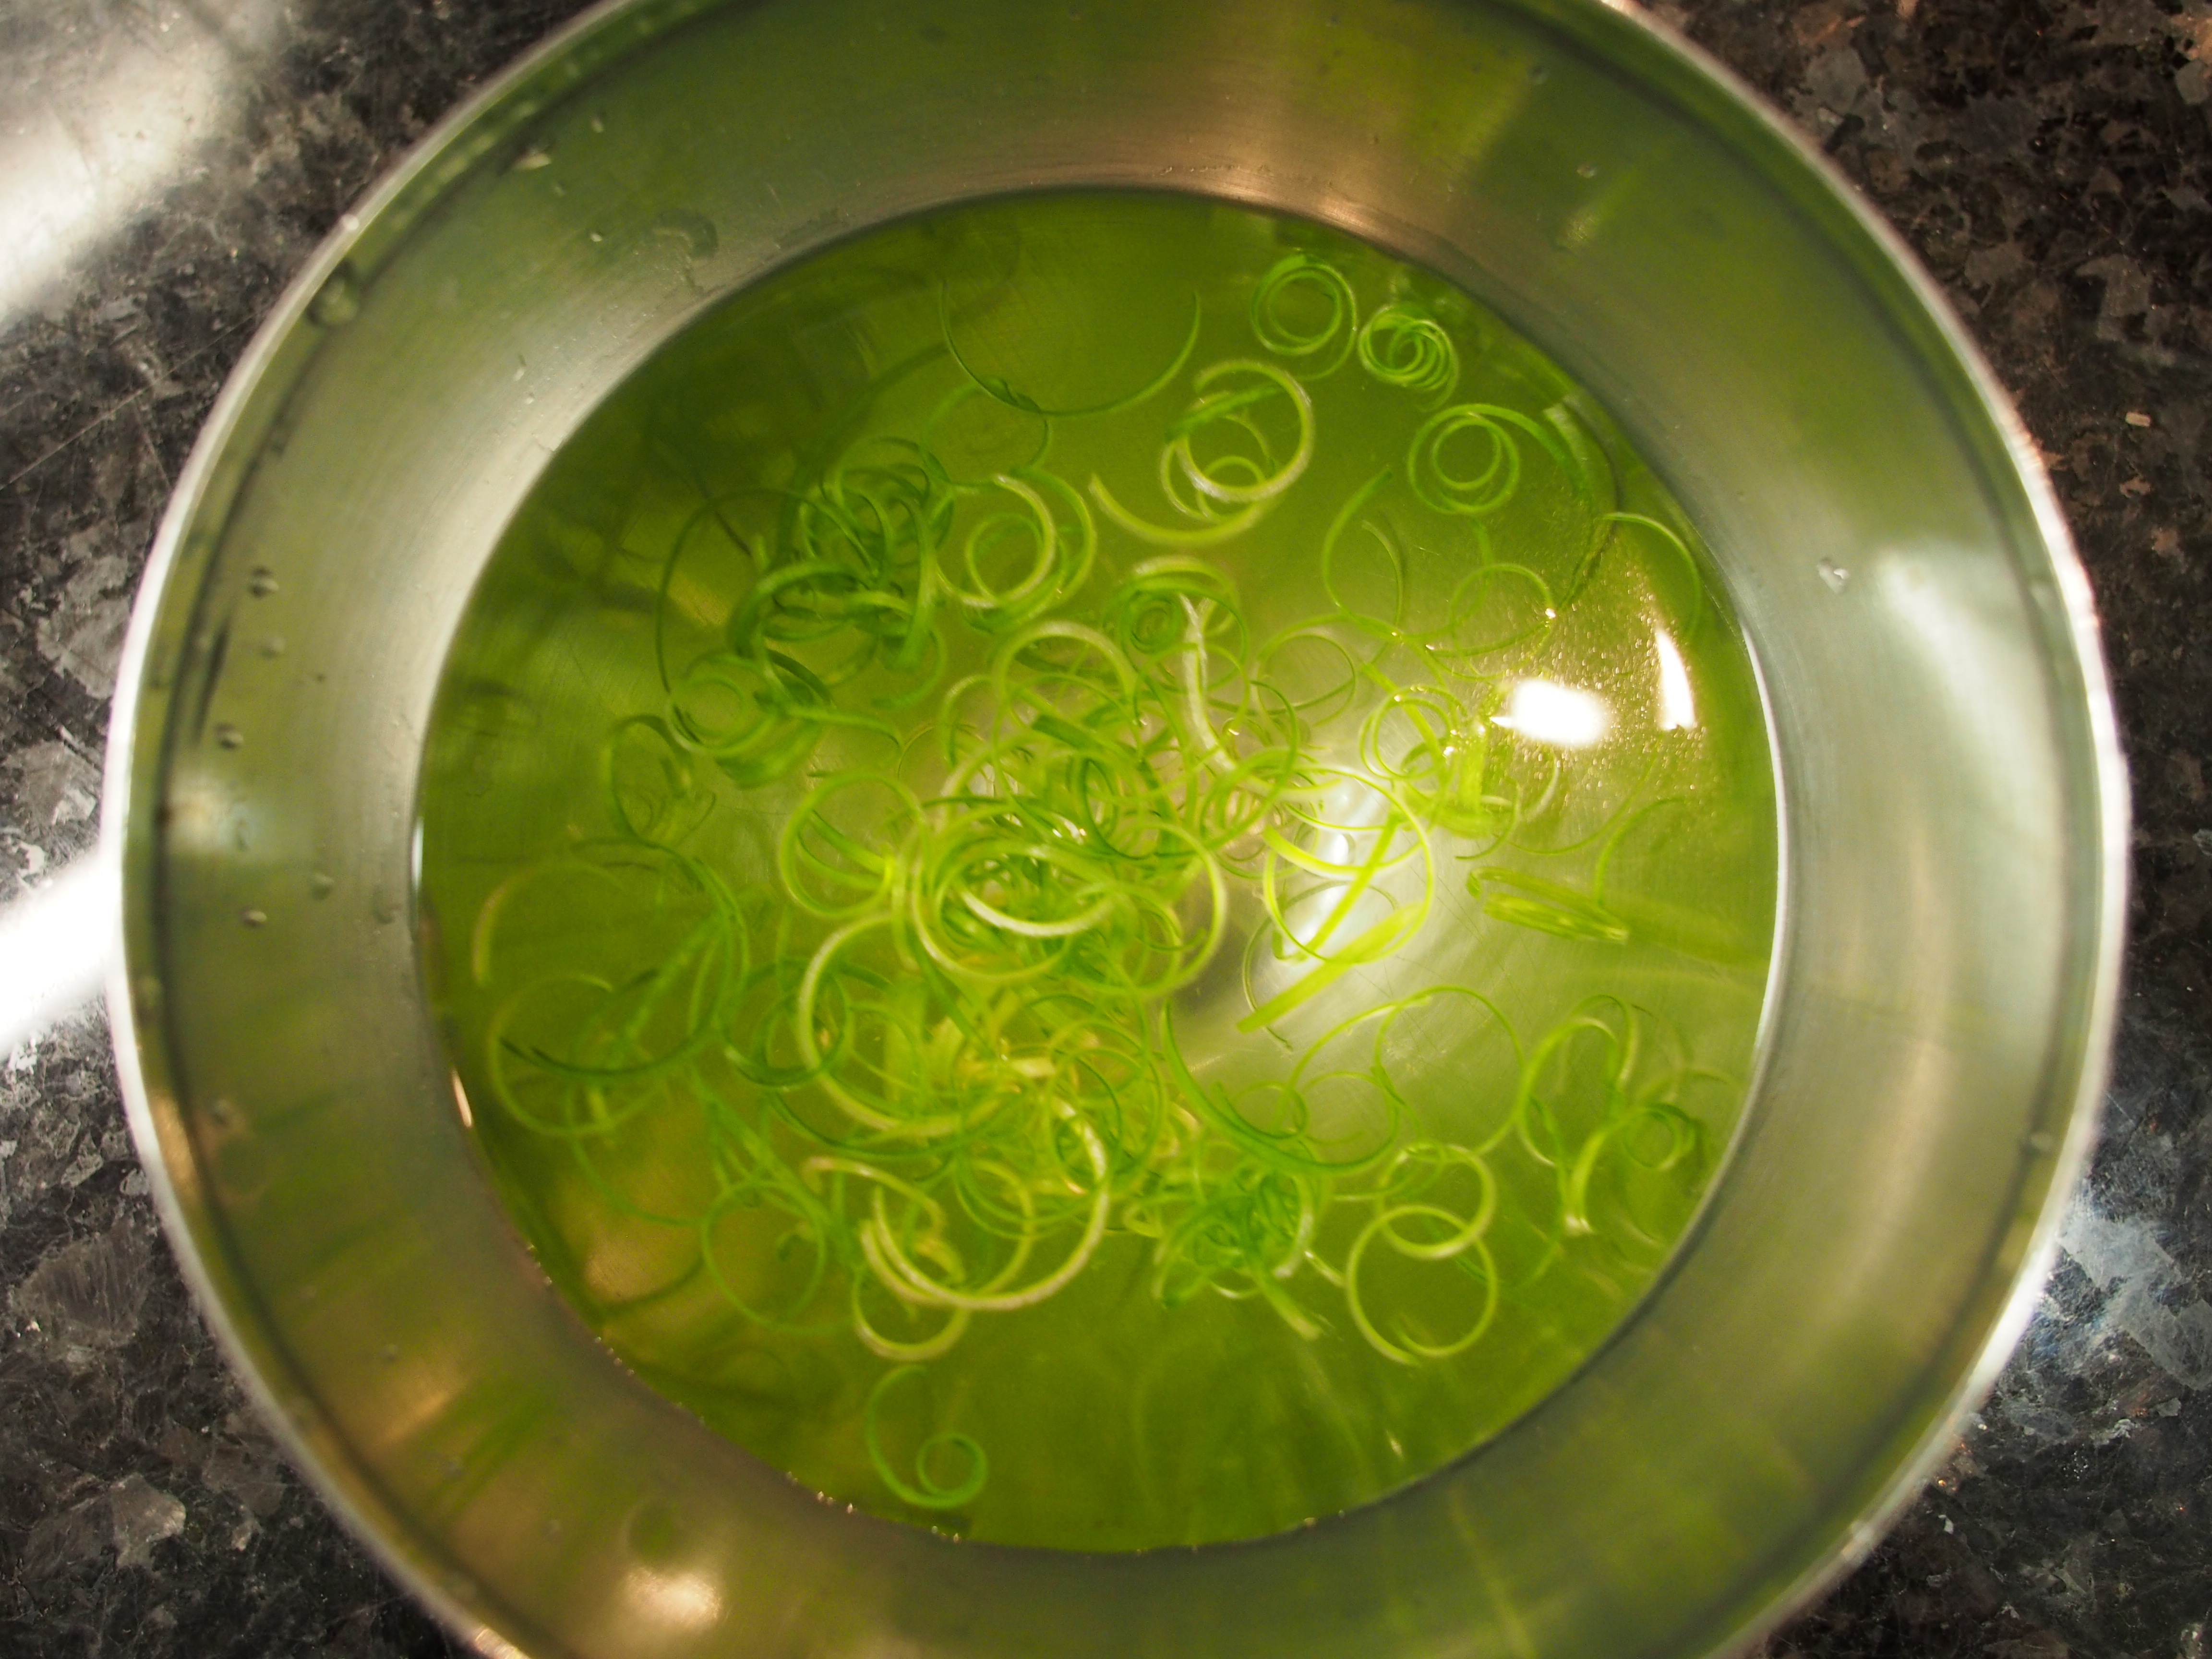
5. Finely chop up the green parts of the spring onion


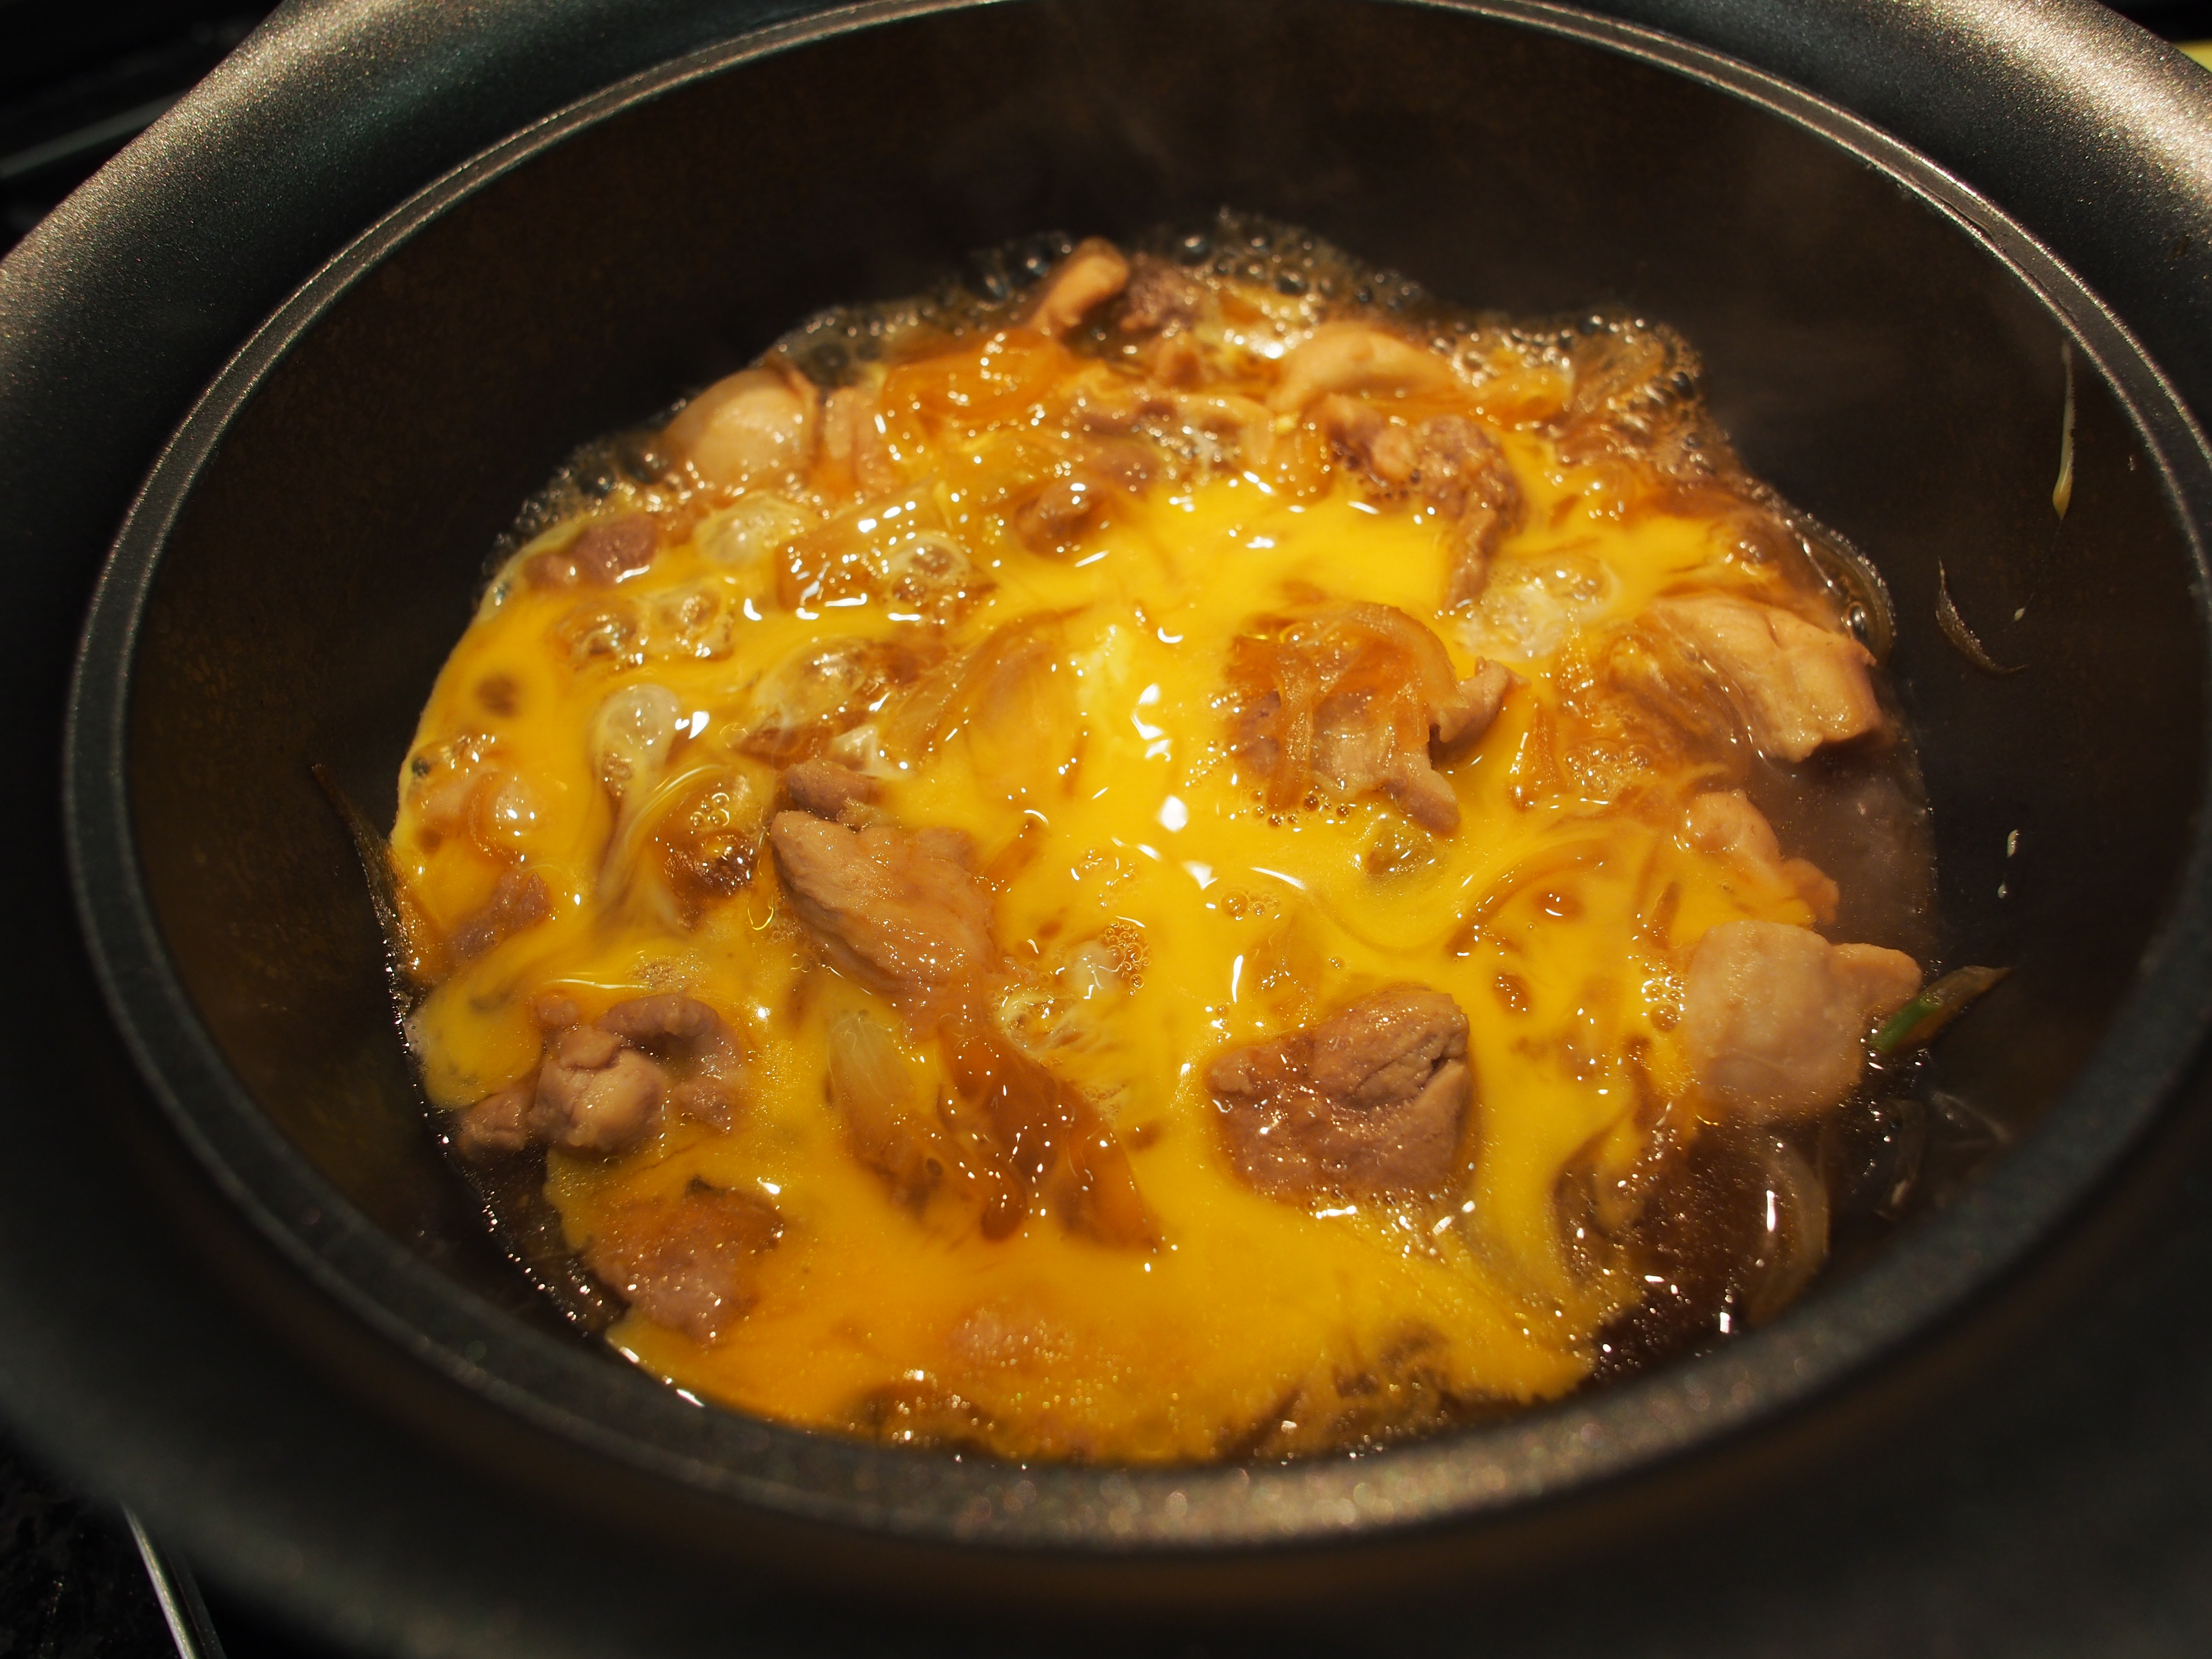


When the bottom layer is almost cooked through like so, it’s ready

Add the remaining 1/3 EVENLY on top
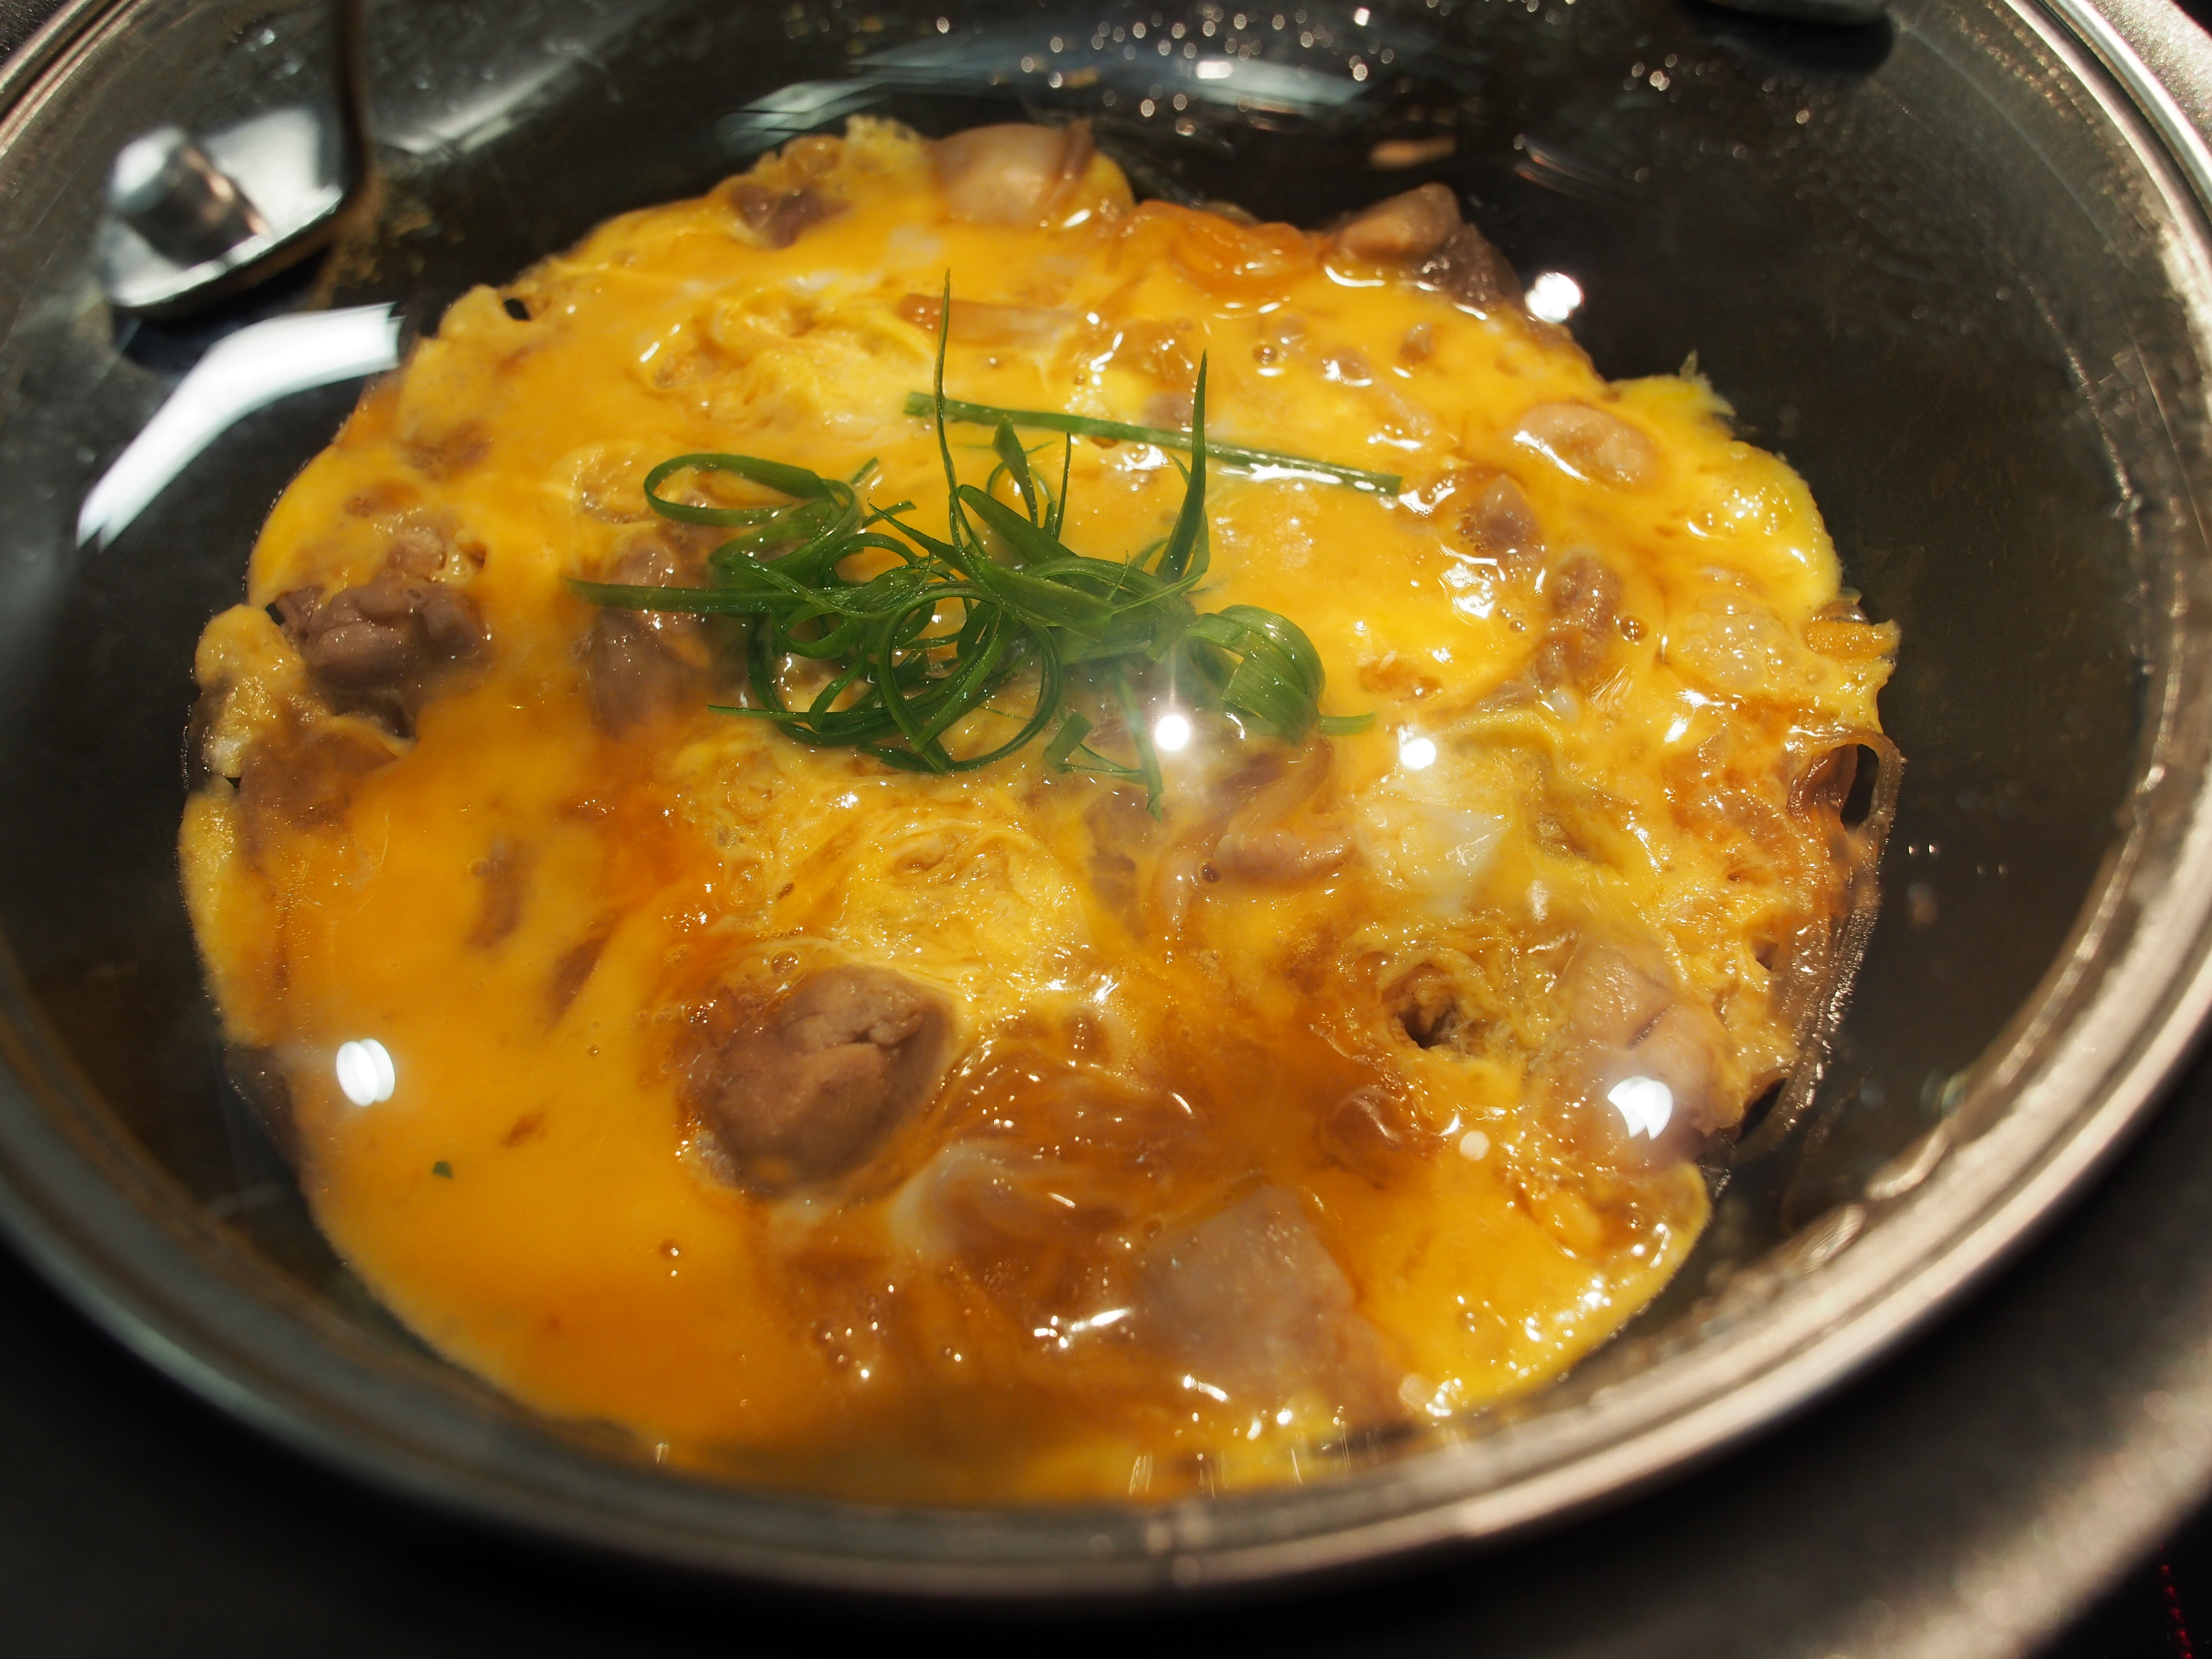
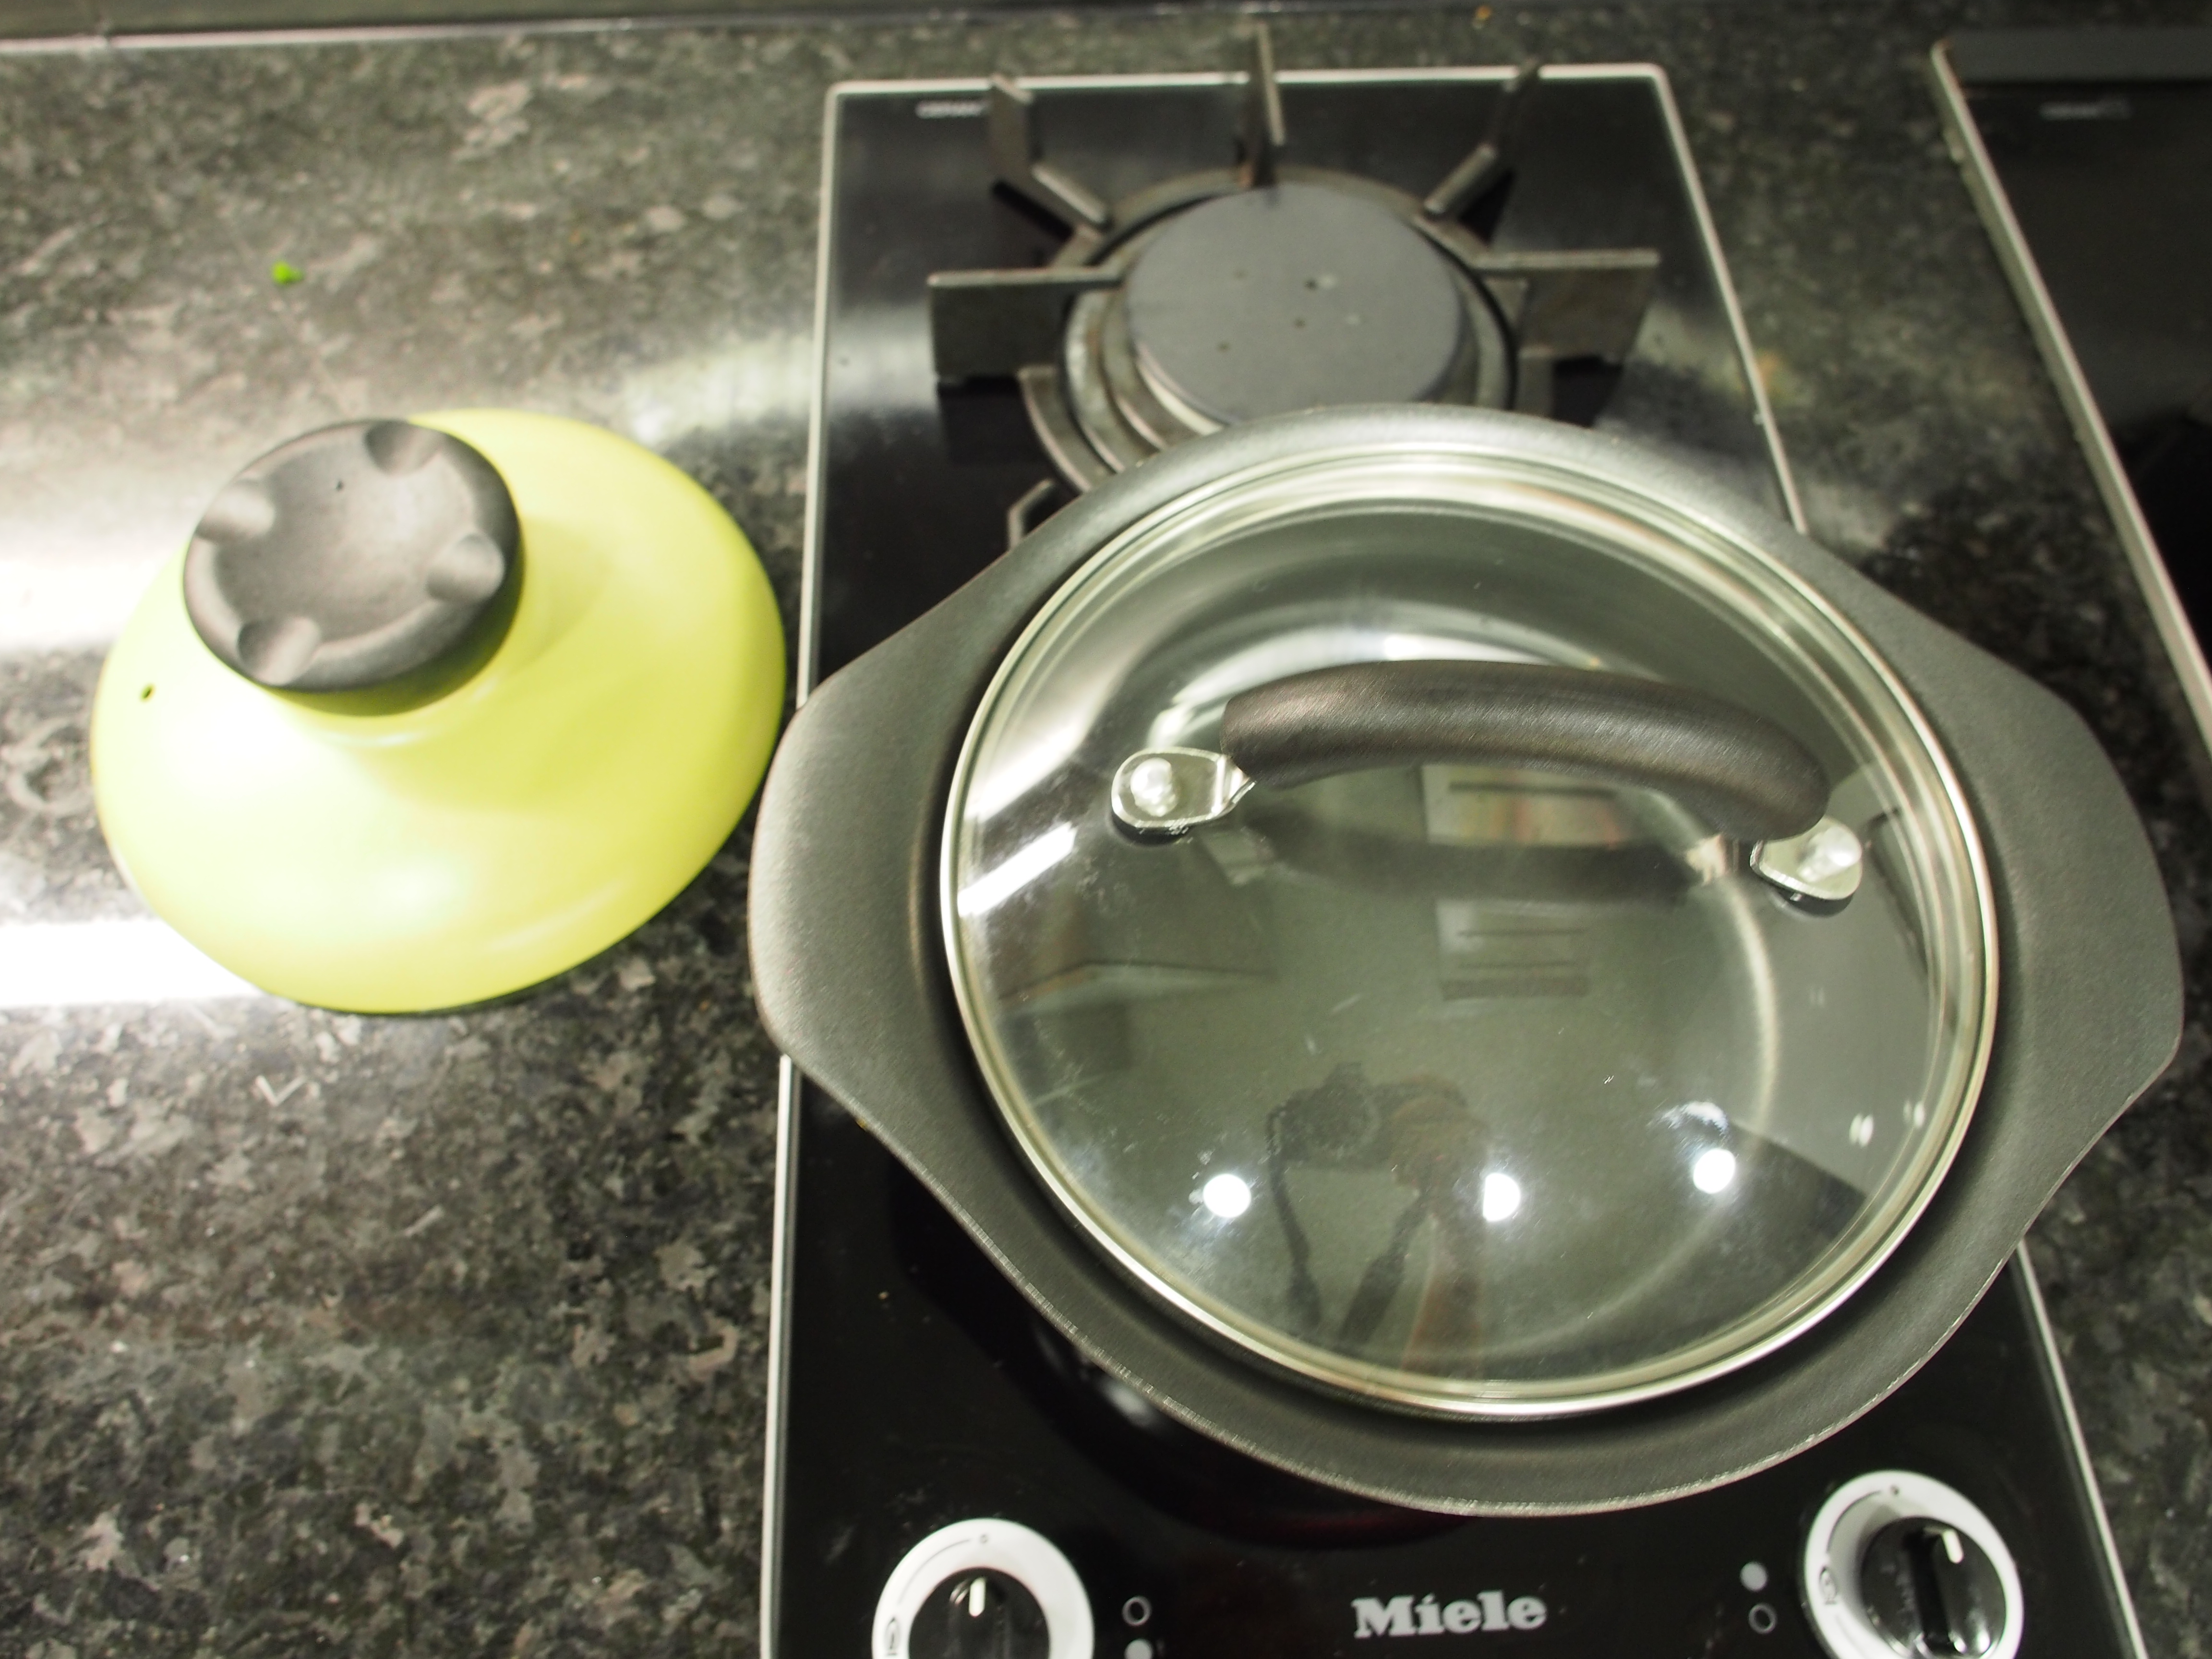
Add the spring onions, cover with the lid, then turn the heat off
Watch through the lid, when the eggs look about 20% less done than you would like, take off the lid (approx 10-20 seconds)
*cook the eggs to your own liking, but keep in mind the residual heat will further cook the eggs, so don’t overcook and serve right away! *
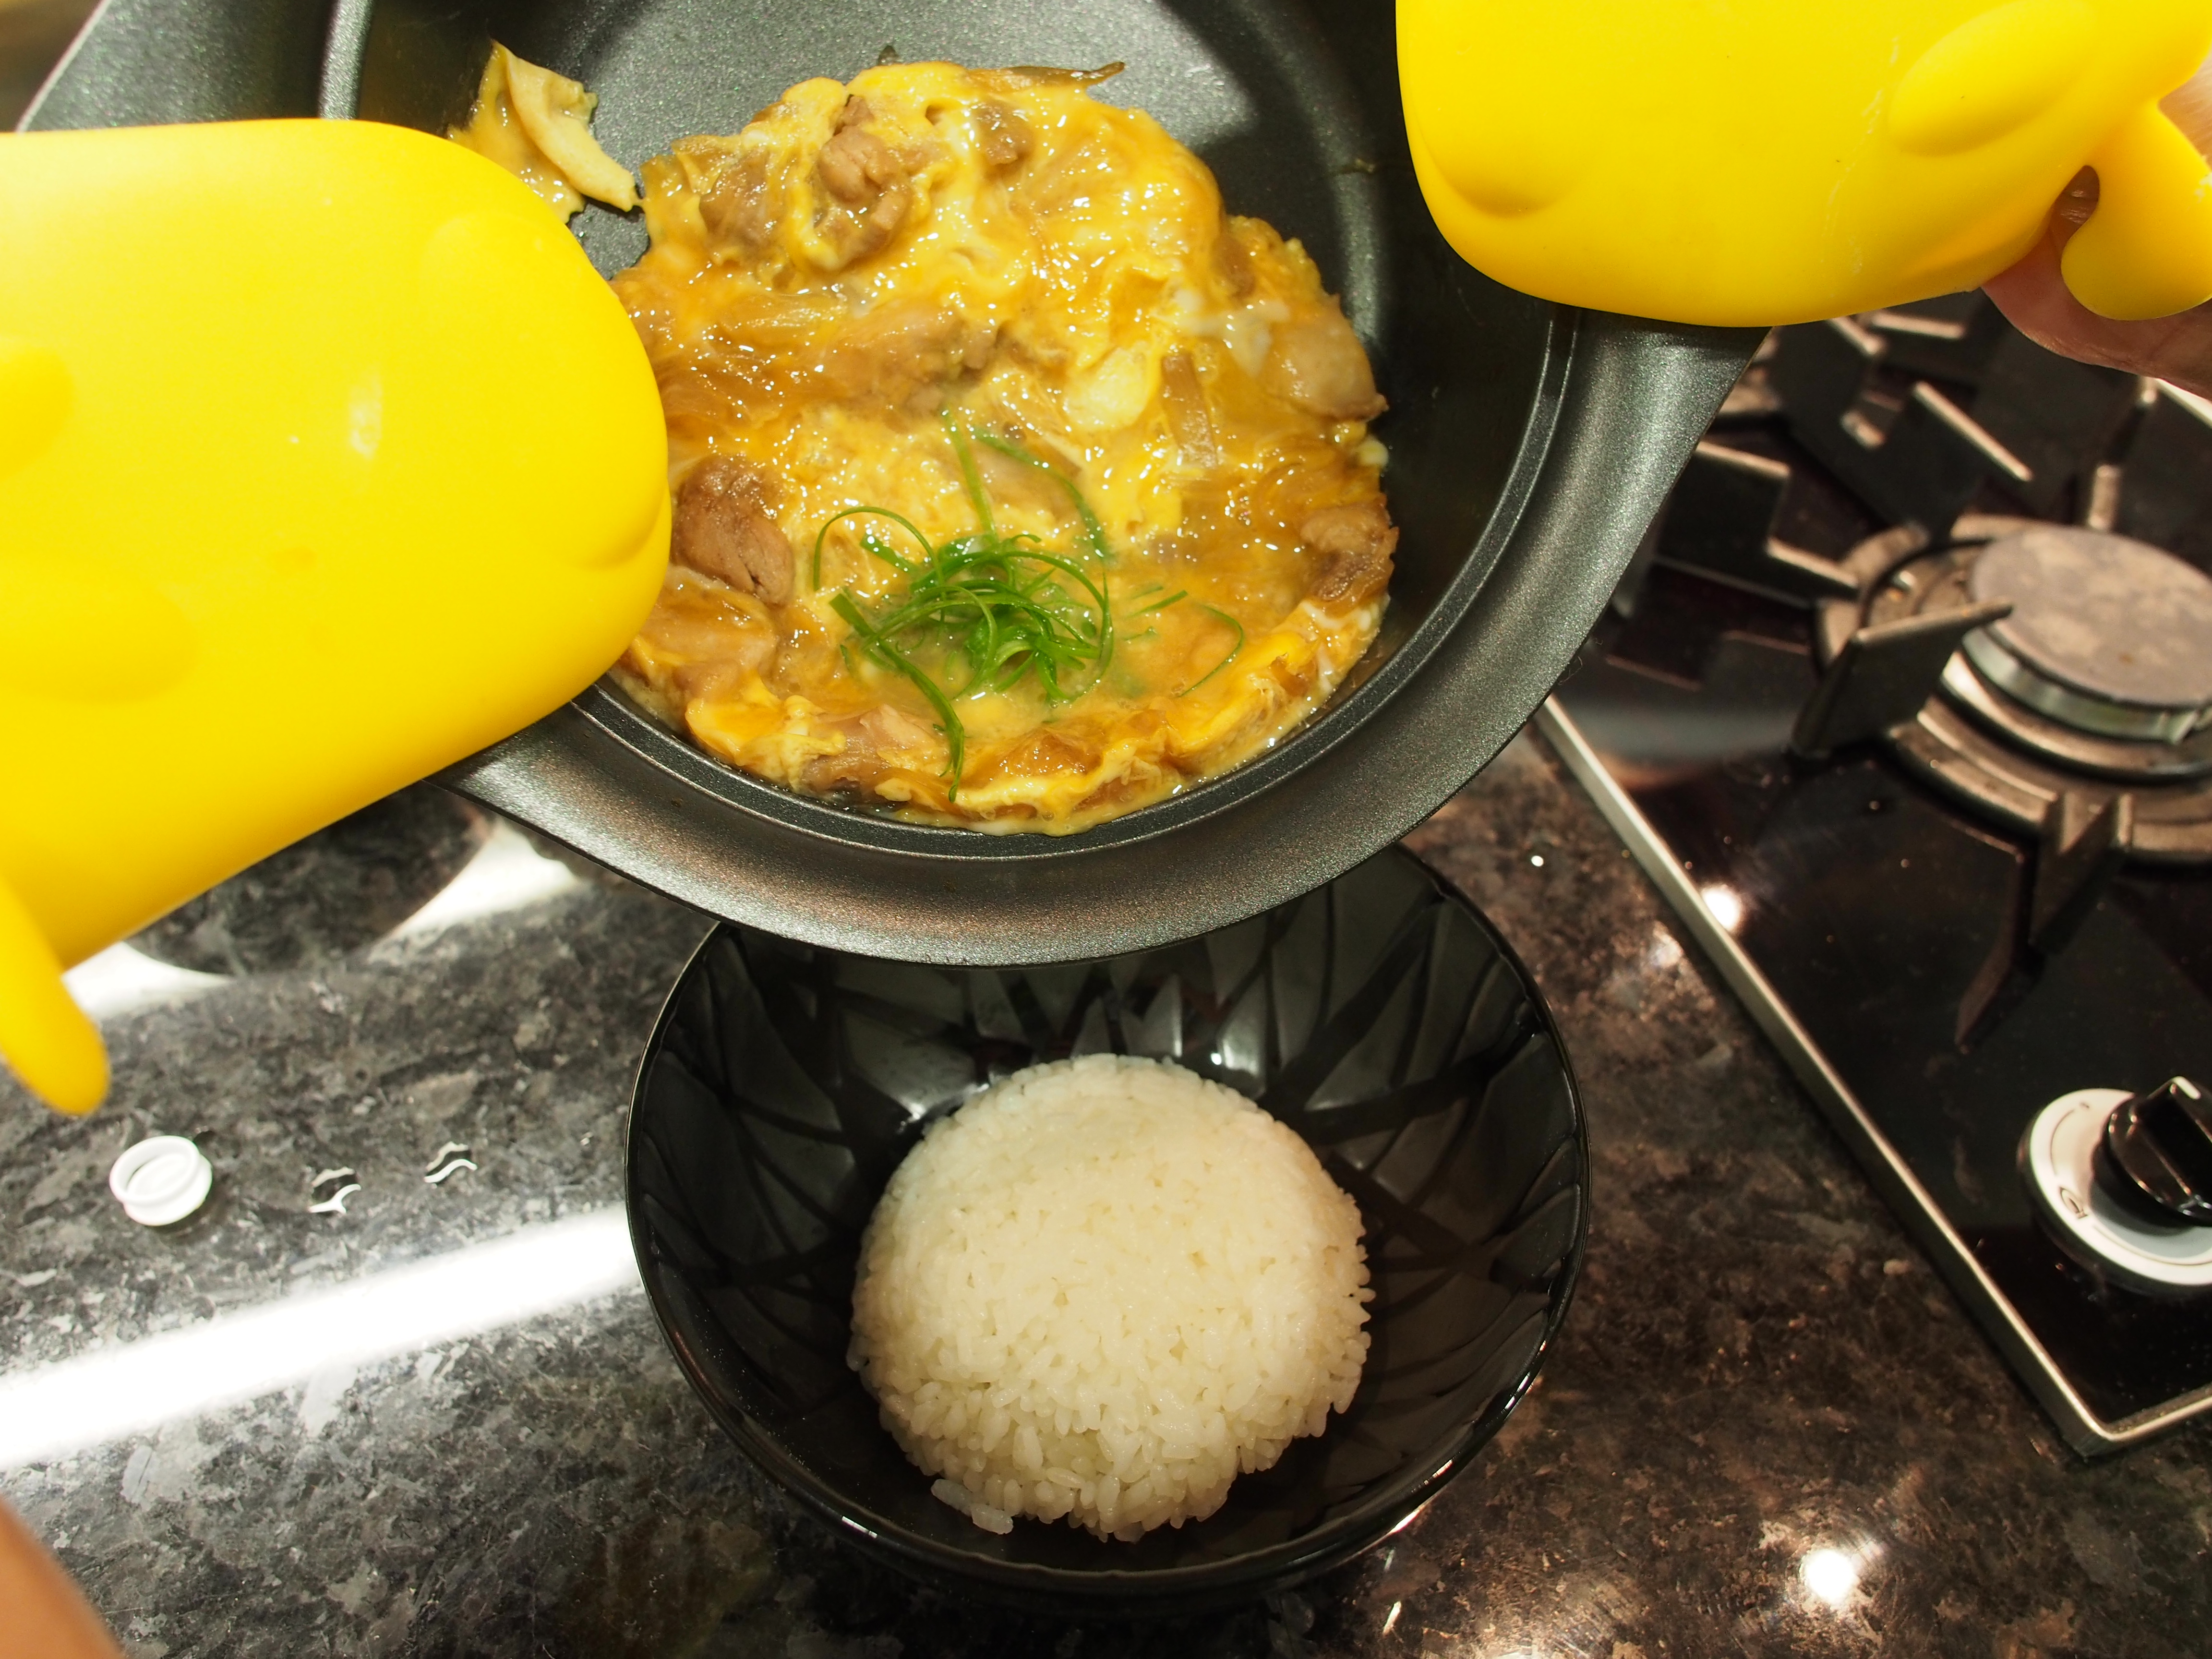
*Try to use a rice bowl with a wide opening and narrow bottom, it’s a lot easier to pour into and you don’t need to fill the bottom with too much rice.
Directly slide onto your rice, you should have just enough sauce to seep through most of the rice but not enough to flood the bottom of the bowl. Sprinkle with shredded seaweed and Japanese “seven flavour” seasoning.
Timer: 45 minutes
I hope you enjoy it and if you try this please send me a picture! Also, please enter your e-mail on the left to subscribe and leave your comments below, it would totally make my day! : D
Very impressive Crystal! Keep up the good work!
Thanks a lot Geoff! I’m really happy that you like it, pls come up for dinner soon and I hope you’re having fun in Bali! 🙂
That looks delicious! I’m going to try this recipe later!
Thanks a lot! Pls let me know how it goes 🙂
I will! By “I’m going to try this recipe later” I meant that I emailed my boyfriend the recipe and I will give him puppy dog eyes until he makes it for me.
I’m a disaster in the kitchen.
Hahaha you’re super lucky ur bf would do that for you 🙂
Looks soo mouth-watering, I am gonna try it!!!
Hehehe thanks bb! Pls try it and let me know how it goes, if u have any questions msg me anytime 😉 miss you!!!
Last time was sticky rice cakes and now half-cooked egg on rice? you’re making everything I like!!! ❤
Ahahhaa thanks Cally I hope u try them out!! :)))))
You are such a good cook!
Thank you for trying my Oyakodon recipe and making it even a better one!
Your oyakodon looks so good with some nori (seaweed…in English?) and
spring onion:D
I’ll let you know if I find some more Japanese recipes I want you to try!
I’ll check your blog some time:D
Looks like the oyako don is perfectly cooked! Very scrumptious looking 😉
Thanks dear! Pls give it a try when u have time! 🙂
Pingback: Gyudon Beef Rice Bowl | Cooked for You
I love love love oyakodon! Yours looks great. 🙂
Thank you so much!!!
Pingback: Sichuan x Taiwan Inspired Braised Beef Noodles 红烧牛肉面 | Cooked for You
Pingback: Fusion Spicy Kimchi Carbonara Linguine | Cooked for You