Sweet and Sour Braised Pork Belly and Spare Ribs


Earlier this year, my aunt taught me this simple sweet and sour sauce, all it is is 1 wine : 2 soy sauce : 3 vinegar : 4 sugar : 5 water. What I love is you can easily adjust the amount of sauce depending on how much meat you have as long as you follow the basic proportions. I have taken the basic recipe and added my favourite spices to perk it up a bit. You can use this exact same recipe for spare ribs, as pictured below, but I quite like it with pork belly. Recently I’ve realised pork belly sliders are really popular (as we tried at food trucks in San Fran and Amazake in Hong Kong), they typically have braised pork belly with some pickled vegetable sandwiched between a steamed bun or toasted bun. This recipe combines the pickled sour flavour into the pork belly and goes wonderfully with rice or buns. The first time I made this for Bosco, he ate two bowls of brown rice! I’m going to be using my pressure cooker because it really helps to soften the pork belly in just 25 minutes but a regular pot is fine too, you just need to cook it for longer.
 Sweet and Sour Spare Ribs
Difficulty: 2/3 (needs time and attention)
Serving: 4 people
Cooking Time: 30 minutes
Braising Time: 25 minutes +
Ingredients:
Sweet and Sour Spare Ribs
Difficulty: 2/3 (needs time and attention)
Serving: 4 people
Cooking Time: 30 minutes
Braising Time: 25 minutes +
Ingredients:
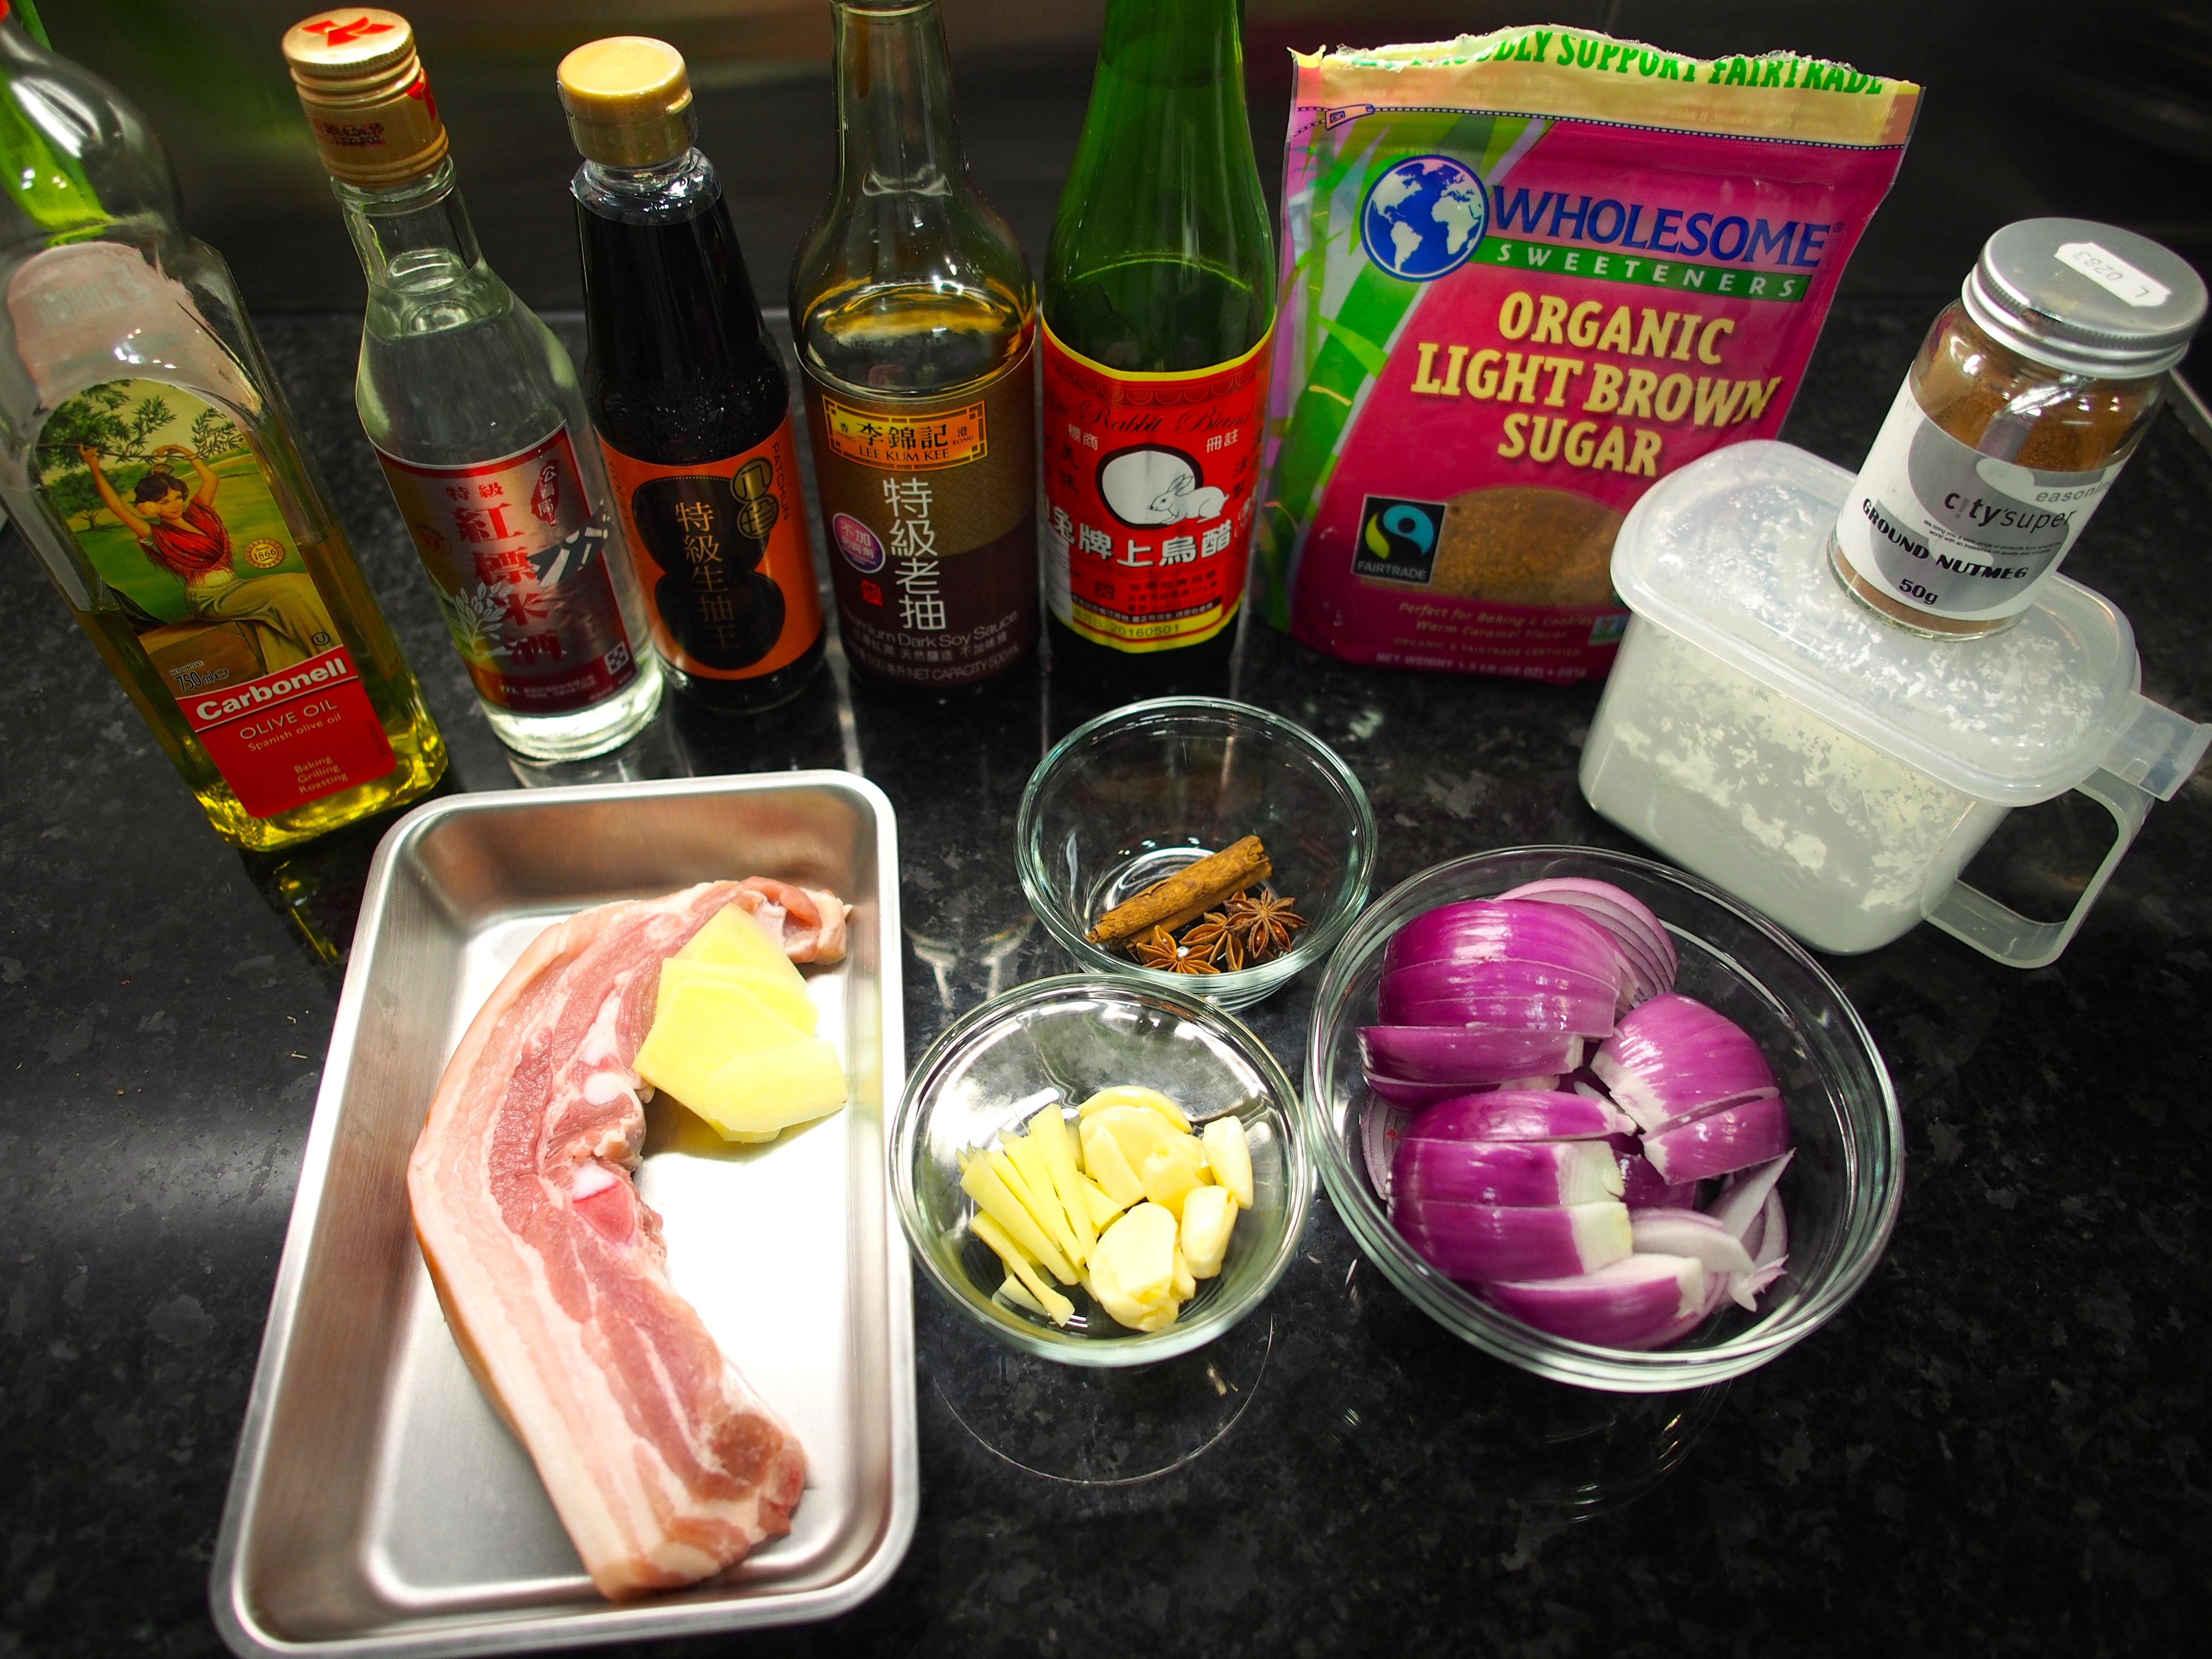
- 800 g pork belly (look for even layers of meat and fat) or spare ribs
- 1 large purple onion or several shallots
- 6-7 cloves garlic
- large chunk ginger
- 1 stick cinnamon
- 3-4 pieces star anise
- 1 teaspoon ground nutmeg
- 15 ml Chinese cooking wine
- spring onions or sesame seeds for garnishing
- 30 ml Chinese cooking wine
- 30 ml light soy sauce
- 30 ml dark soy sauce
- 90 ml Chinese black vinegar
- 120 ml brown sugar
- 150 ml water
- corn starch
1. Add the pork belly, few slices of ginger, and 15 ml cooking wine to a pot of room temperature water, bring to boil on high heat, then turn down to low to simmer for 5 minutes. The water will turn murky and scum will float to the surface.
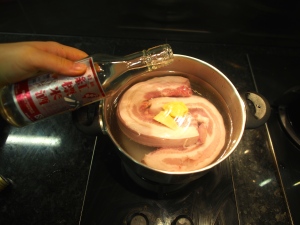
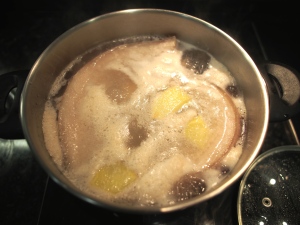
*Why do you add the pork to room temp water instead of boiling water? Bringing the pork and water to a boil together helps to draw out more of the blood and impurities from the pork compared to putting the pork directly into boiling water which will just cook/tighten the meat on the surface right away before releasing the blood from the inside (I have experimented with hot and room temp water- it is true that more scum floats to the surface when I bring the pork and water to a boil together). The ginger and wine help to remove odours too.
*Is it really necessary to boil the pork first? This is a traditional Chinese cooking method that helps to remove any bloody/gamey odours and flavours from the meat as it draws out the blood and impurities, but isn’t very popular in Western cooking (as Gordon Ramsay says, always sear your meat first to give it a nice brown colour and never just boil it or you get a greyish colour and no flavour). I’ve been quite torn between these two methods so after many experiments, I found it really comes down to how fresh your meat is. If the meat was locally cut/purchased on the day of/doesn’t have any smell, then I think it is perfectly fine to just directly skip to step 4 below and sear the meat raw, especially since this is a very rich flavourful sauce. However, if the meat has been frozen/been sitting around for a few days/starting to smell gamey and bloody (but not yet sour- which means it has gone bad already!) then I definitely recommend boiling it first to remove the blood. But say you are making a Chinese soup which is supposed to taste very pure and clean, then definitely boil the meat separately first.
2. Thoroughly rinse the foam off the pork belly, slice the pork belly into even sized pieces, and pat dry.

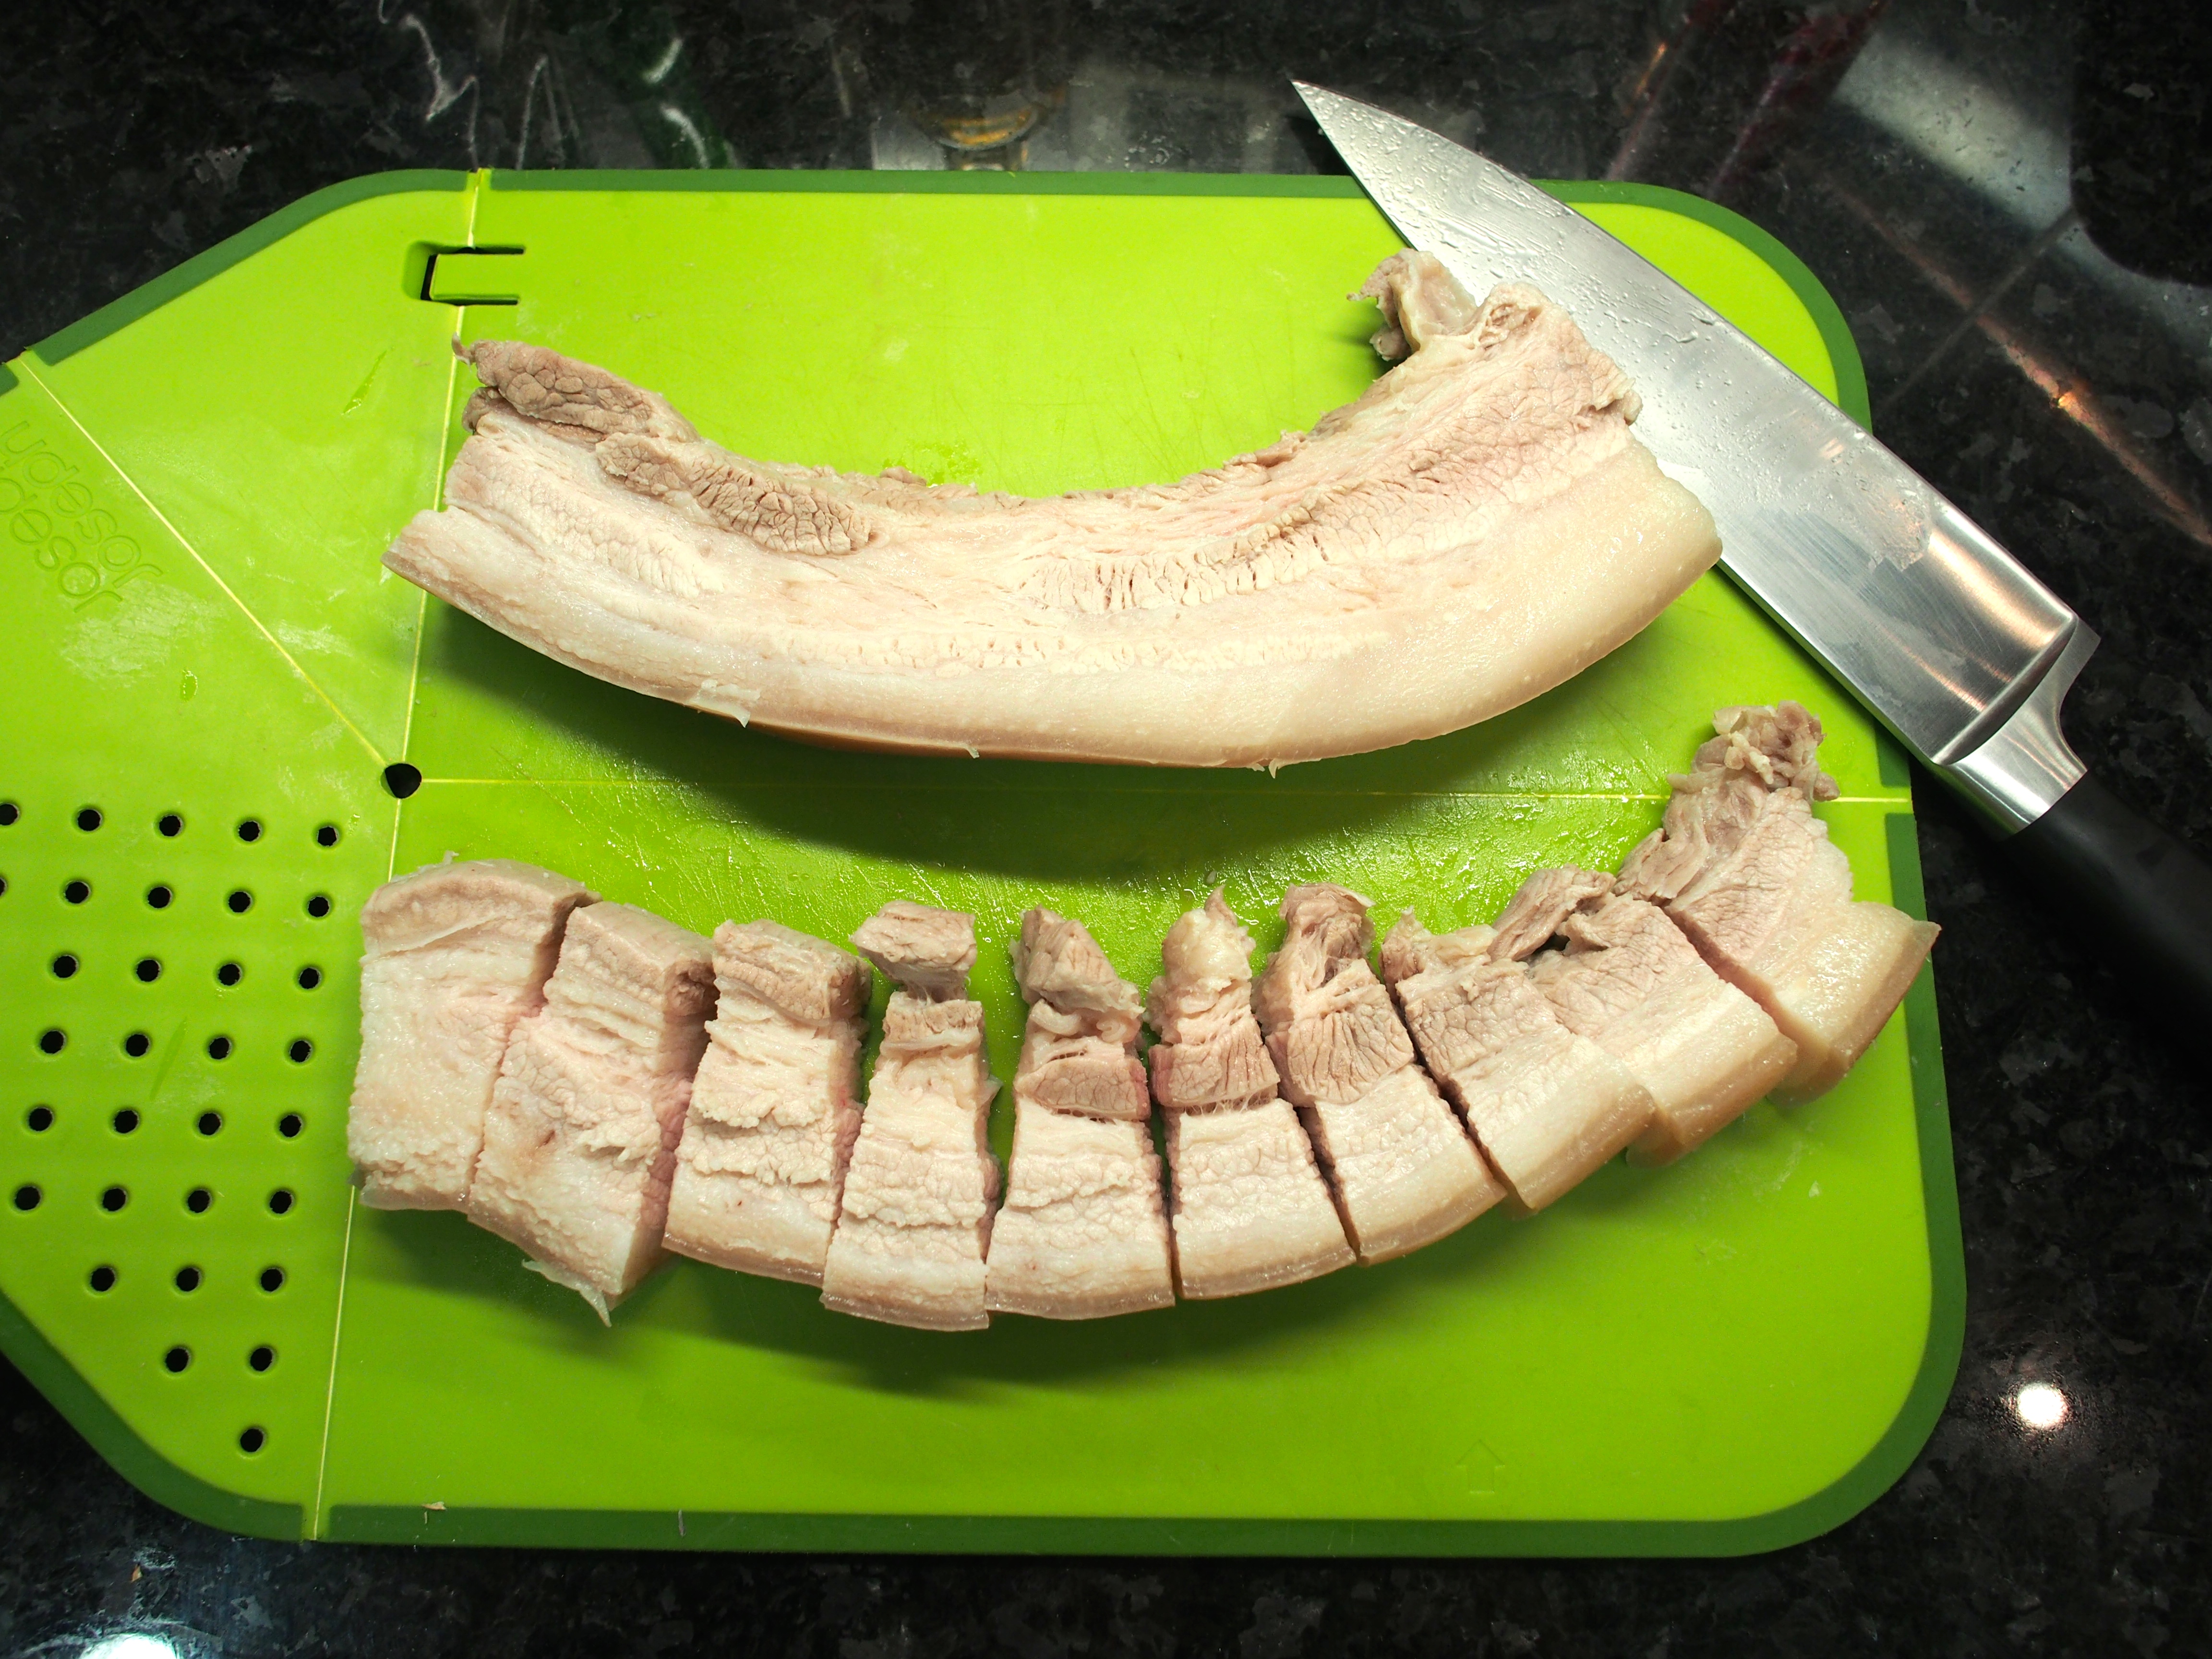
*rinsing under cold water will stop the cooking process and make the meat have a slightly bouncier/chewier texture (or as Chinese say “QQ~”)
*I sliced the meat after boiling because it shrinks while cooking, so if you cut it before boiling you may end up with really small uneven pieces.
*it’s important to pat the meat dry because it will prevent the oil from popping and water prevents browning.
3. In the meantime, peel the garlic, slice ginger, roughly slice the onion, measure out the remaining ingredients.
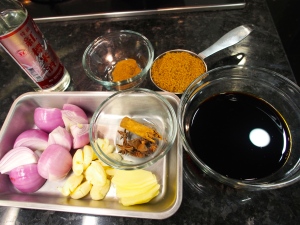
*I didn’t chop them too finely because it would burn too easily.
4. Over medium-high fire, heat oil in your pressure cooker and add the pork belly, give it a nice sear until golden.

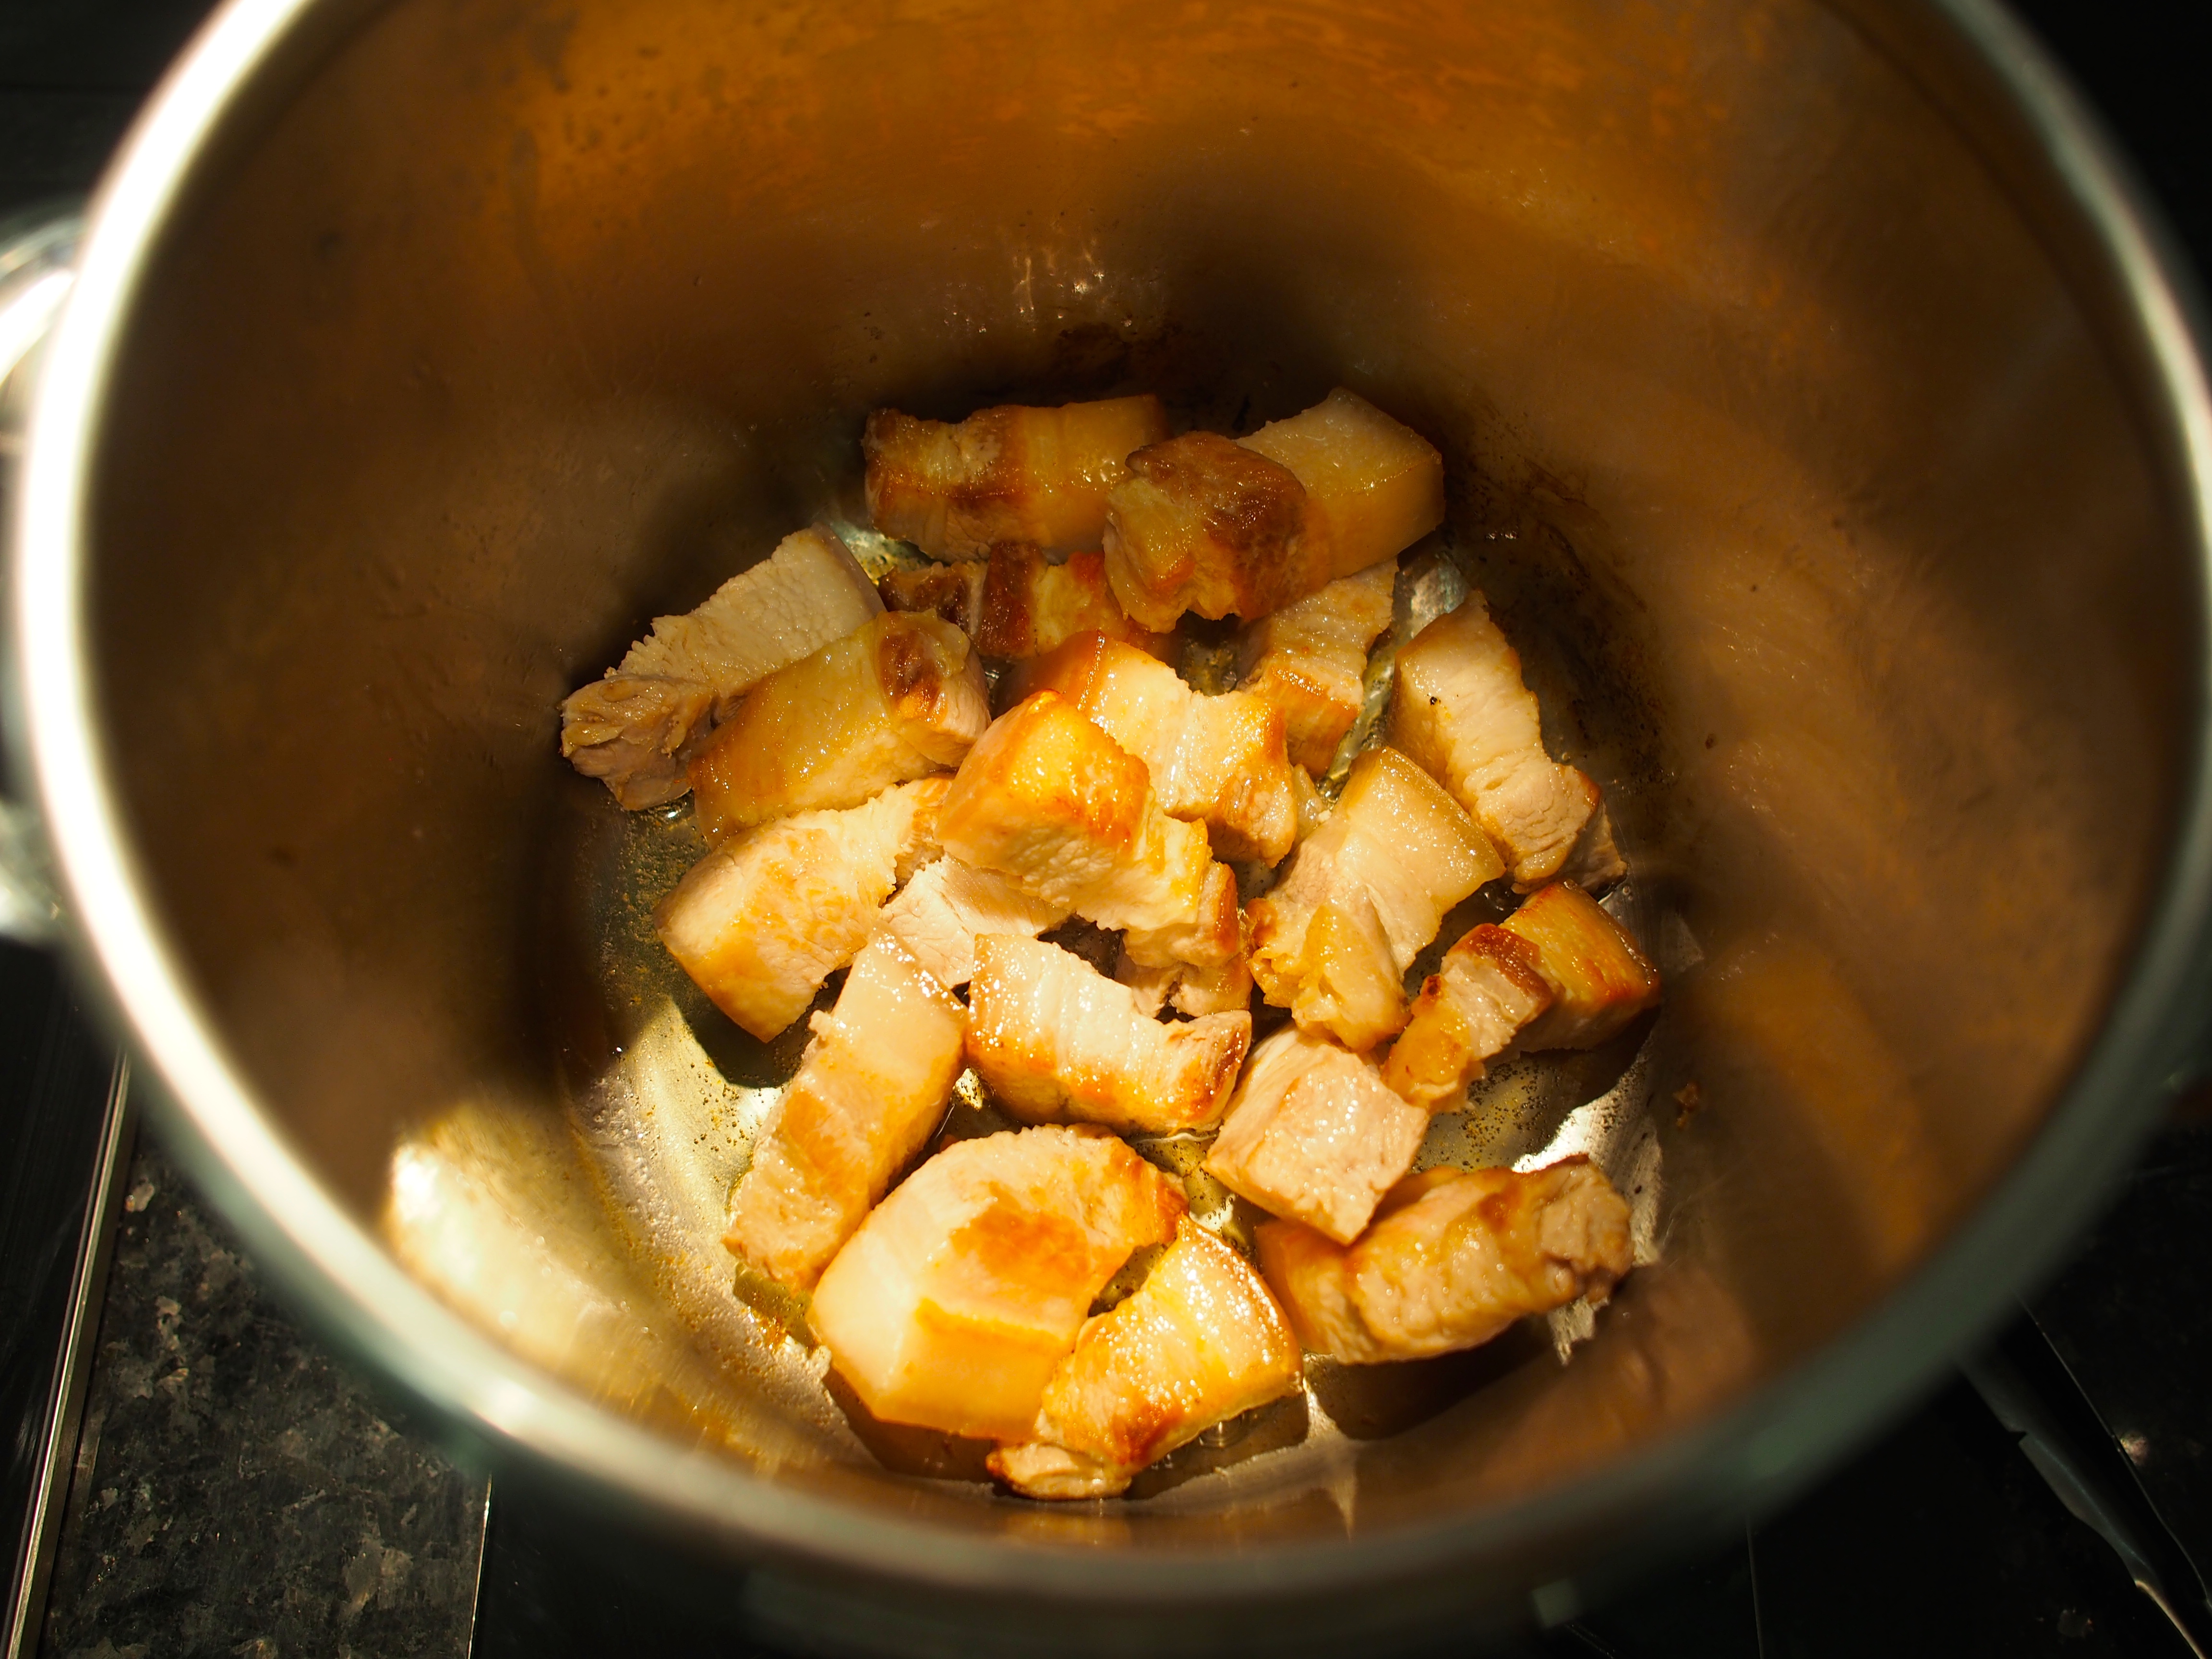
*browning the meat will give it better flavour/color and help to render down some of the belly fat.
*a lot of oil may come out of the pork belly fat – just use a kitchen towel to absorb the excess.
5. When the pork is golden, add the ginger/garlic/cinnamon/star anise and cook until aromatic.
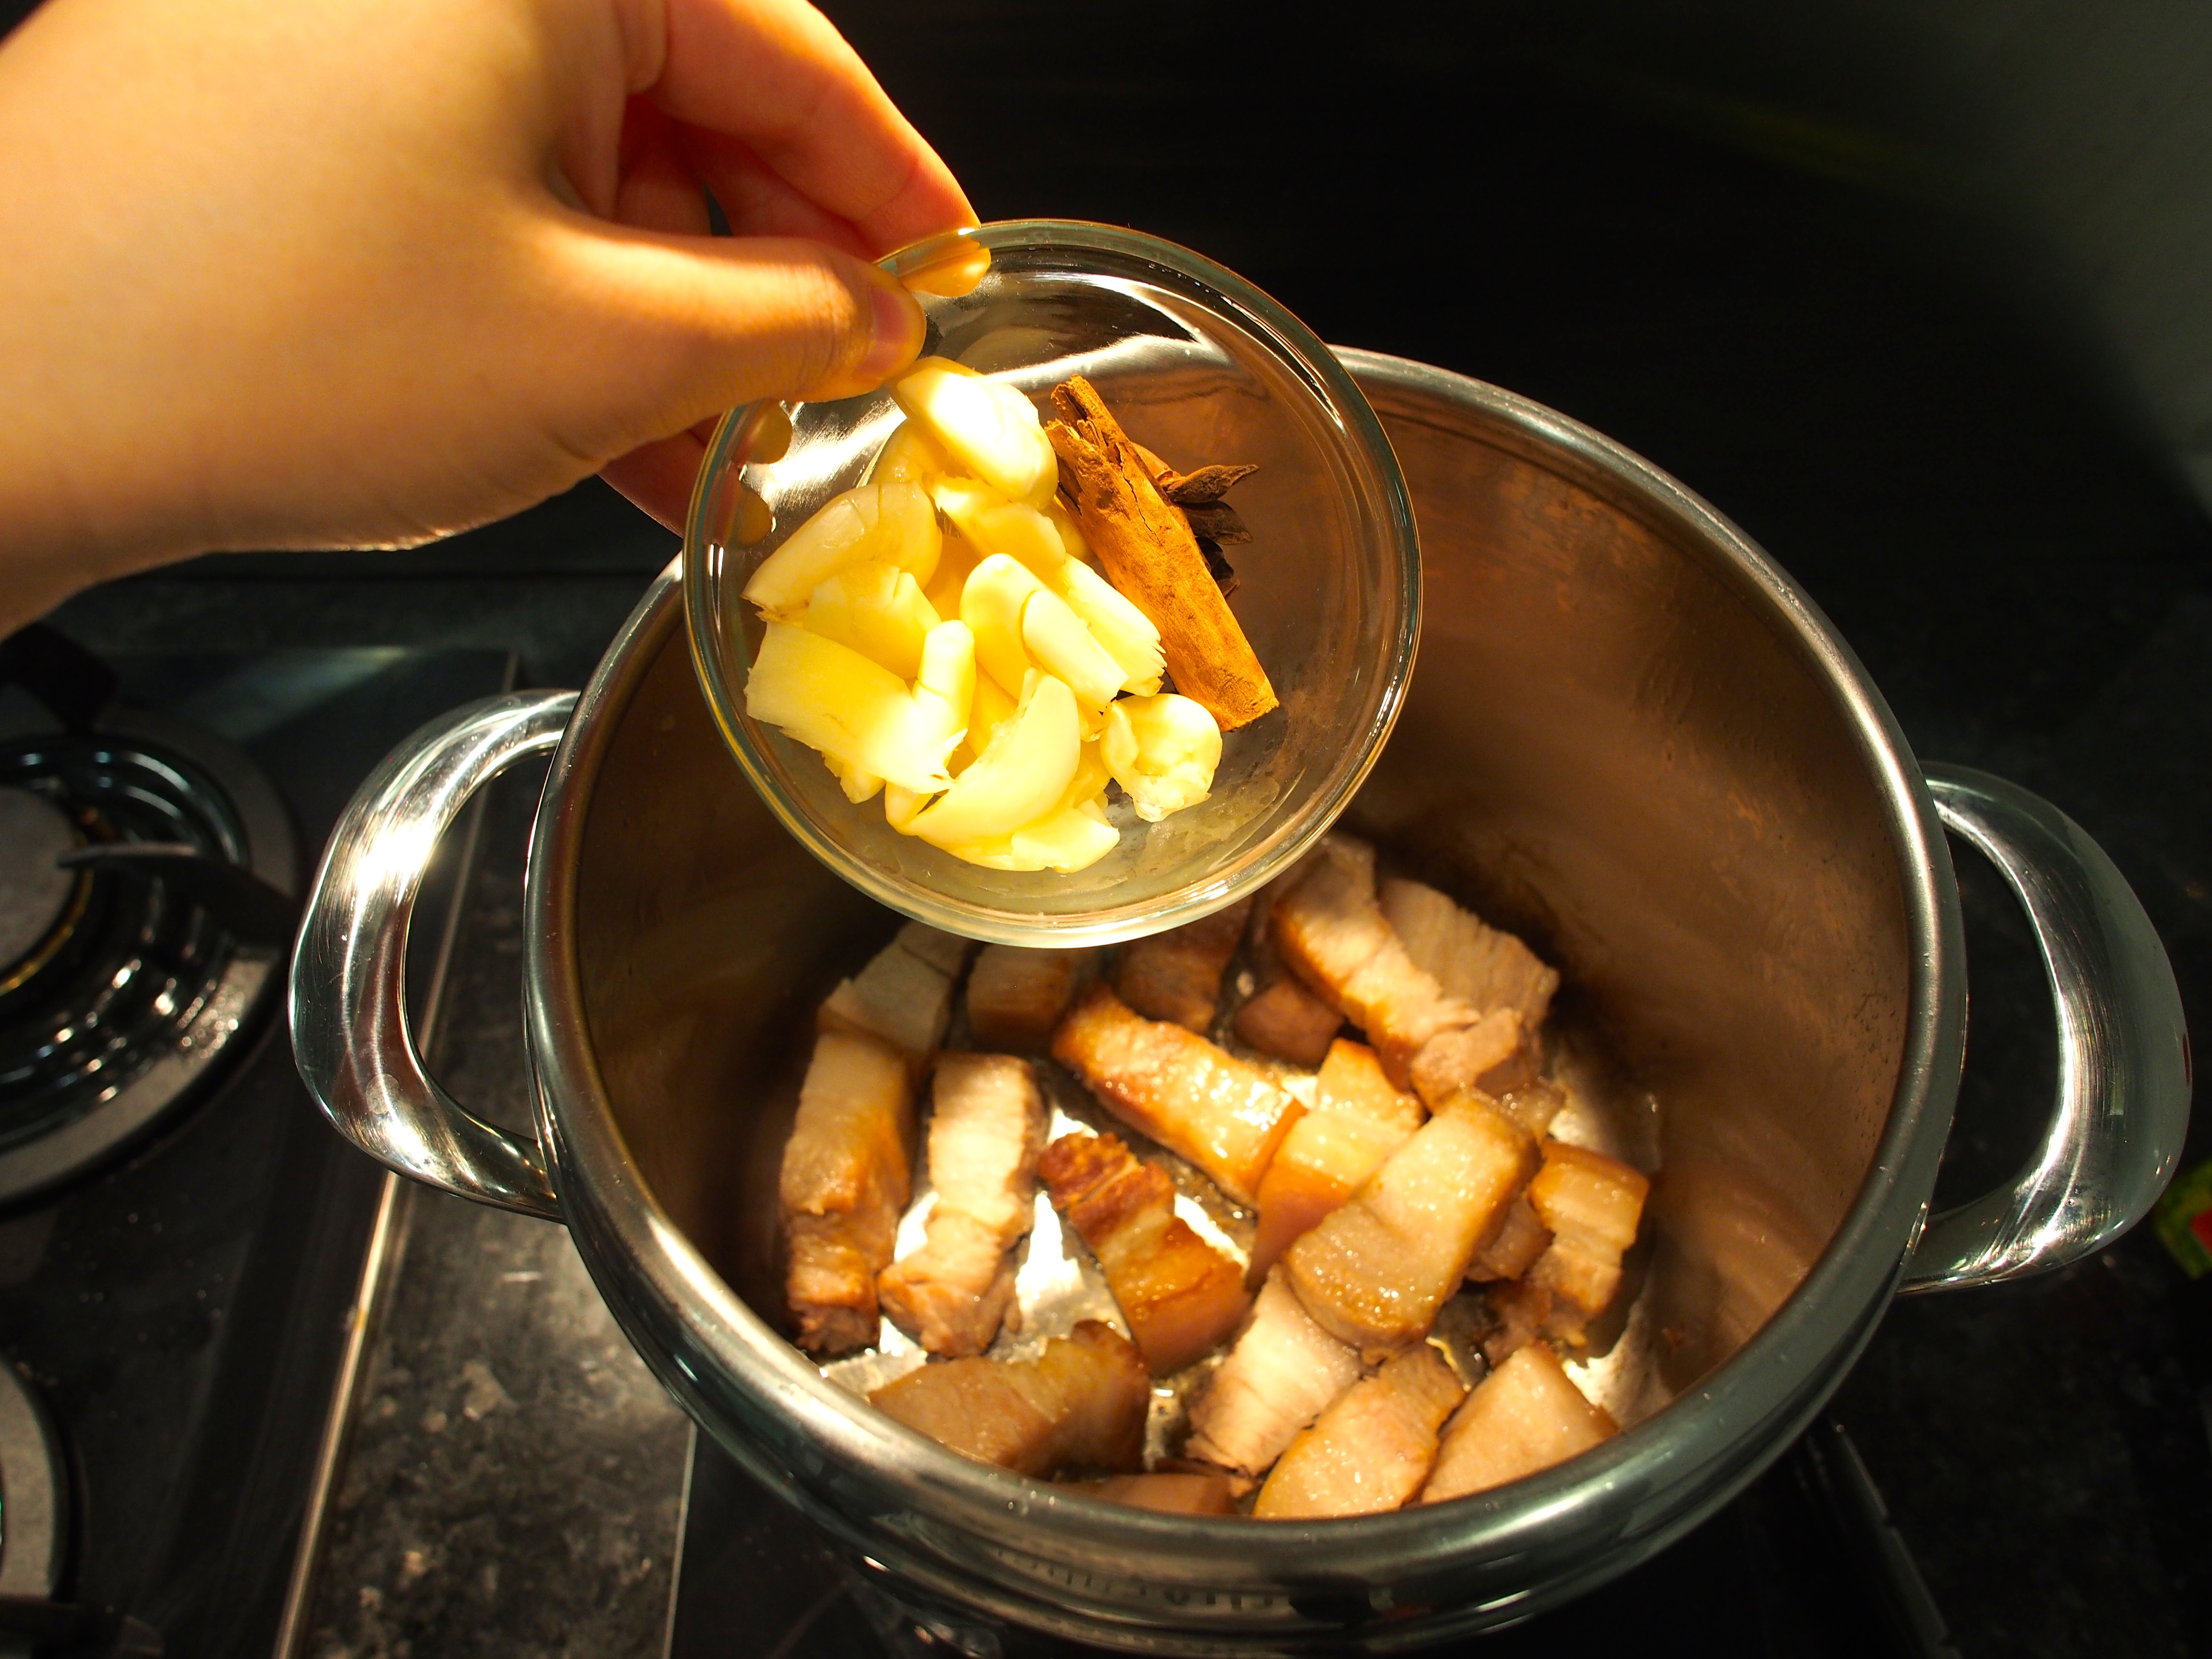
*Don’t add these in too early because they will burn before the pork has picked up some nice color!
*spices need to be cooked in oil first bring out their fragrance.
6. Add the ground nutmeg and toss.
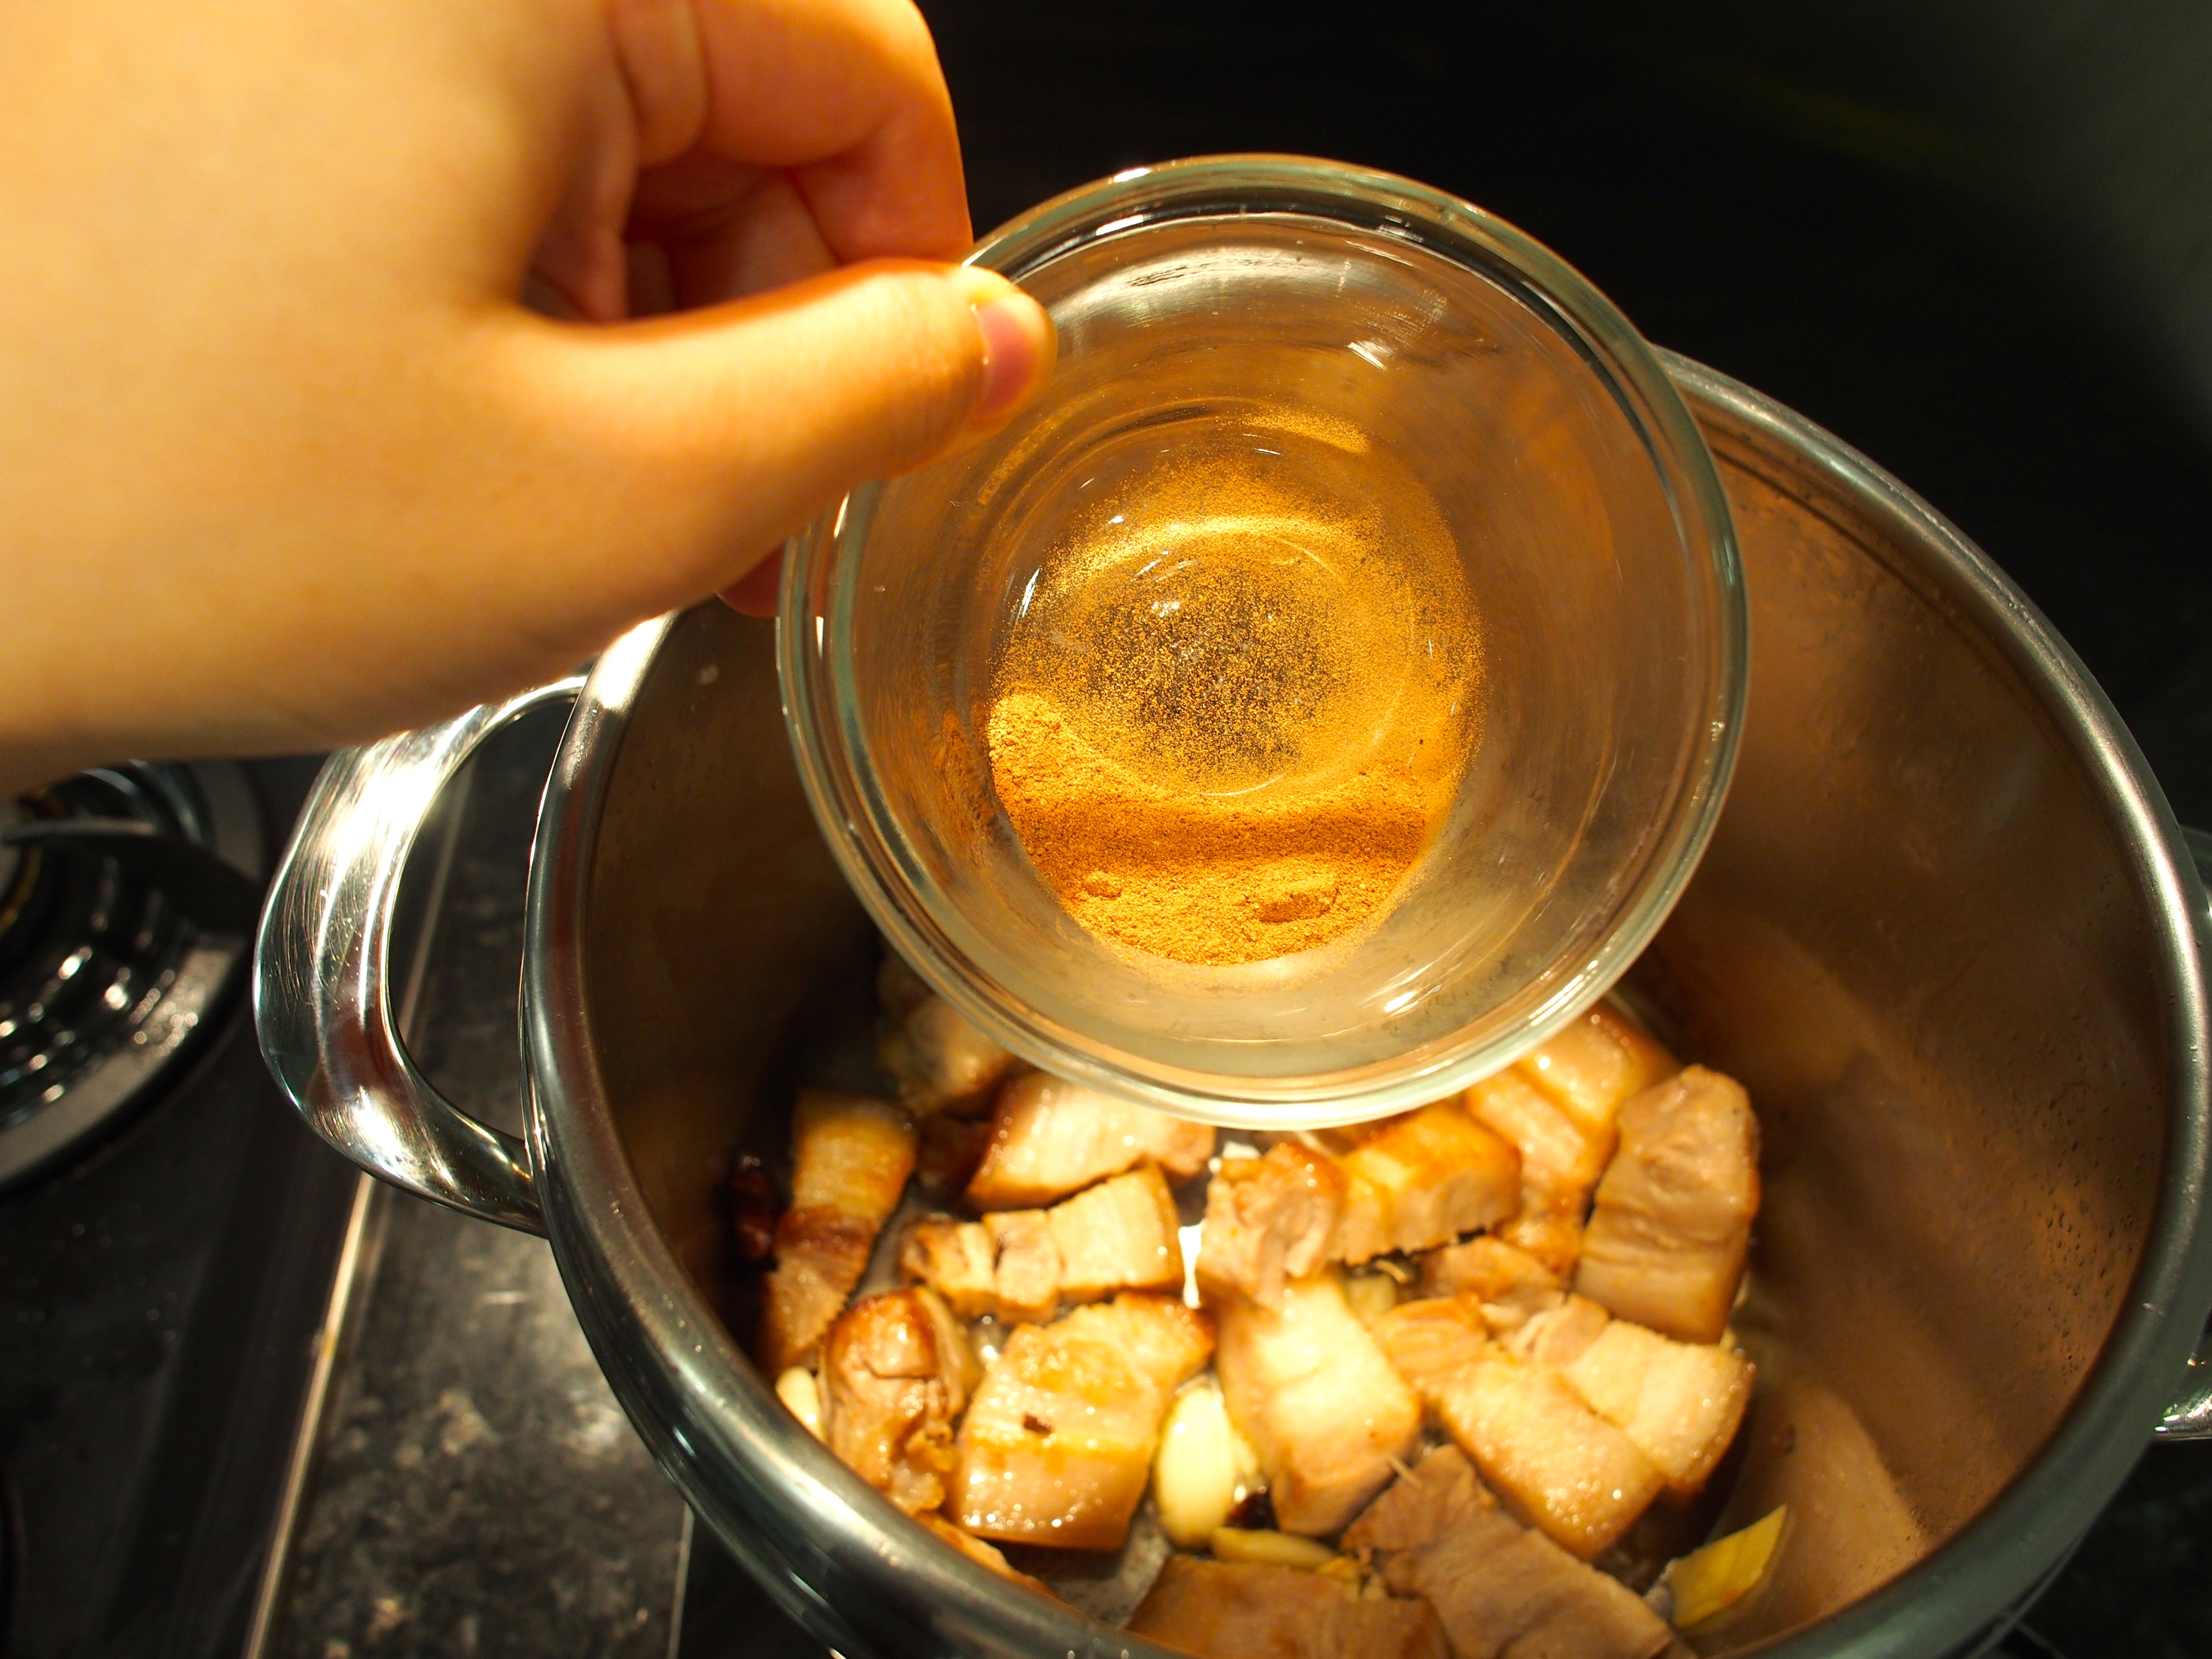
*nutmeg is my one of favourite smelling spices because it smells like coca-cola!
7. Add the purple onions and lightly sweat them.

8. Turn down the heat, add the brown sugar in, toss to coat- it will immediately start to caramelise on the pan and give the meat a rich color.

*be very careful of the sugar burning at the bottom!
9. Add the cooking wine to deglaze the pan.

*wine helps to tenderise meat
10. Add the soy sauces and vinegar, toss to coat and it will give the meat even more color.
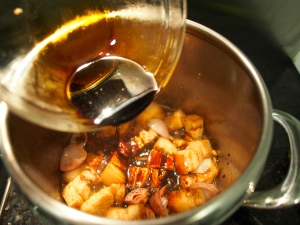
*I have chosen to use half light and half dark soy sauce because light soy sauce is saltier while dark soy sauce is more pigmented and richer in flavour.
11. Add the water and bring to a boil.

*if you want to be lazy, you could just add all the ginger/garlic/spices/sauces in at once and just braise but I find adding it in layer by layer helps to develop more flavours.
12. Cook in the pressure cooker on low heat for 25 minutes or until the skin is soft and easily pierce-able with a chopstick. It should have a nice golden brown color and the meat should be tender and the fat just meltable in your mouth.
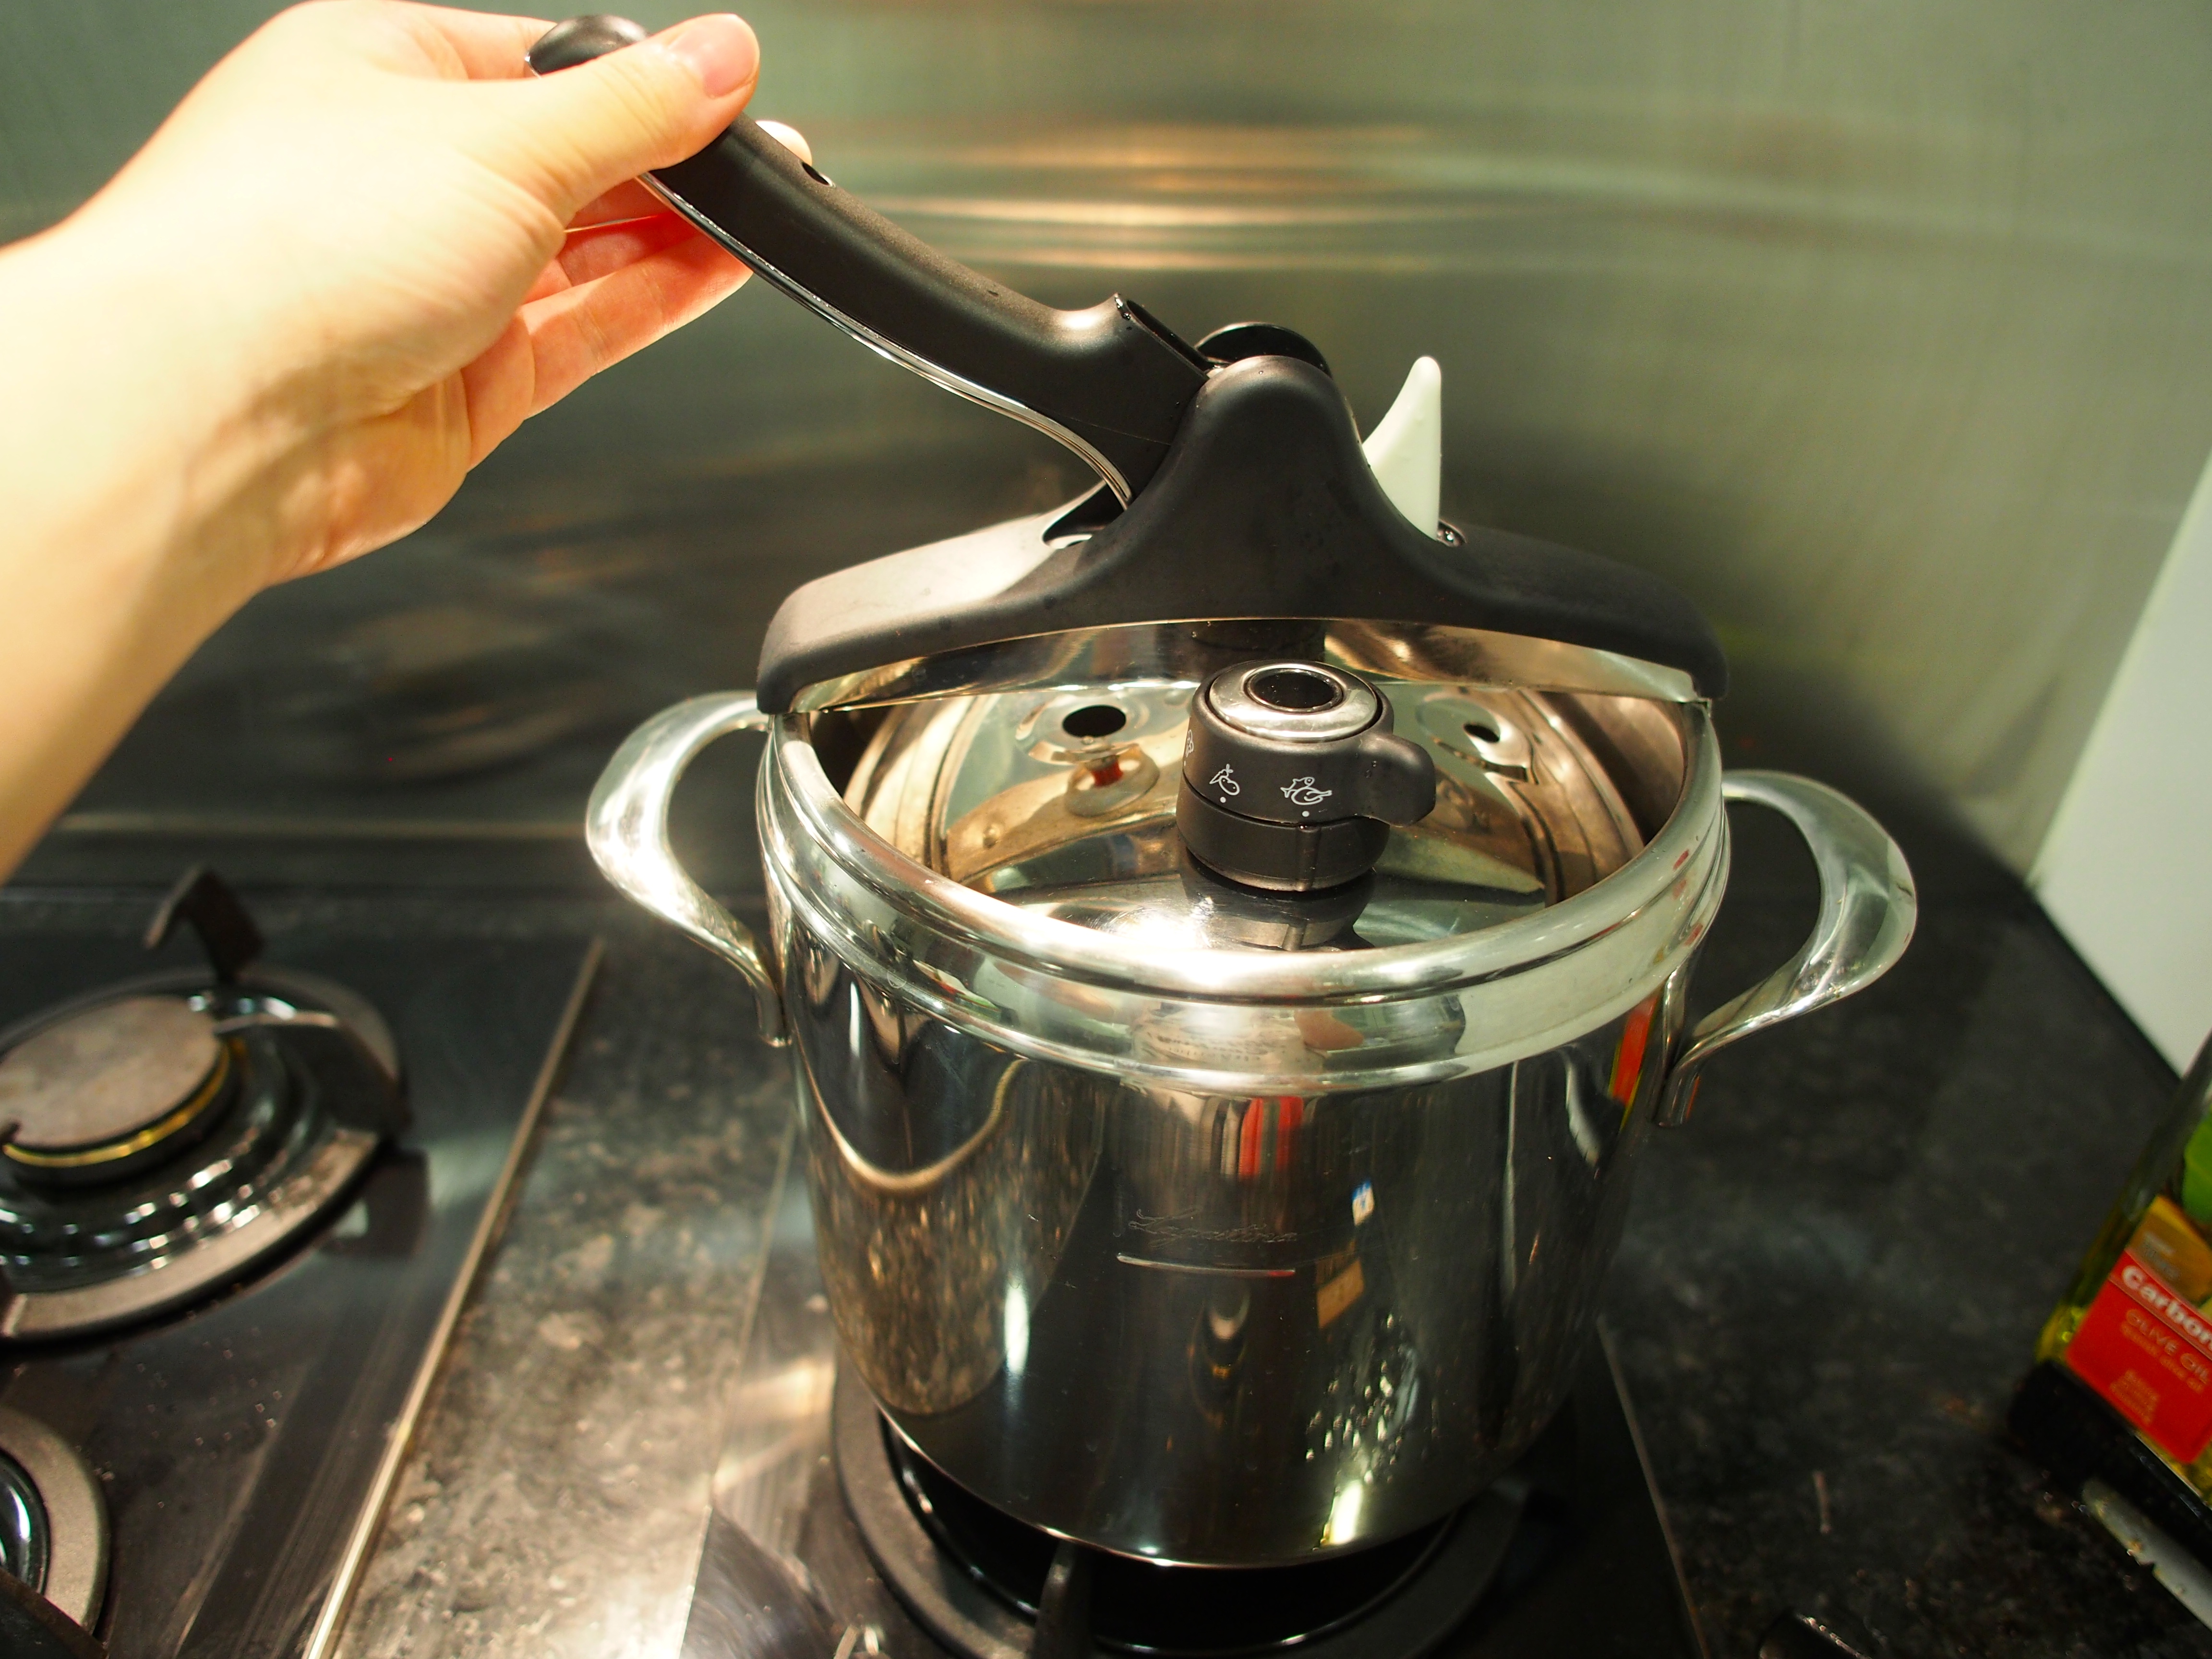

*WARNING: due to the high sugar content, this sauce can burn very easily. I left my pressure cooker on for 15 minutes (occasional swirling of the pot to ensure nothing sticks to the bottom), opened the pressure lid and checked it, then did a final 10 minutes. If you are not using a pressure cooker, make sure to stir frequently and avoid leaving for long periods of time- I have burned mine twice already in a regular pot!
*Pressure cooker users: Make sure the water level reaches the minimum required level for your specific pressure cooker.
*You may notice a layer of oil from the pork belly fat- just skim it off.
13. Depending on how much sauce you have left, turn the heat back up and reduce the liquid. Add about 1.5 tablespoons of corn starch mixed in cold water and cook through. You want the final consistency to be like a thick syrup.

*corn starch will thicken and give the sauce a glossy finish.
And it’s done! Garnish with spring onions or sesame seeds. Serve with rice or steamed buns!

I hope you enjoy, please share photos with me on instagram using #cookedforyoublog or @cookedforyou or leave me a comment below!
Stay in love with life!
-Crys
I’ve been on the search for an easy but flavorful sweet and sour sauce. This looks delicious, I definitely need to try it!
Thanks Kiley! I hope you like it 😉
You have a good hand skill of cooking and look very delicious
Thank you very much Sophia for your sweet comment! 🙂
This looks too good. I cannot check your blog in the mornings, anymore! Must wait until evenings when I can raid the fridge…
Thanks I’m so happy to hear you like it! 🙂
I just actually made this dish. It taste yummy. The flavors are intense and the meat is incredibly tender. It has a nice rich mouth feel and has a dark rich color. Thank you for the recipe.
Thank you Patrick! I’m so glad you enjoyed it 🙂
Crystal
Oh yes I..try to cooked today..but let see how i go..if I can..but thanks for the guideline.recipe…
I hope it went well!!
just a quick questions
– if I dont have a pressure cooker, what would you recommend
– for light and dark soy sauce what would recommend as substitute
– can you use white sugar with honey instead of brown
Hi Alex, thanks for your msg. If you don’t have a pressure cooker a cast iron pot works too, or else a regular pot on low heat with a lid should be fine also, just stir often so it doesn’t stick and burn. As for light and dark soy sauce it’s pretty hard to substitute that. And yes you can certainly use white sugar, I’d add the honey last as a glaze. 🙂